Photoshop is the most popular and best photo editing software available today. But it requires a lot of experience to use proficiently. For those of you just starting out, this must be a big deal. Action is the key in this article.
| Join the channel Telegram belong to AnonyViet 👉 Link 👈 |
Therefore, Photoshop’s Action function was born, helping us to reduce some time and less effort. Because it is responsible for recording actions (steps to do) and you can rewind to see how others do.
I will guide you to try Action GtaV in detail so that you can experience this great feature. But first, you must make sure that your computer has Adobe Photoshop pre-installed. If you don’t have it, download your Protable below to use it lightly.
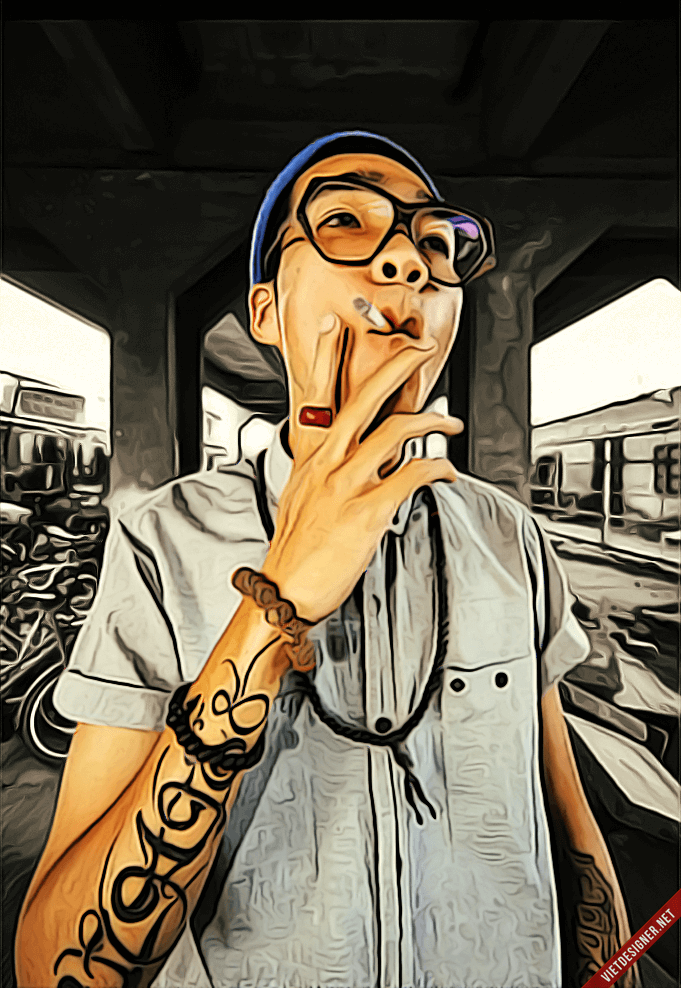
Some pictures about Action GTA DRAW
Here are some products I made with this Action. Try it out and see the magic. I would like to repeat that Action is a record of a series of operations (how to do). You can have it run all the steps at once or run it step by step to see how people do it.


How to use Action GTA DRAW
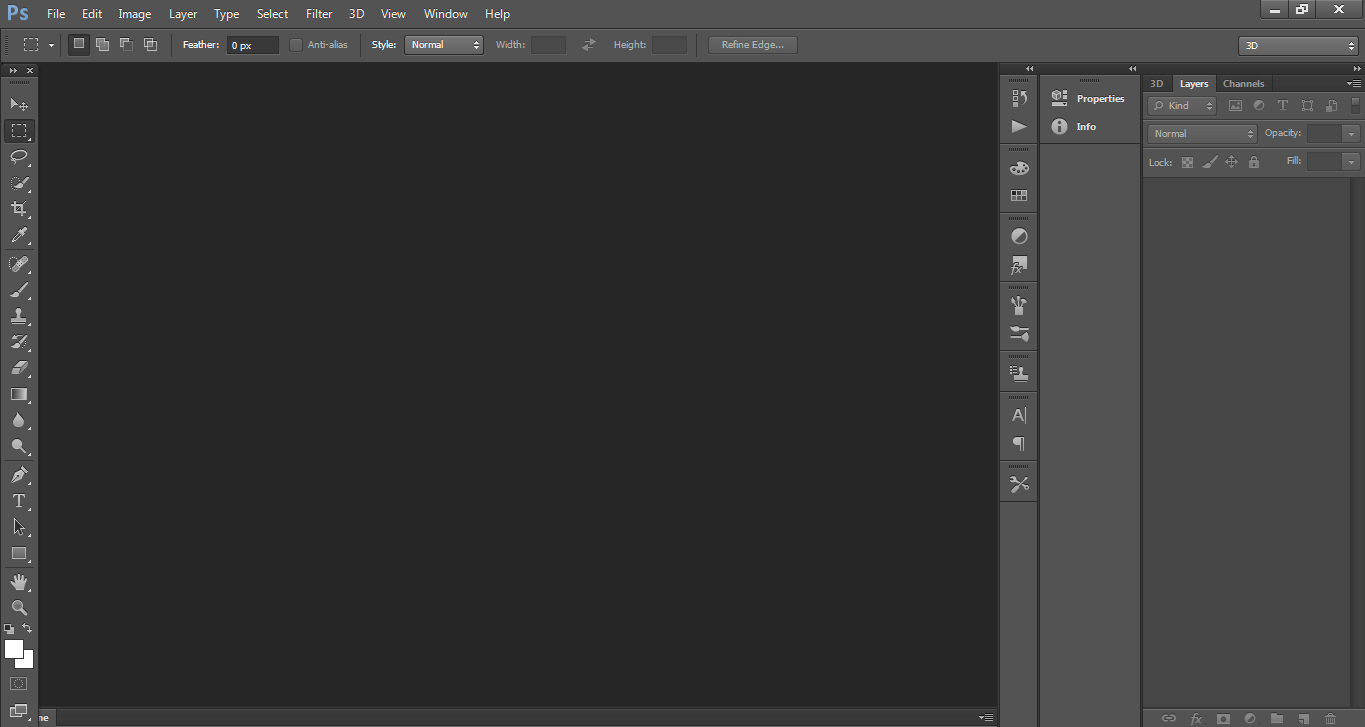
First, you open Photoshop software. If not, please pull up and download the Protable (light version) I put above.
Step 2: Go to File -> Open to open the image you need to edit.
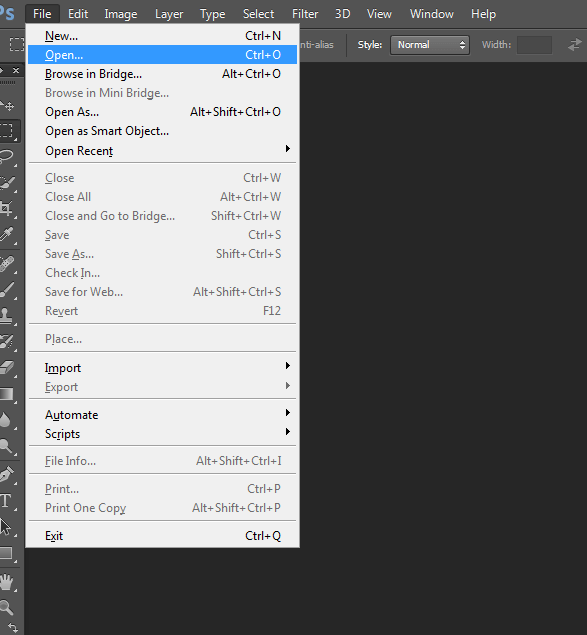
When you click Open, it will display the file interface on the computer. Select find an image you want to edit. Here, I choose a photo of goalkeeper Bui Tien Dung, who is hot in the past.
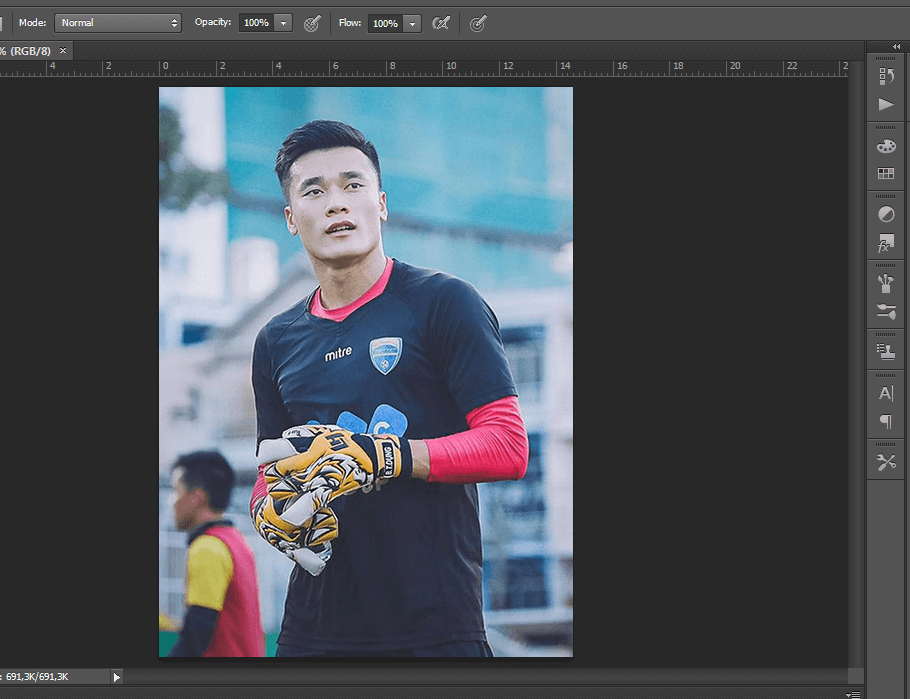
Step 3: Click on the image and create a new Layer by pressing Ctrl + J and name it brush (not capitalized). It should be properly named brush because in the action specified layer brush name is the area where it will perform operations.
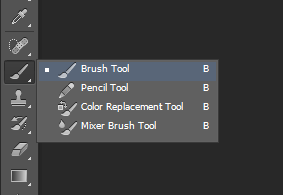
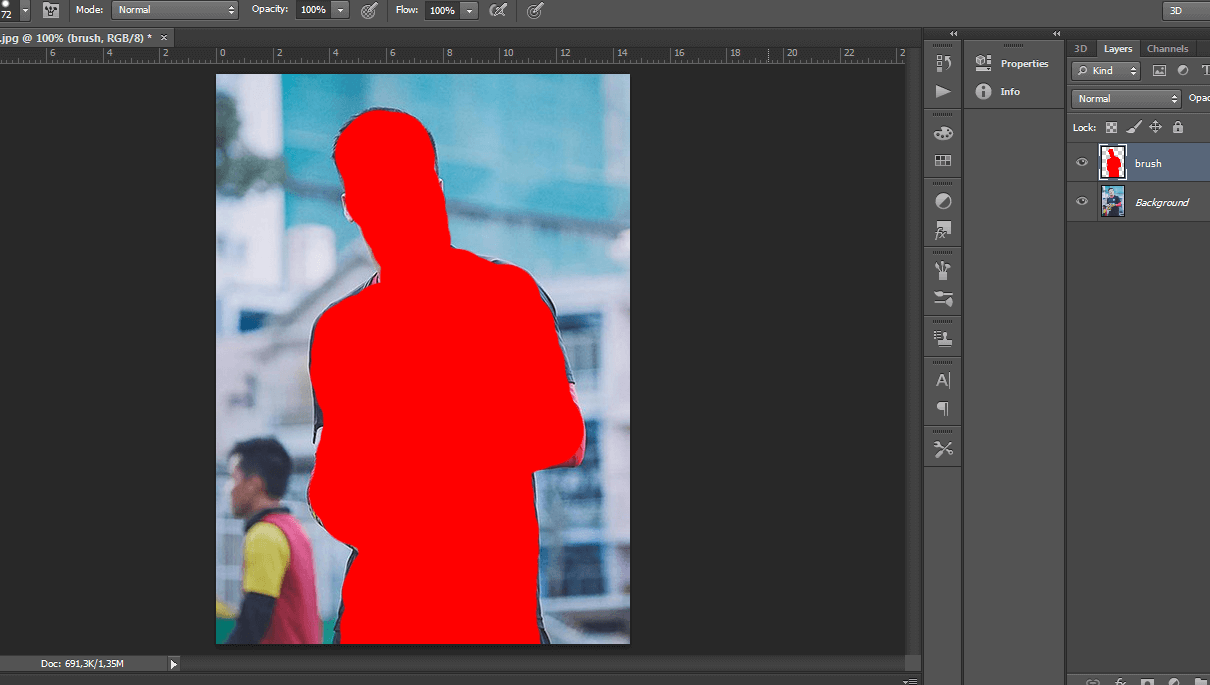
Step 4: On the brush layer, use the Brush Tool to paint the entire body on the image. Where you paint, the effect will be made there by the layer. Since I want all the effects to apply to the character, I fill the selection with the character.
Using Action
Step 4: Turn on the tool Actions (F9) and Load Actions if you haven’t loaded the action yet.
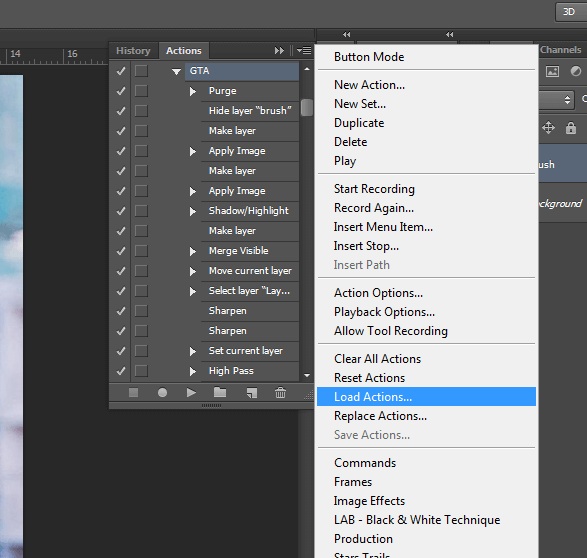
Step 5: After Load Actions done, click on the GTA action folder and select the GTA action (the light green GTA box in the image). Then press the Play button below to run the action.
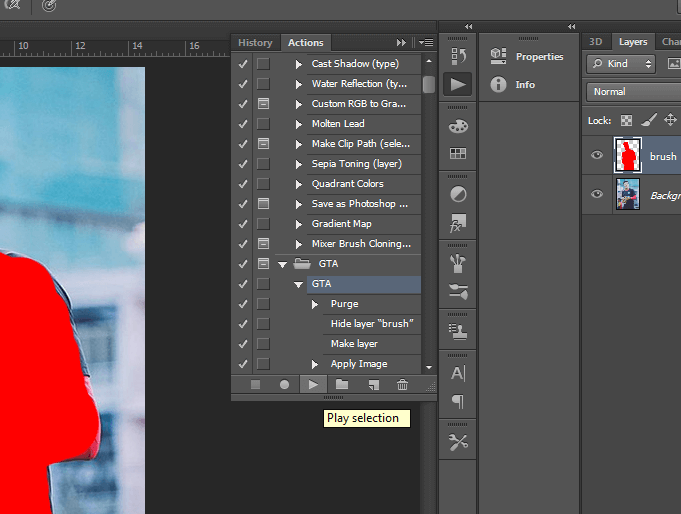
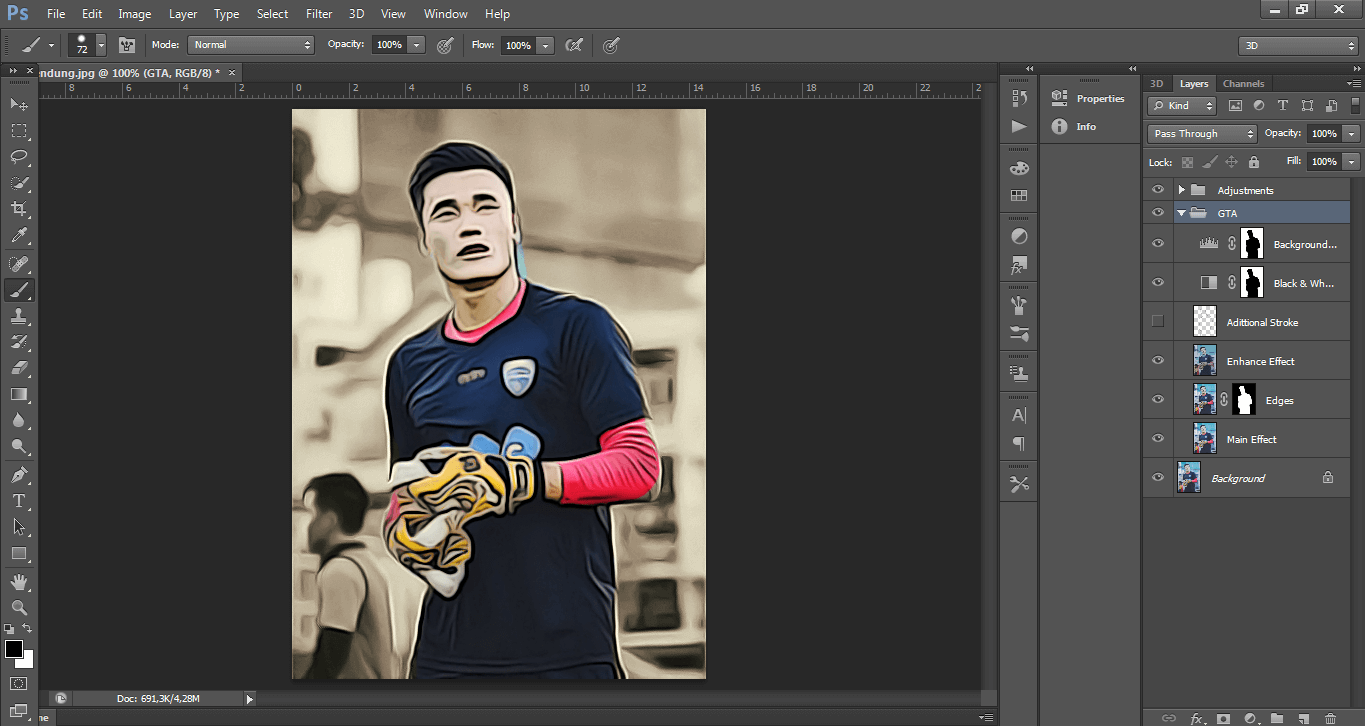
Step 6: You wait a bit for Aciton to complete to see the final result. Note, while the action runs, you should not do anything else on the computer because it can easily lead to errors!
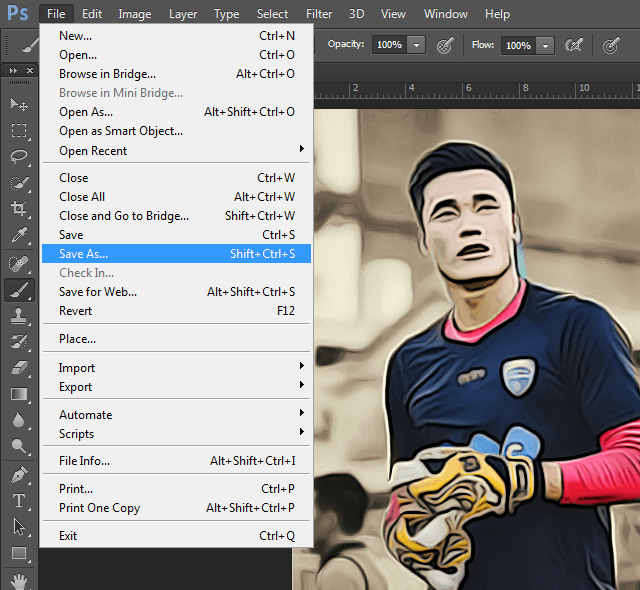
Finally, Save the jpg or png format as you like. Let’s show off to your friends!
The painting of the whole person in the picture is a bit careless, so some details are wrong, you should paint it carefully, close to all the people, not too much or too little 🙂
Above are all the steps to create a GTA V-style photo with just 1 click on PhotoShop, you can also download the GTA V Logo set to attach to the photo to add more quality and vividness.
Download Action PhotoShop GTA DRAW
The file will have the extension .atn (short for Aciton).
In brief
- You just need to create a layer named brush.
- Color only the area where you want to apply the effect.
- All the rest let Action do all the work.
AnonyViet wishes you success!!
#N1412

