How to combine real face into virtual image is a creative and fun trick to create unique and funny photos. You can graft your or your loved one’s face into virtual images such as animation, movies, games, art, etc. to express your personality, interests or feelings. In this article, AnonyViet will guide you how to combine real faces into virtual photos in a simple and fast way!
| Join the channel Telegram belong to AnonyViet ???? Link ???? |
Benefits of stitching real faces into virtual images
- Create creative, unique and interesting images with a variety of styles, such as cartoon, historical, satire, etc.
- Express your personality, taste and preferences through customized images
- Join hot trends on social networks, attract interaction and interest of viewers
- Take advantage of the image processing capabilities of artificial intelligence to enhance the quality and realism of images
Instructions on how to combine real faces into AI virtual images
Create Server on Discord
Step 1: You visit the page Discord > Open Discord in your browser

Step 2: Add Server by clicking + Add a server
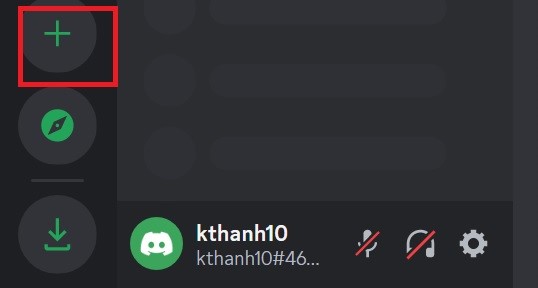
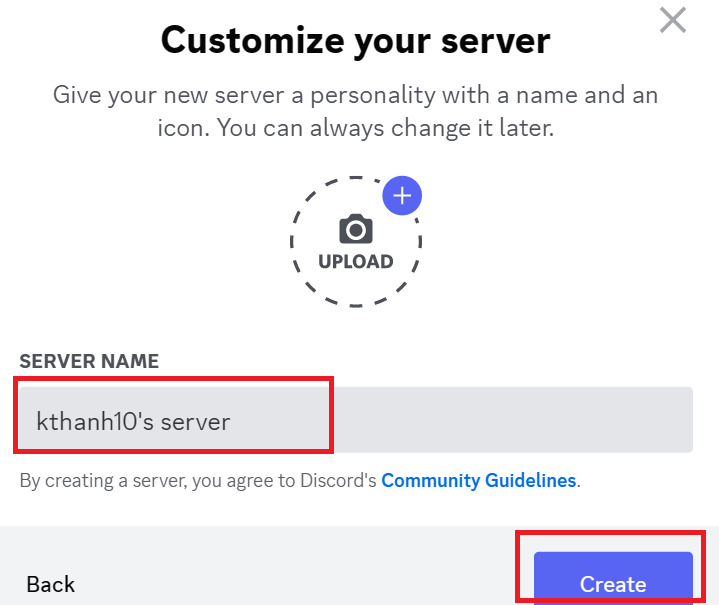
Step 3: Select “Create My Own” > For me and my friends > Name the server > Select Create
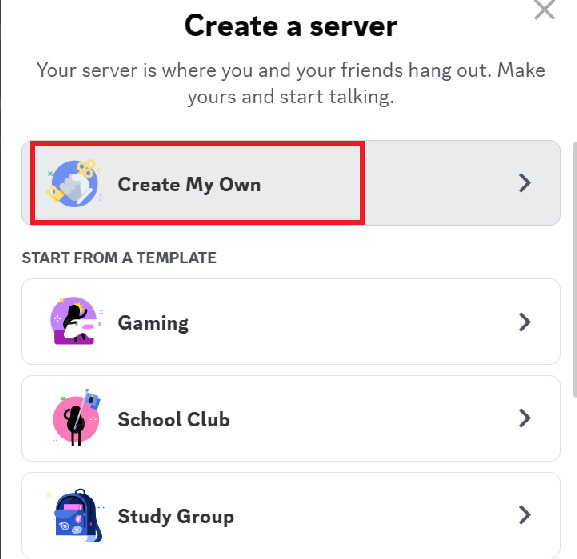
Add BlueWillow and InsightFace bots to the server
Step 1: To add BlueWillow server, please visit the link The following
Or if you use Midjourney then come in dental
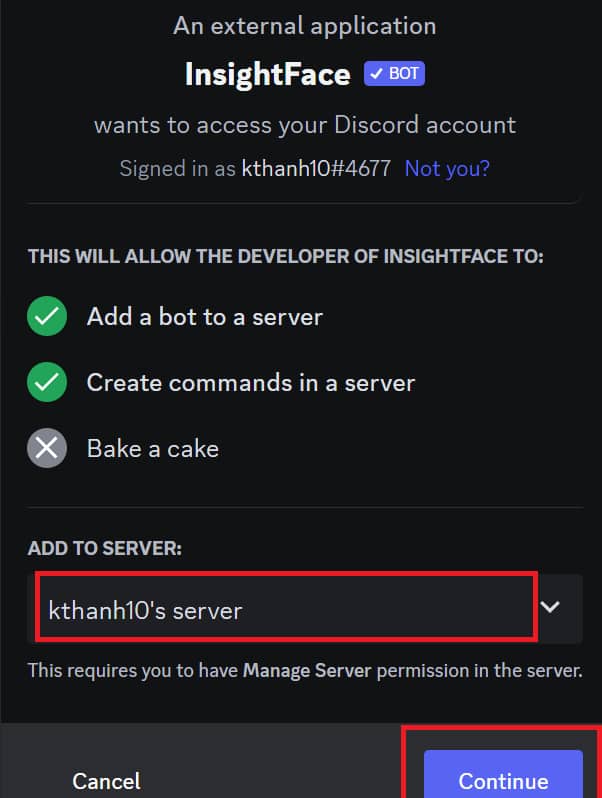
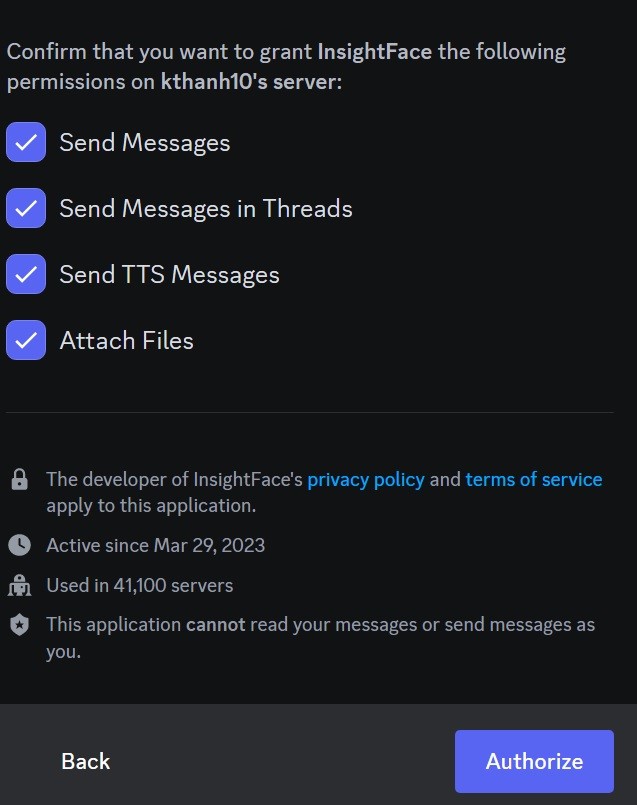
Step 2: Select the server name you just created > Continue > Authorize
Step 3: To add the InsightFace server, go to the link The following
Step 4: Do the same as step 2, click to select the server > Click Continue > Authorize
So you have invited 2 bots BlueWillow and InsightFace to your private server already.
Perform photo creation and face compositing
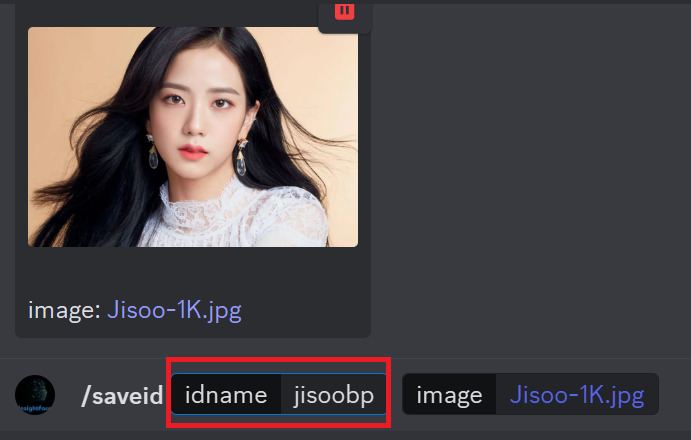
Step 1: First, you need to let the AI bot recognize the face of the person you want to match, with the command /saveid
Then press the “distance” button, an interface like the one shown will appear for you to upload images from your computer.
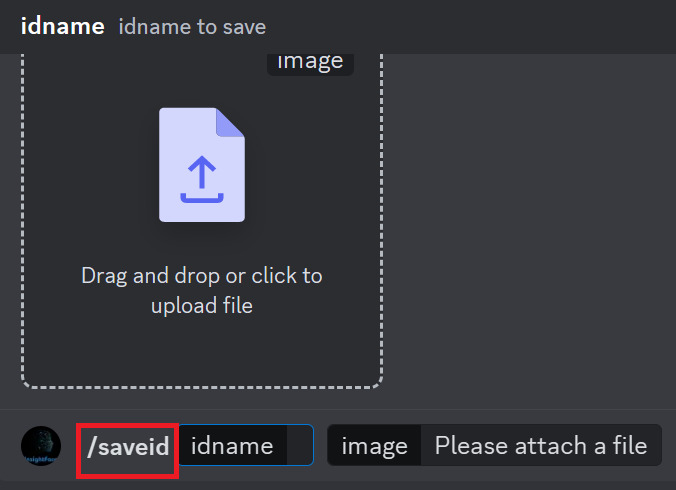
In the “idname” part, you can enter any name, as long as it’s easy to remember. Then press Enter
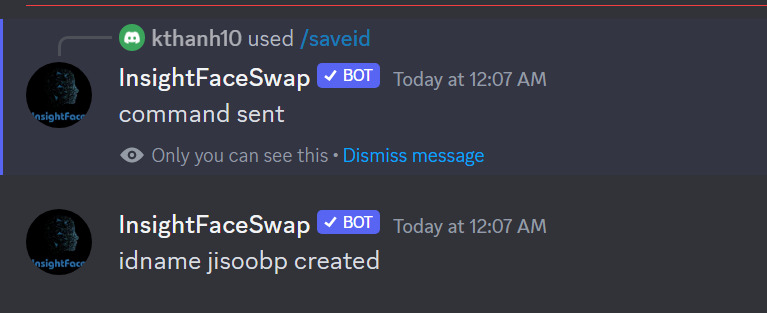
Wait a few seconds, you will see the message system as shown in the picture is successful.
Step 2: Use the command /imagine + prompt to create an image of your choice
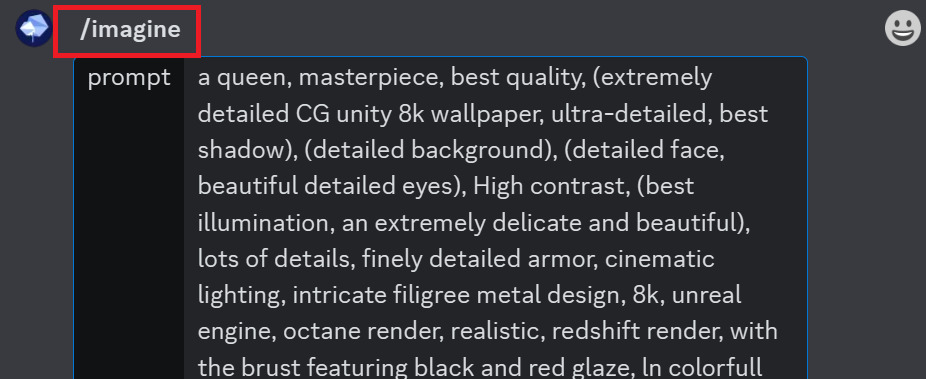
You should include words like “unreal engine, UHD, realistic, …” for the most realistic output.
Step 3: Wait a few minutes for Blue Willow to appear. Then you proceed to Upscale the photo that you feel like.
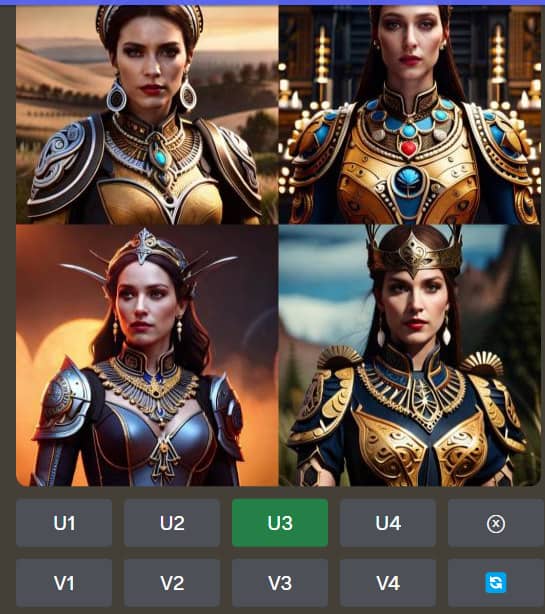
For example, if I want to Upscale image number 3, I press “U3”
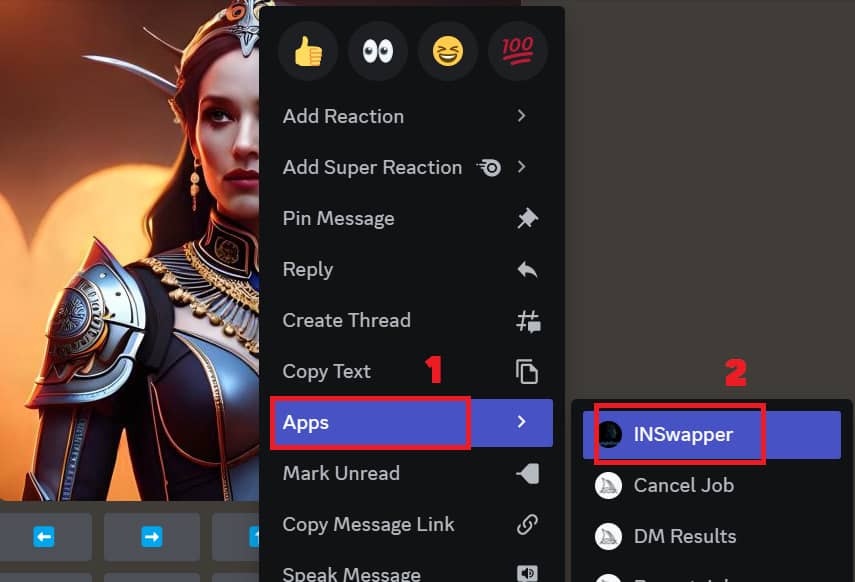
Step 4: After upscale, you right-click on the image > Apps > INSwapper to let InsightFace change your face.
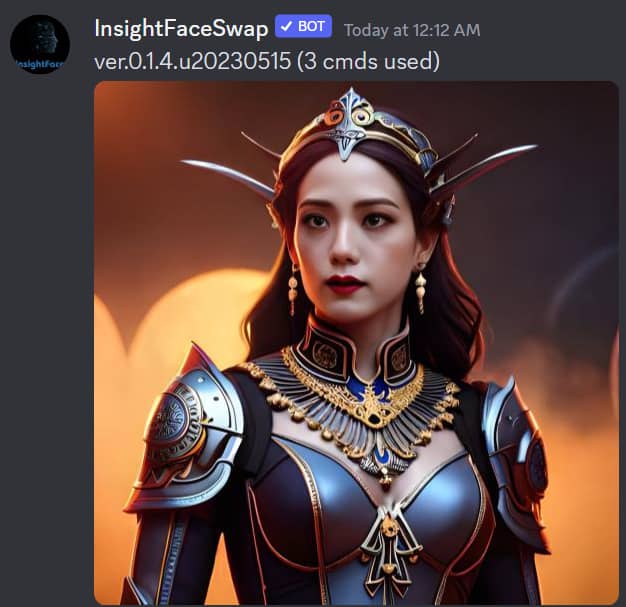
And the result is as shown
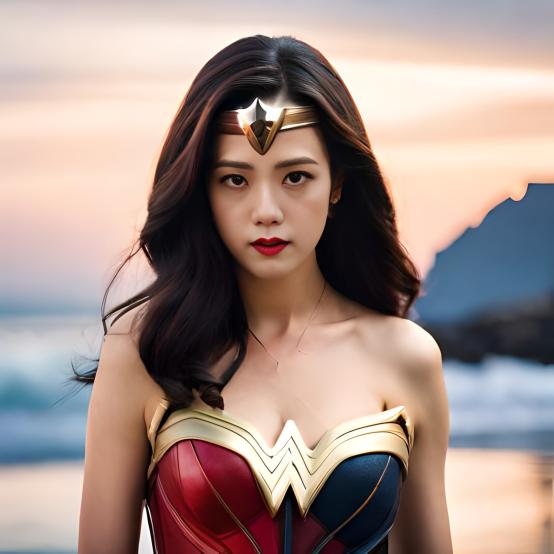
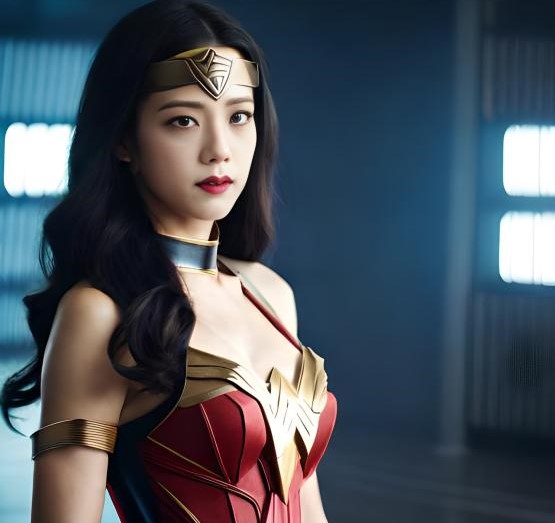
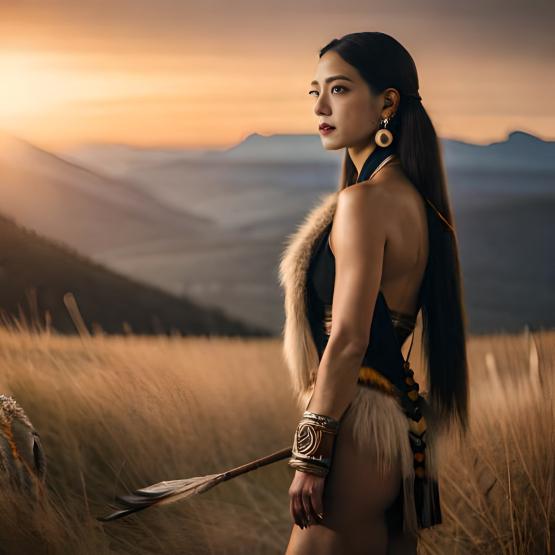
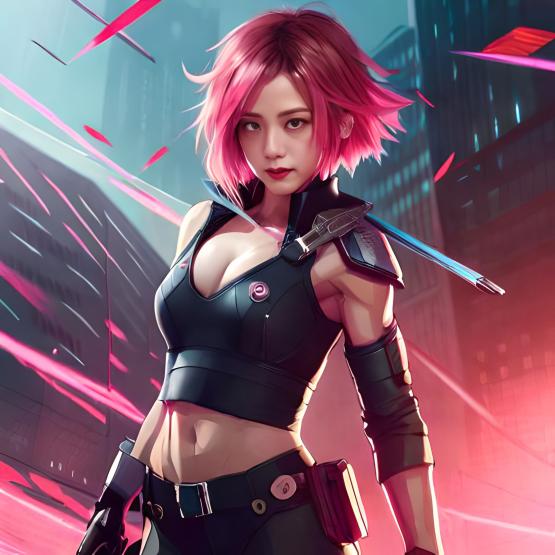
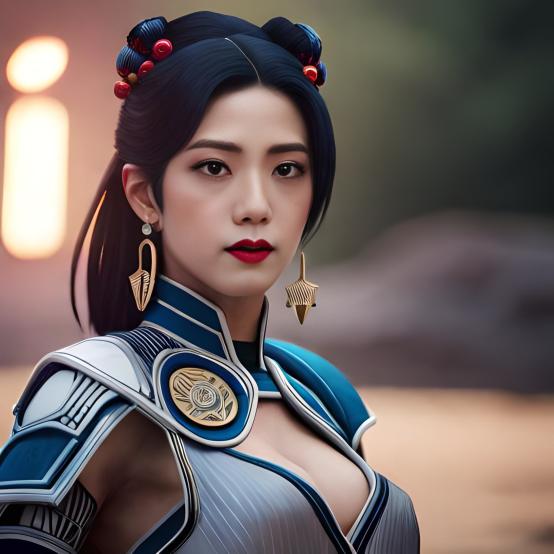
You can refer to some other results I did based on Jisoo’s face
Epilogue
Thanks to this extremely useful InsightFace tool, now, you don’t need to spend time training AI on Stable Diffusion or Leonardo and still know how to stitch real face into virtual image extremely simple. Wish you success and have many interesting and impressive photos!


