
Set screen lock time Windows will help you secure personal information and important data. This article will provide simple steps for you to do this quickly and easily.
| Join the channel Telegram belong to AnonyViet 👉 Link 👈 |
Advantages of setting screen lock time
Function to set time limit for lock screen Windows 11 operating system is increasingly being improved with many new features. Not only does it help display time and date, users can also choose to activate Cortana along with other Windows tools. Furthermore, the device can be easily turned on or off right from this lock screen.
If no activity is performed on the computer for a certain period of time, the system will automatically lock the screen to ensure the safety of personal data.
This function plays an important role in protecting users' personal data when they are not present, and in case someone else tries to log in to the computer, the Windows system will ask for a password. to access.
How to set screen lock time
Step 1: Press the Windows + I key combination to open the Settings window.
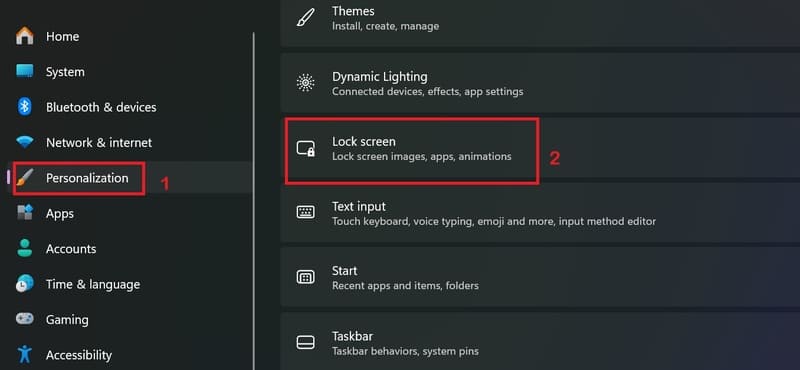
Step 2: Select Personalization and then select 'Lock Screen'.
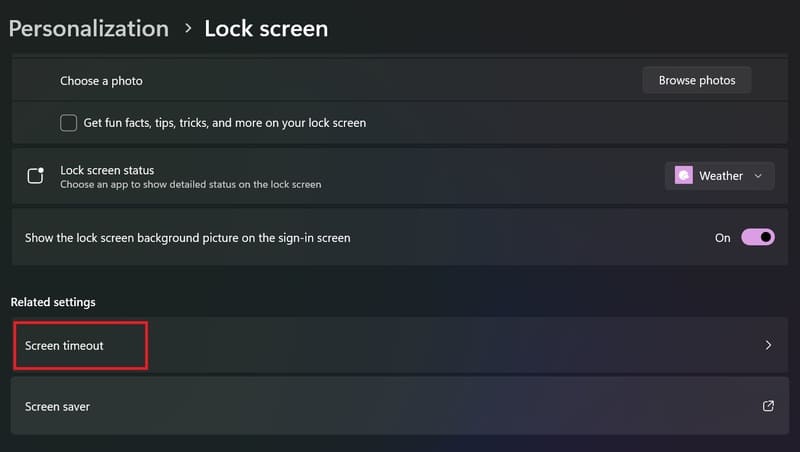
Step 3: Scroll down and select 'Screen timeout'.
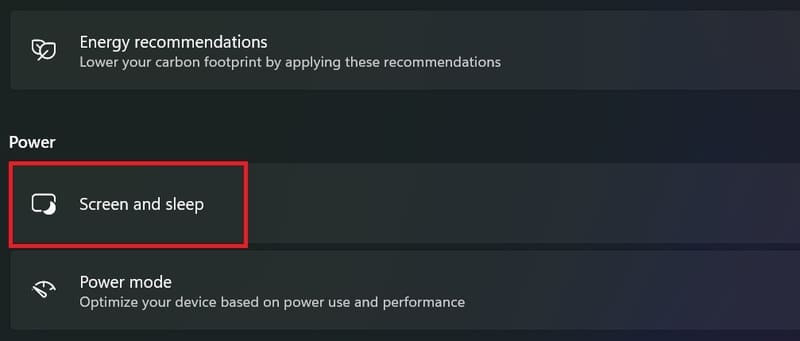
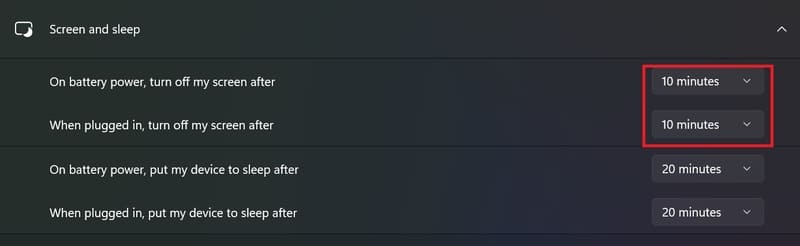
Step 4: Select 'Screen and Sleep'
Step 5: Set desired timeout
Note when installing
- Make sure the Sleep mode timeout is higher than the screen off time to avoid the computer going to sleep mode before locking the screen.
- Restart the computer after changing the settings to apply.
Epilogue
Job Set screen lock time Helps increase security and save energy for your computer. Please follow and follow the steps above to install it to suit your needs. Good luck!


