
Microsoft has officially killed WordPad on Windows 11 from Insider Preview Build 26020. This makes many users, especially those familiar with this simple text editor, feel regretful. Although there are many free and powerful alternatives like LibreOffice Writer, if you still want to use WordPad on Windows 11this article will show you how to restore it.
Instructions for downloading and installing WordPad
First, you need to download the WordPad application. There are two versions: for x86 64-bit computers (also known as x86_64 or amd64) and for ARM 64-bit computers.
If you're not sure what type your computer is, open Settings > Click the System tab and click About at the bottom. It will display “x64-based processor” for x86 64-bit or “ARM-based processor” for ARM 64-bit.
WordPad for x86 64-bit Windows 11
WordPad for ARM 64-bit Windows 11

Note:
- These files are WordPad backups from personal computers and have been tested for safety. The x86 version was taken from a gaming PC running Windows 11 build 22621.2861, and the ARM version was taken from a Parallels virtual machine running Windows 11 build 22631.2861.
- You can also extract files from another Windows computer by copying the Accessories folder from C:\Program Files\Windows NT\Accessories.
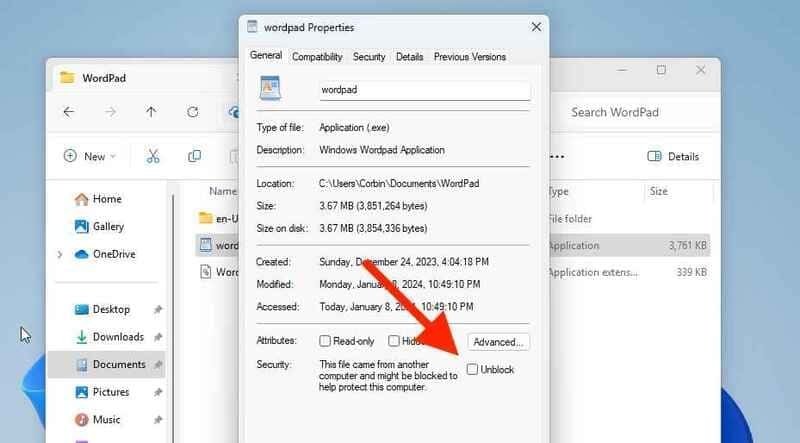
- If you encounter Windows Defender pop-ups about unrecognized applications, click “More Info” and then click “Run anyway”. To prevent these pop-ups in the future, right-click the WordPad application, select Properties, and click the Unblock checkbox.
See more: How to display the Show Desktop button on the Windows 11 taskbar
You can add WordPad to the Start Menu for quick access by creating a shortcut. Here's how:
Step 1: Right-click the Start icon on the taskbar and select “Run” (or press the Win + R key combination), then paste the following path:
%AppData%\Microsoft\Windows\Start Menu\Programs
Step 2: Then, confirm by clicking OK in the Run dialog box.
Step 3: Next, click the “New” button on the toolbar and select “Shortcut.”

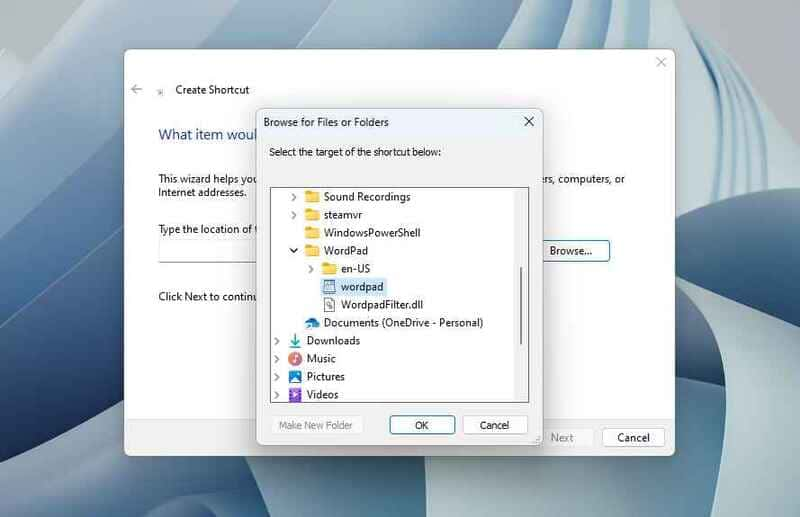
Step 4: In the Create Shortcut window, click the “Browse” button and select the WordPad application file in the folder where you saved it.
Step 5: Click “Next” and enter “WordPad” (or whatever name you want) as the name of the shortcut. Then click the “Finish” button.
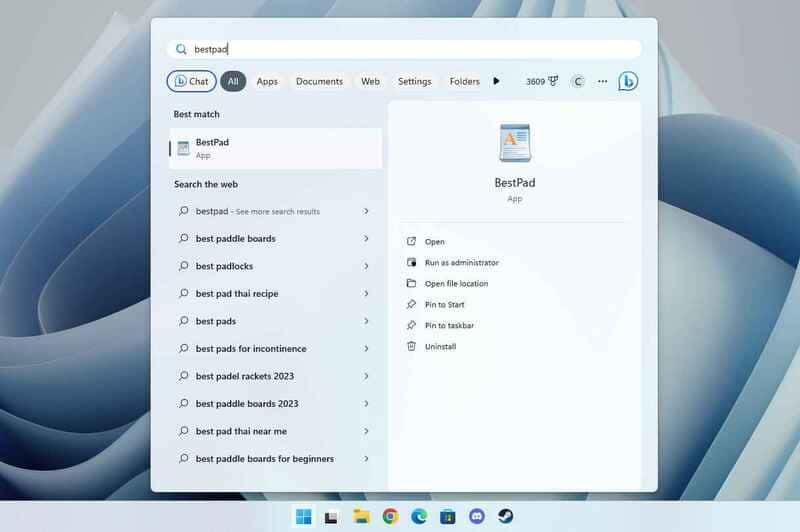
That's it! The WordPad shortcut will be added to the Programs folder and appear in your Start Menu.
See more: How to restore old Notepad on Windows 11
Conclusion
Reinstallation WordPad on Windows 11 It's actually simpler than you think. With just a few steps, you can continue using this familiar text editor. Please share with your friends if you find it interesting!


")


