
Are you annoyed with the Gallery item appearing in File Explorer on Windows 11? If you are not familiar or do not use this feature often, you can completely remove it from the left navigation bar. This article AnonyViet will guide you in detail on 2 ways Remove Gallery from File Explorer that anyone can do
| Join the channel Telegram belong to AnonyViet 👉 Link 👈 |
What is a Gallery?
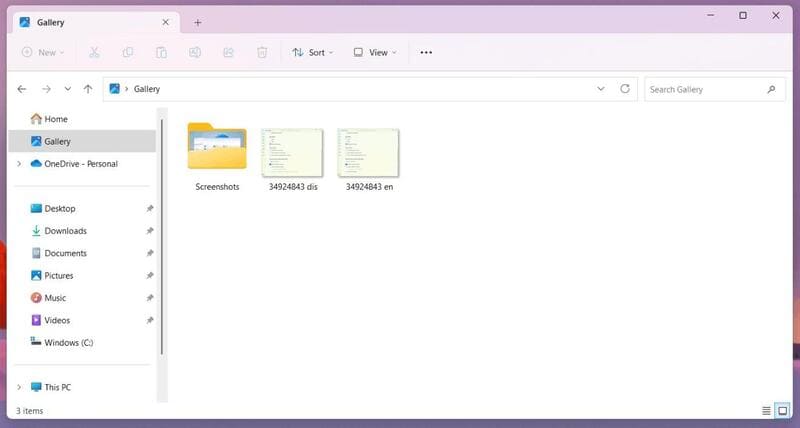
In the Windows 11 23H2 update, Microsoft introduced a new feature called 'Gallery' that is integrated directly into File Explorer. This feature provides a photo view similar to the default Photos app, with the following advantages:
- Preview photos with larger thumbnail sizes.
- Hide file names, making the interface more intuitive.
- Sort photos by time.
- Allows adding or removing folders from view.
While it's convenient for many users, some are more familiar with the Photos app or have their own way of managing photos. In that case, you can disable the 'Photo Library' feature completely using the instructions below.
See also: How Restore File Explorer ribbon interface on Windows 11
Things to remember before doing
To remove Gallery from File Explorer, you'll need to modify the Registry, which is a delicate operation that can cause serious system problems if done incorrectly. Therefore, you should only proceed if you have:
- Understand the steps.
- Back up your entire system or create a Registry restore point before you begin.
If everything is ok, let's get started!
Steps to remove Gallery from File Explorer Windows 11
Method 1: Through Registry
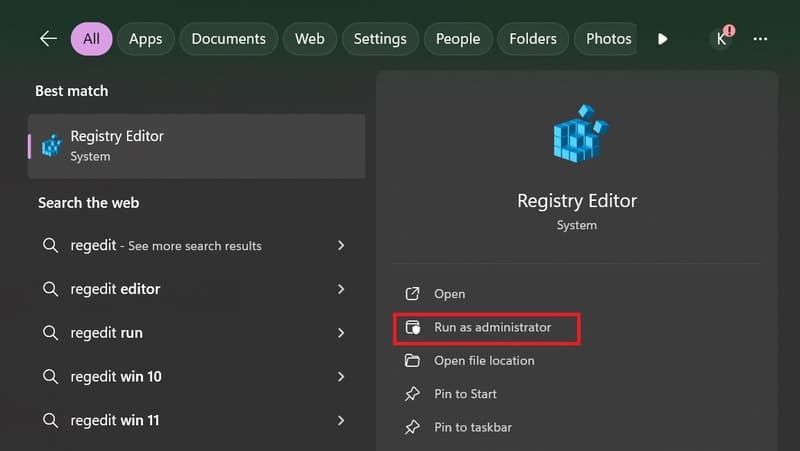
Step 1: Click Start on Windows 11.
Step 2: Search for 'regedit' and click 'Run as administrator' to open the Registry.
Step 3: Navigate to the following address:
HKEY_CURRENT_USER\Software\Classes\CLSID
Step 4: Right click on the 'CLSID' folder, select 'New' -> 'Key'
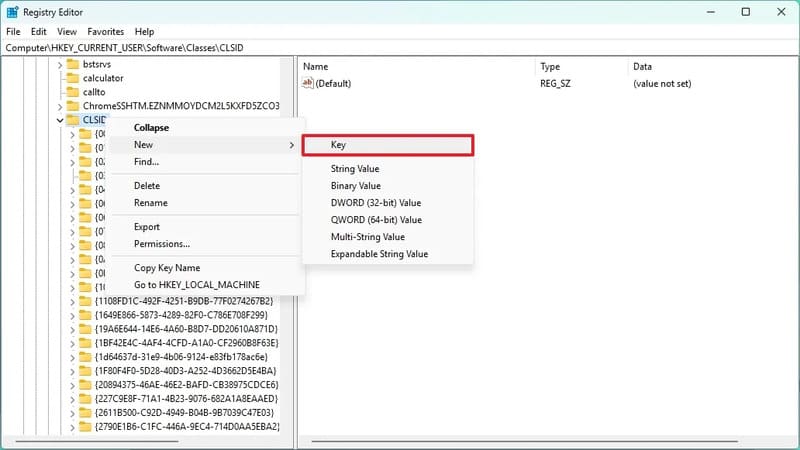 Select 'New' -> 'Key'
Step 5: Name the new key {e88865ea-0e1c-4e20-9aa6-edcd0212c87c} and press Enter.
Step 6: Right click on the newly created key, select 'New' -> 'DWORD (32-bit) Value'
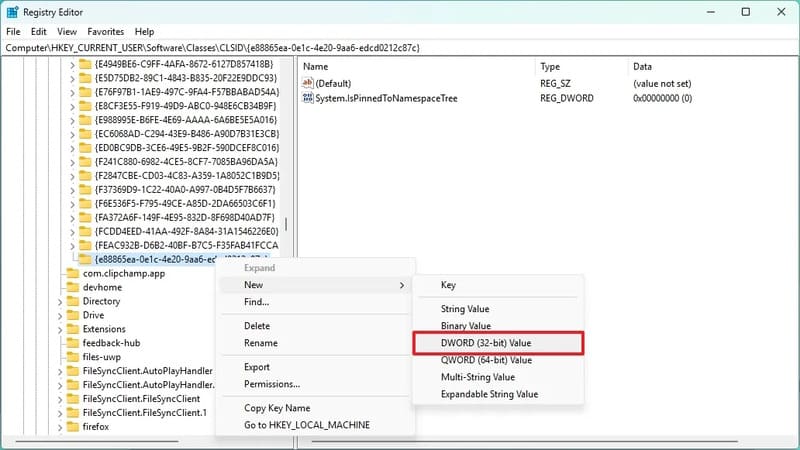 Select 'New' -> 'DWORD (32-bit) Value'
Step 7: Name the new value System.IsPinnedToNamespaceTree > Press Enter.
Step 8: Right click on the newly created DWORD value, select 'Modify'
Step 9: In the 'Edit DWORD Value' window, make sure the 'Value data' value is set to '0'.
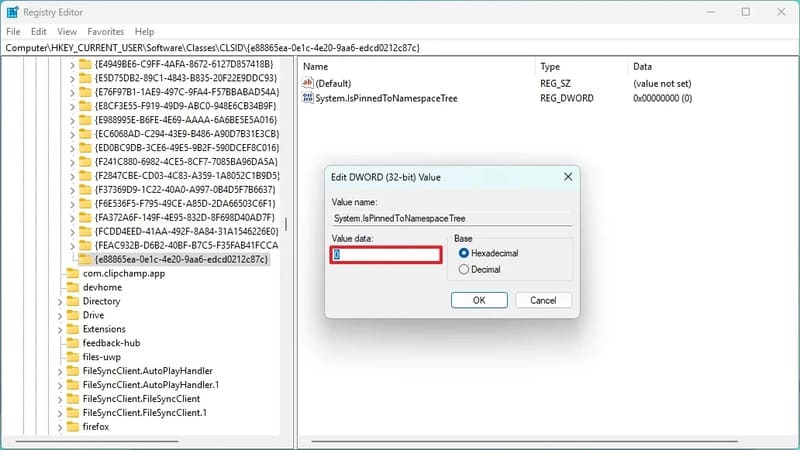
Step 10: Click 'OK' to save changes > Restart your computer.
Tips: You can also restart 'Windows Explorer' from the 'Processes' tab in Task Manager by clicking the 'Restart task' button.
After completing the above steps, the 'Photo Library' item will no longer appear on the left navigation bar of File Explorer when you restart.
How to Restore Gallery on File Explorer
If you want to restore 'Photo Library', follow the same steps again but in step 4, right click on the key {e88865ea-0e1c-4e20-9aa6-edcd0212c87c} and select 'Delete' to delete it.
Method 2: Through CMD
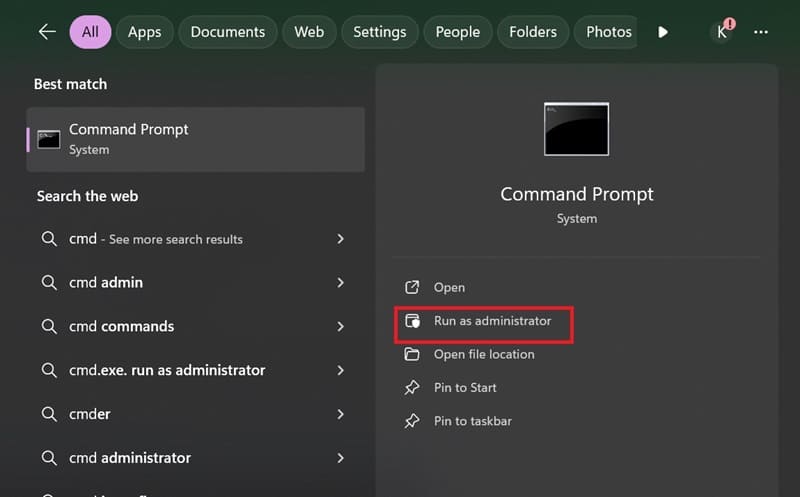
Step 1: Type cmd in the Search bar and select 'Run as Administrator''
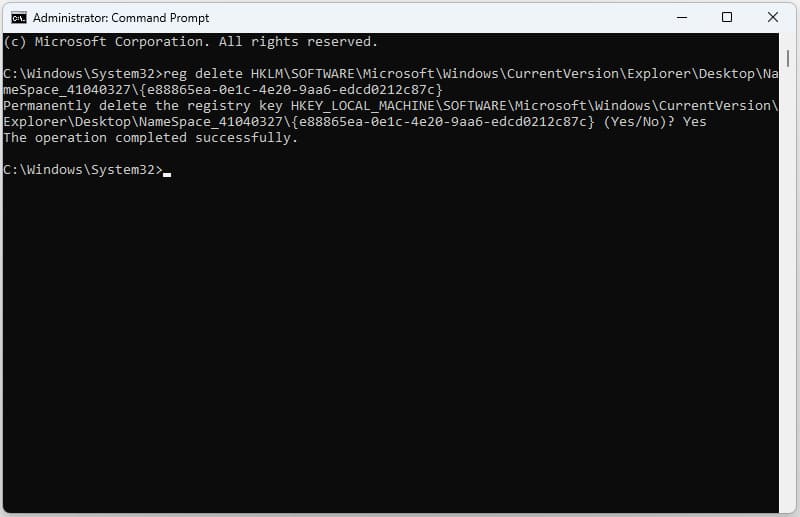
Step 2: Paste the following command and press Enter:
reg delete HKLM\SOFTWARE\Microsoft\Windows\CurrentVersion\Explorer\Desktop\NameSpace_41040327\{e88865ea-0e1c-4e20-9aa6-edcd0212c87c}
To restore the Gallery item, you also go back to Command Prompt and paste the following command and press Enter:
reg add HKLM\SOFTWARE\Microsoft\Windows\CurrentVersion\Explorer\Desktop\NameSpace_41040327\{e88865ea-0e1c-4e20-9aa6-edcd0212c87c}.
See also: How to remove Hidden File Virus in USB using CMD on Windows 10
Conclusion
Job Remove Gallery from File Explorer Whether or not depends on the needs and personal preferences of each user. Hopefully this article has provided you with useful information to make the right choice and optimize your photo management experience on Windows 11. Good luck!


