
Finally, the first Windows 11 error has appeared. This is one Reasons I don’t like Windows 11 there. Luckily this error is not too serious and I can guide you to fix it. Which of you has an error? 0x800F0950 When installing .Net Framework from 2.0 to 3.5, read on.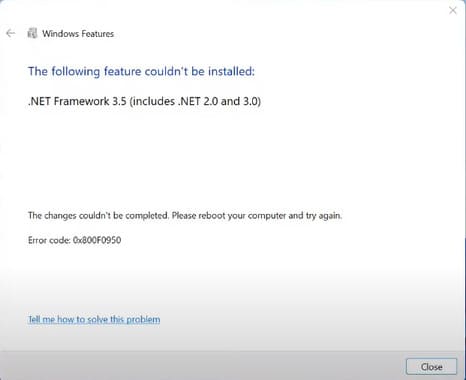
📢 Join the channel Telegram belong to AnonyViet
Update new articles, cool tools and IT tips fastest
Fix error of Windows 11 not being able to install .Net Framework 3.5
Because current Windows applications are all written on the .Net Framework platform, installing .Net Framework 3.5 is very important to play games or use software on Windows. On Windows 11 you Cannot install .Net Framework by going to Control Panel -> Programs -> Programs and Features and turning on -> Turn on Windows Feature on or off, so when installing you will get an error 0x800F0950 . Instead we have to set it manually through the command line.
This article will guide you to fix the error 0x800F0950 when installing Windows 11 .Net Framework 3.5.
First, right-click the Windows 11 ISO file and select Mount. If you still keep the Windows 11 installation file, you do not need to download it. If you don’t have the Windows 11 installation file, then download here.
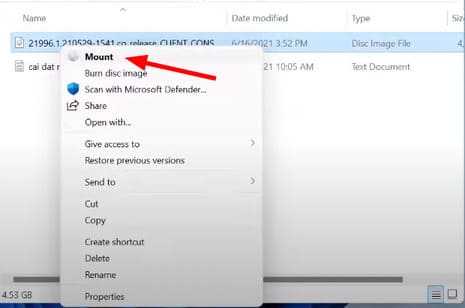
Please pay attention to the Mount drive symbol. My Mount drive is drive E.

Next, open cmd with admin rights by pressing Start Menu, entering cmd and selecting “Run as administrator”.
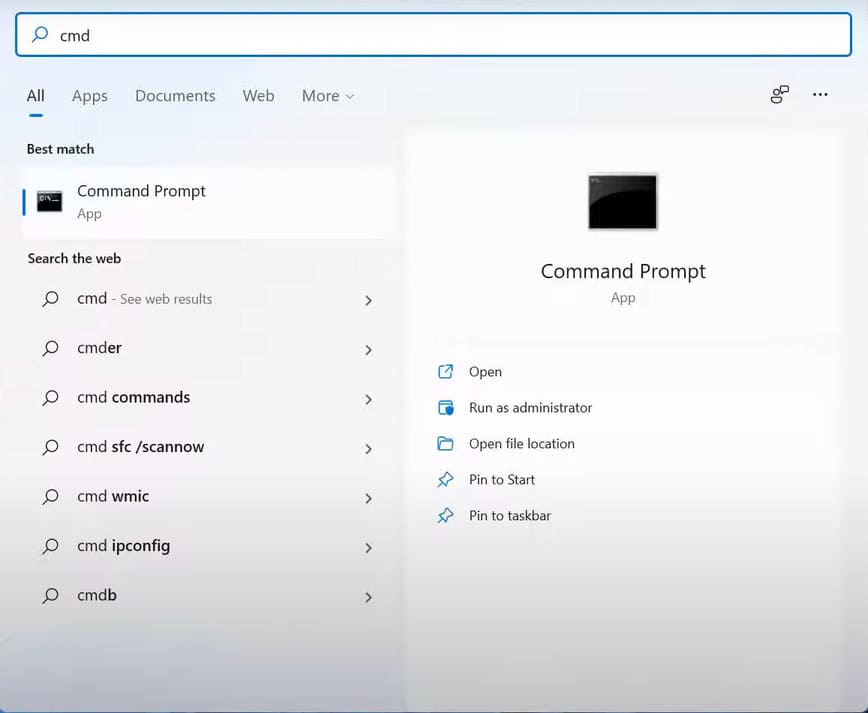
Then you enter the following command: Dism /online /enable-feature /featurename:NetFX3 /Source:(drive letter):\sources\sxs /LimitAccess
Replace (drive letter) to your Mount drive letter. Drive example Mount Mine is drive E:.
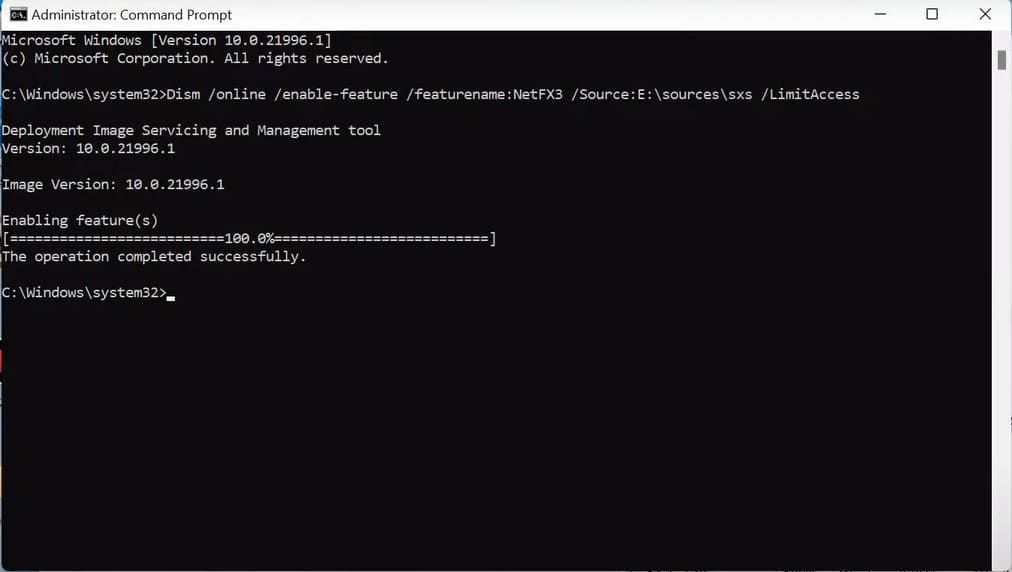
So you have successfully fixed the first Windows 11 error. Wishing you a successful installation of .Net Framwork. Also, if you want to know more new features of Windows 11 then read on this article okay.
Frequently asked questions
I got error 0x800F0950 when installing .NET Framework 3.5 on Windows 11. How to fix it?
You need to use the command line Dism /online /enable-feature /featurename:NetFX3 /Source:(drive letter):\sources\sxs /LimitAccessreplace (drive letter) equal to the drive letter containing the sources folder of the mounted Windows 11 ISO file.
I don’t know how to mount Windows 11 ISO file.
Right click on the Windows 11 ISO file and select “Mount”. The system will automatically mount the ISO file into a virtual drive.
What permissions do I need to run the command line with?
You need to run the cmd window with administrator rights (Run as administrator).