
How to create zoom effect from satellite brings an intuitive and extremely impressive perspective to any project. Thanks to that, you can easily attract the attention of customers or the exam board. This process is actually not as complicated as many people think. Let’s go together AnonyViet Find out how to do it right below.
📢 Join the channel Telegram belong to AnonyViet
Update new articles, cool tools and IT tips fastest
Benefits of knowing how to create zoom effects from satellites
In daily work, especially for students working on architectural projects or those specializing in running real estate projects, presenting geographical locations in an attractive way is extremely important. Instead of just taking a flat and dry map photo, we can make the presentation much more lively.
Thanks to that, viewers will have the most realistic and overview of the area you want to introduce. To do this, we will use an extremely powerful tool called Google Earth Studio. This is a platform that allows you to create animated movies based on our huge 3D map data Google.
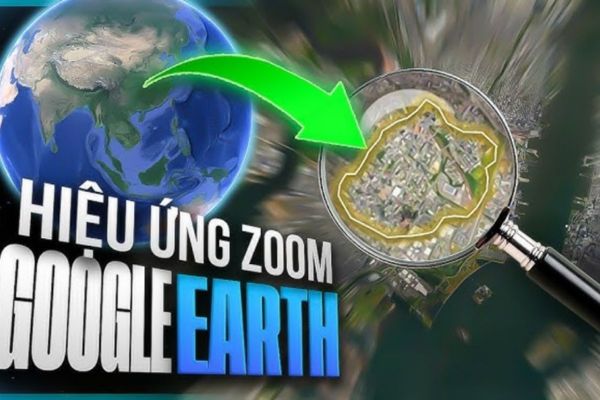
Instructions on how to create a zoom effect from satellites
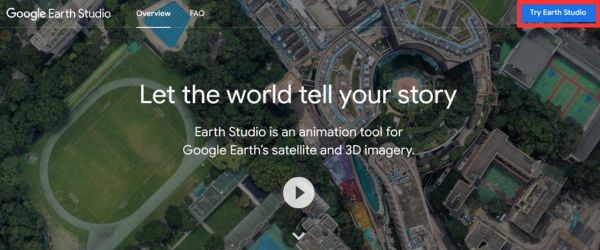
Step 1: First, open your web browser and access it Google Earth Studio. Once you reach the homepage, you will see a very nice introduction interface. At this point, you just need to press the button Try Earth Studio to get started. The system will transfer you to the main workspace.
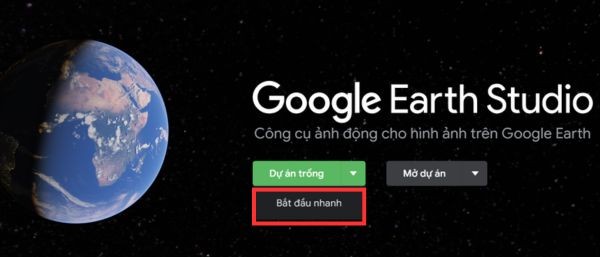
Step 2: When the working interface appears, a notification panel will appear for you to choose how to start. However, don’t rush to click the start button right away. Instead, click the down arrow and select the item Get started quickly.
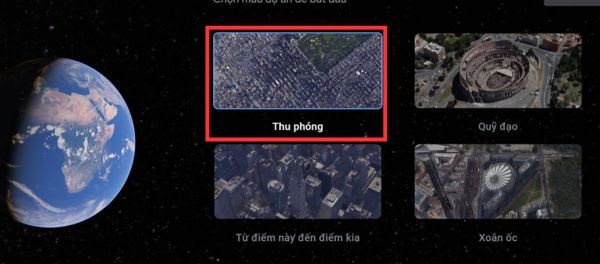
In this part, the system has prepared many different camera motion models for you to choose from. To suit our purposes, let’s choose a template Zoomthen press the button Begin to move on.
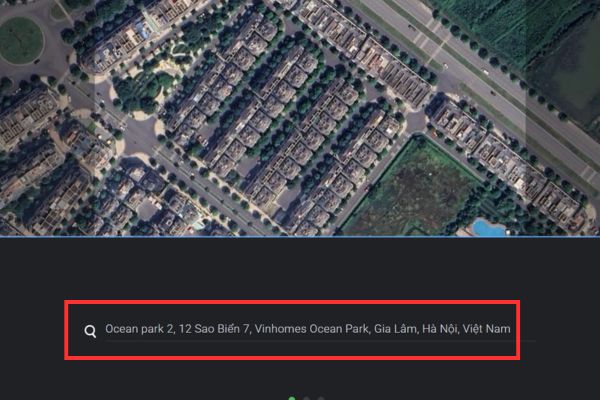
Step 3: A search bar will appear, please enter the exact name of the place or area you want to introduce. For example, you can type Ocean Park urban area. The system will automatically search and display that area. Next, use the mouse to re-align the frame so that the project location is at the best angle, then press the button. Continue.
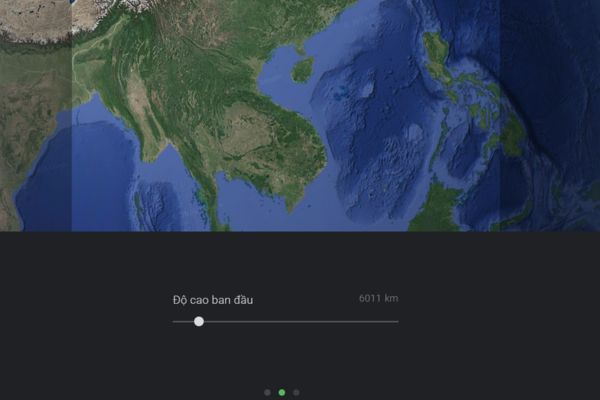
Step 4: In this step, we will set the camera’s starting point. The system will let you choose the initial altitude when viewed from space. If you find the camera is positioned too far from the earth, you can drag the slider to lower the height a bit. Thanks to that, the first frame will cover the entire S-shaped landscape of Vietnam before rushing straight down to the project location. Once you are satisfied, click Continue.
Next, you need to set the duration for the video. Normally, you should leave it for a while 10 seconds. This amount of time is just enough to create a smooth movement, not too fast to cause dizziness and not too slow to cause boredom. Furthermore, with a duration of 10 seconds, it will be much easier to bring the video to cut and edit on other software later.
Step 5: After completing the basic settings, the system will create a time ribbon for you to preview the entire movement. If you want your video to look more professional and have more depth, you can add a little more depth to the keyframes.
Specifically, move the timeline bar to the last point of the video, then add a frame anchor point. Next, use your mouse to gently rotate the camera angle around the building. With just one gentle rotation like that, your video will have an extremely eye-catching flying effect around the project.
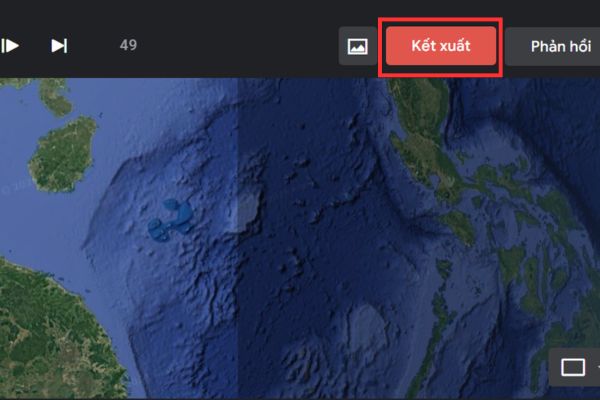
Step 6: Once you are completely satisfied with all the movements, the final step in creating a zoom effect from a satellite is to export the file. Find and click the button Rendering in the corner of the screen.
Next, make sure you have selected the export format as MP4 videos for easy use on all platforms. Finally, press the button Submit.
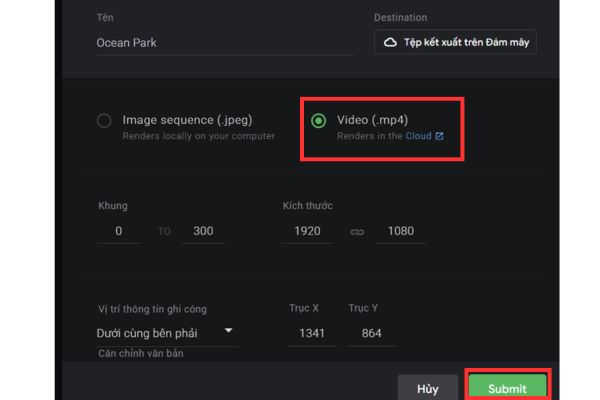
At this point, you don’t need to hang up and wait. Image processing will be performed entirely on the cloud platform by Google’s server system. Therefore, your computer will not lag or waste resources. It only takes about a minute, Google will complete the rendering and automatically send one notification email accompanied by live video to your Gmail inbox. All that’s left is to open the email, download the video to your computer and insert it into presentations, projects or use it to run marketing ads.
Conclusion
Hopefully through this article, you have mastered it How to create zoom effect from satellite easily. Therefore, don’t hesitate to experiment with different locations to create unique videos. If you find it useful, please share this tip with your friends and colleagues.
Frequently Asked Questions (Q&A)
1. In what format will the video be saved after creation?
The system allows you to export files in MP4 format, which is very popular and easy to use on any device or editing software.
2. How long does it take to process and export videos?
Processing time is very fast, usually only taking about 1 minute because Google uses cloud-based rendering technology.
3. How do I receive the finished video?
After the system finishes processing, the video will be sent directly to the Gmail account you used to log in. You just need to open the mail and download.