
OneDrive is Microsoft's cloud storage service built into Windows 10 and 11. However, not everyone needs to use OneDrive, and sometimes you may want to completely uninstall it from your system. This article will guide you in detail how uninstall OneDrive on Windows 11 using two methods: using Command Prompt and the Settings app.
| Join the channel Telegram belong to AnonyViet 👉 Link 👈 |
Instructions for uninstalling OneDrive from Windows 11
Method 1: Use Command Prompt
WinGet is a command line tool that makes the process of finding, downloading, installing, updating and configuring applications on your computer easier and more automatic. Although it was developed primarily for programmers, anyone can use it to install applications like OneDrive, Microsoft Teams, and VirtualBox.
To uninstall OneDrive via Command Prompt, follow these steps:
Step 1: Open Start.
Step 2: Search for Command Prompt, right-click the result and select 'Run as administrator.'
Step 3: Enter the command below to see the list of applications that can be uninstalled using WinGet:
winget uninstall
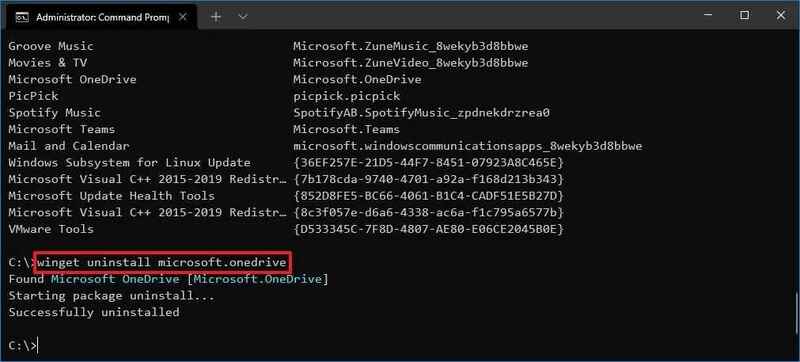
Step 4: Enter the following command to remove OneDrive and press Enter:
winget uninstall Microsoft.OneDrive
Once completed, OneDrive will be removed from your system.
See more: How to share games on Steam with friends and relatives
Method 2: Use Settings
To delete OneDrive via Settings, follow these steps:
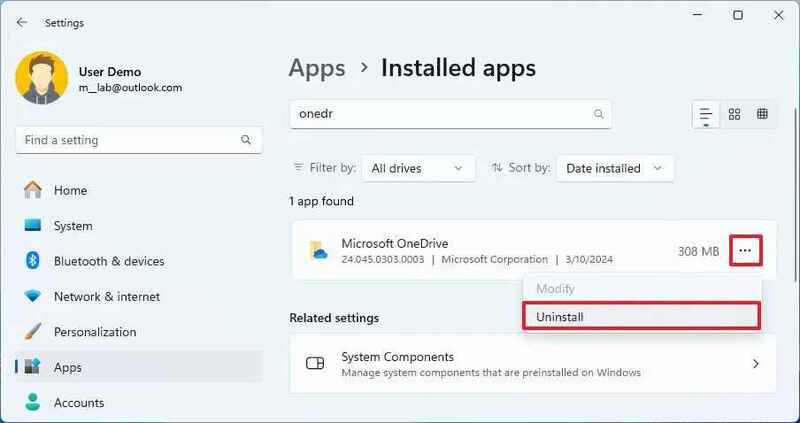
- Open Settings on Windows 11.
- Select Apps.
- Go to Installed apps.
On Windows 10, do the following:
- Navigate to Settings > Apps > Apps & features.
- Locate Microsoft OneDrive and select the three-dot icon next to it.
- Select 'Uninstall.'
- Select Uninstall again to complete the uninstallation.
Once completed, the app will be uninstalled and your Microsoft account will be unlinked from your device.
Note:
- Uninstalling OneDrive will not delete files that have been synced to the cloud. You can still access these files through the OneDrive website or the OneDrive app on other devices.
- Recently, the option to delete OneDrive via the Settings app was added, previously uninstallation could only be done via WinGet.
Instructions for reinstalling OneDrive on Windows 11
If you want to reinstall OneDrive after removing it, you can do so in two ways: using Command Prompt (WinGet) or downloading the installer from Microsoft's website.
Method 1: Use Command Prompt
Step 1: Open Start on Windows 11.
Step 2: Find Command Prompt, right-click and select 'Run as administrator.'
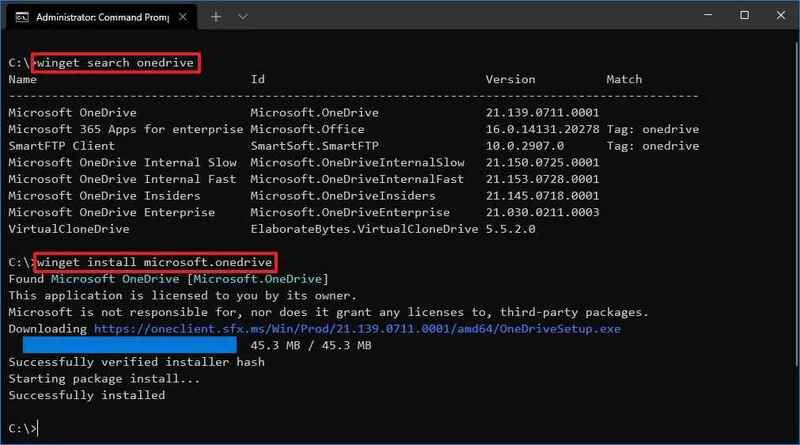
Step 3: Enter the following command to find the application:
winget search OneDrive
Step 4: Then, use the following command to install OneDrive:
winget install Microsoft.OneDrive
Once completed, WinGet will automatically download and install OneDrive.
Method 2: Through the website
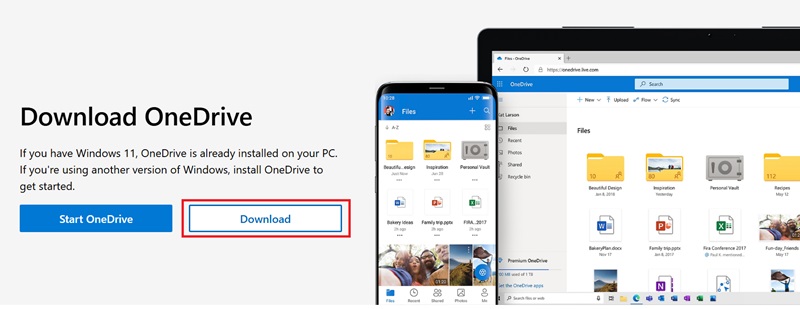
Step 1: Enter OneDrive website to download > Click the 'Download' button to download the installer to your device.
Step 2: Start the installation file and proceed with the setup process.
After completing the steps, OneDrive will be installed on your computer and you can sign in with your Microsoft account to start using it.
See more: Monitor network speed on Taskbar with TrafficMonitor
Conclusion
Thus, the uninstall OneDrive on Windows 11 is not as complicated as you think. You can choose the method that suits your needs and technical knowledge to completely remove OneDrive from your system. Wishing you a successful application!


