
Right -click menu (Context menu) on Windows is an indispensable tool in the process of using the computer daily. However, over time and with installation of multiple software, this menu can become bulky and slow. This article Anonyviet will guide you 2 effective methods to Add applications on the right mouse menuhelp your computer operate faster and more effectively.
|
Join the channel Telegram belong to Anonyviet 👉 Link 👈 |
When using Windows, each installed application can add separate options to the right -click menu. This gradually makes the menu overload with many unnecessary options. The consequence is:
- The time for displaying the menu when right click becomes slow
- The interface becomes messy, difficult to find the necessary options
- System resources.
See also: Instructions to update Windows 11 24h2 right away
Easy Context Menu is a free tool developed by Sordum, helping you customize the right -click menu quickly and simply. With just a few clicks, you can add or delete the items in the menu as needs, helping the menu become more neat.
Step 1: Load Easy Context menu From the official developer's website.
Step 2: Extract the zip file in any position on the computer.
Step 3: Run Easy Context Menu. Because this is a Portable application, you don't need to install it.
Add new items to the right -click menu:
- Select the items you want to add to the menu.
- Click the mouse icon with a plus (+) sign to save change.
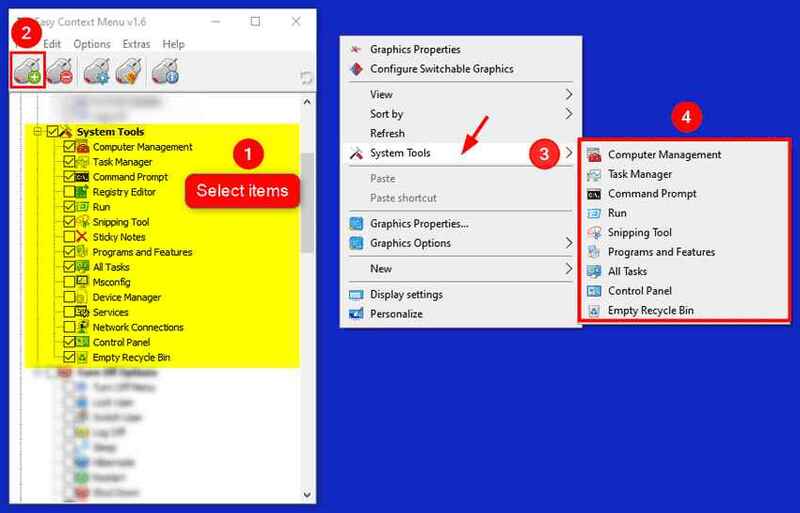
For example: As in the illustration above, I created a new menu item called “System Tools” containing many different applications.
Delete the items from the right -click menu:
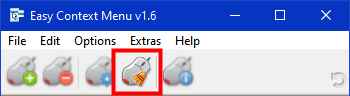
- Click the icon ContextMenu Cleaner.
- Select the items you want to delete.
- Click Refresh In the right frame to apply changes.
Method 2: Use Shellexview
Shellexview is a free tool developed by Nirsoft, allowing you to view and manage the shell extension installed on your computer. These extensions are responsible for adding options to the right -click menu. With Shellexview, you can disable unnecessary extensions, thereby helping the menu become more compact.
Step 1: Load Shellexview From the official website of Nirsoft.
Step 2: Extract the zip file into the optional folder on the computer.
Step 3: Run Shellexview. Because this is also a Portable application, you don't need to install anything else.
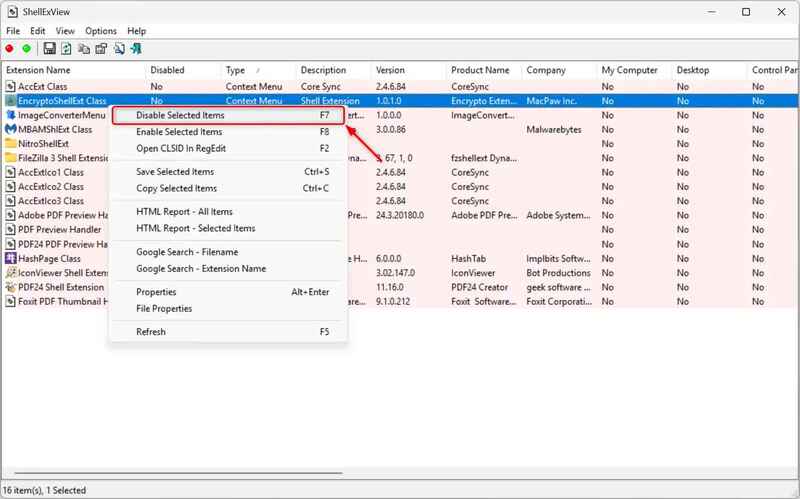
Step 4: First, to avoid disabling the important components of Windows, click the menu Options > Mark selection Hide all Microsoft Extensions. This will only display the extensions from third -party software.

Step 5: In the main list, please classify the extensions by Context menu (in the “type” column)
Step 6: Select the item to delete from the right mouse menu> Right -click> Select Disable Selected Items > Confirm by clicking Yes.
Note: Unlike Easy Context Menu, changes in Shellexview need to restart Windows Explorer to take effect. To restart the Explorer, you do the following:
- Method 1: Go to the menu Options → Select Restart Explorer
- Method 2: Use shortcuts Ctrl + E
That's it! Now you know how to add the application of the Windows right -click menu with Shellexview.
See also: How to check the Bluetooth version on Windows 11/10
Conclusion
Job Add applications on the right mouse menu Not only helps computers operate faster but also creates a neat and effective working environment. Depending on the level of proficiency, you can choose one of the two methods above to achieve this goal. For beginners, Easy Context Menu is the safest and most effective choice. For experienced users, Shellexview or direct editing will allow more thorough control of Windows right -click menu.


