As you know, tilemap is a surface that moves when the character in your game moves. We are familiar with this concept here Lesson 2 Already. In this article, I will guide you to get acquainted with Autotile. The Autotile feature helps us automatically create tilemaps for the game without having to set them up manually. Let's get started.
| Join the channel Telegram belong to AnonyViet 👉 Link 👈 |
We can summarize how to do it as follows:
1. Select TileMap
2. Open TileSet from the inspector
3. Expand the Child you want to use as autotile
a) You should create a TileSet with a single Sprite holding the entire sprite page, instead of creating a separate Sprite node for each tile.
4. In the expanded view, check the “Autotile” box.
5. Inside the output box (at the bottom of the editor), you will see several tabs, one of which is called Autotiles. Select that tab to enter Auto view.
6. Now you will see several tabs: Icon, Bitmask, Collision, Occlusion, Navigation and Priority
You can see detailed instructions below:
How to create AUTOTILE
The first step is to create a tileset or you can also use the same tileset. The tileset allows you to add multiple images but here I created a new project so I will refresh it.
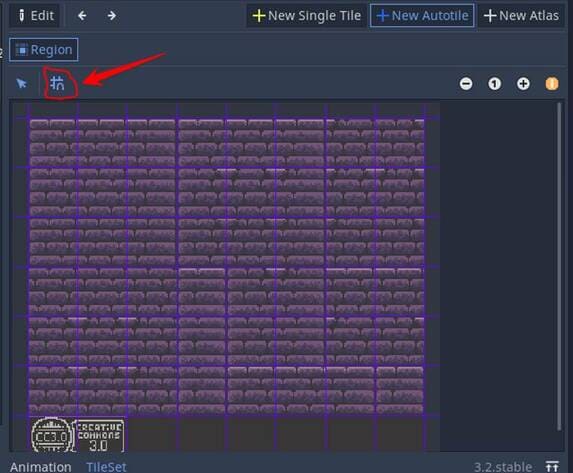
Click Autotile and then turn on the one in the image
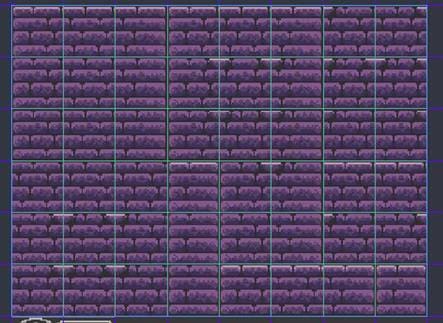
Then pull it close to the photo
Continue in the Selected File section
Tile Mode : AUTO_TILE
AutoTile bitmask : 3×3(minimal)
Next you choose Bitmask
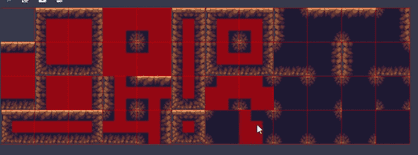
And paint the middle parts red for me, don't paint the outside parts but use them as a surface for the player to stand on
Like this:
Or like this:
And next is set Collision give it too
Setup is complete
And when you go outside the set, when drawing a tilemap, it will automatically create it for you
So you've saved a little manual time by not having to create a moving surface by hand. The Autotile feature will automatically help you perform repetitive installation operations.


![[Lập Trình Game] Instructions for using AutoTile when designing games with Godot [Lập Trình Game] Instructions for using AutoTile when designing games with Godot](https://anonyviet.com/wp-content/uploads/2020/04/image008-1.png)


