Cache memory or cache helps the process of accessing or processing data faster. Sometimes this memory causes errors and slows down the system because the data is too old or too much. Therefore, you should occasionally clean the cache to avoid minor errors arising. This article will guide you on how to clear cache on Windows 10.
| Join the channel Telegram belong to AnonyViet 👉 Link 👈 |
Clear temporary cache with Disk Cleanup
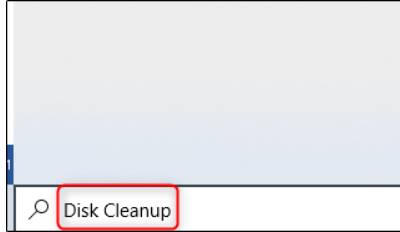
To clear the temporary cache of files, open the disk cleanup tool by clicking the Windows button in the bottom corner of the screen and typing Disk Cleanup.
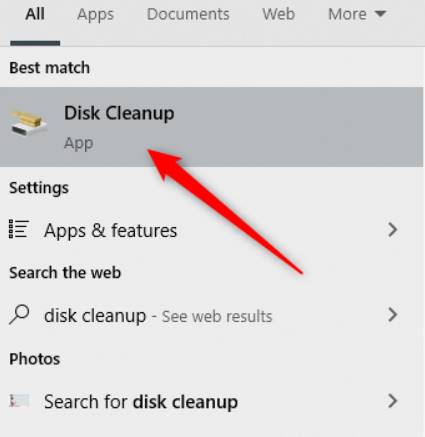
Select the icon Disk Cleanupthe application will appear in Windows search results.
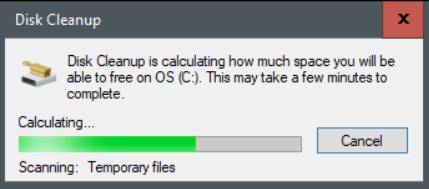
Once selected, Disk Cleanup will start calculating the space you can free on the drive containing the operating system (C:).
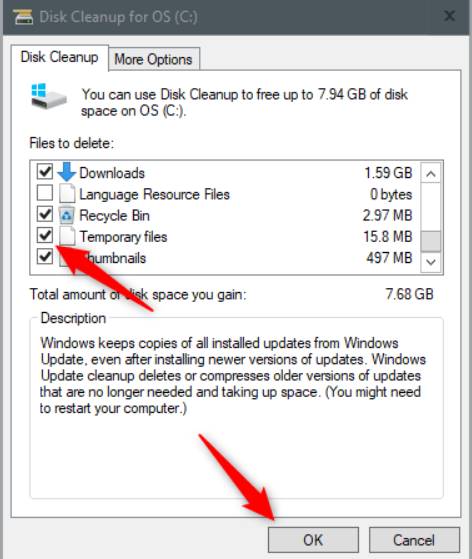
The Disk Cleanup for OS (C:) will appear. Scroll down and check the box next to it “Temporary Files”. You can also choose to delete files from other locations, such as Trash or Downloads.
Once you've selected what you want to delete, click Clean Up System Files.
Once Windows calculates how much storage will be freed, you will be returned to the same page. This time, select the files and locations a second time that you want to delete and then click OK. (You can reclaim an additional 10Gb of disk space by delete the Windows.old folder by the way)
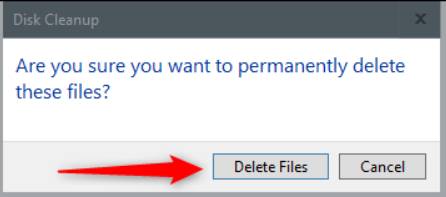
A notification will appear, prompting you to confirm that you are sure you want to permanently delete these temporary files. Select Delete Files.
Disk Cleanup will now clean up unnecessary files on your machine. This process may take a few minutes.
Clear DNS cache
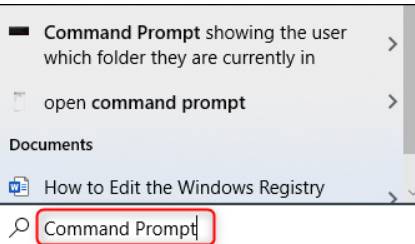
If you want to clear DNS cache on Windows 10, open Command Prompt (CMD) with Admin rights. To do this, click on the button Start type cmd to find this command line application.
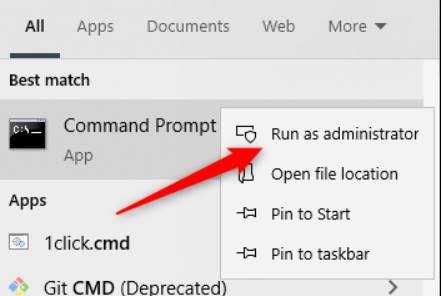
The “Command” app will appear in the search results. Right click on it and select it Run As Administrator from the menu.
Next, run the following command:
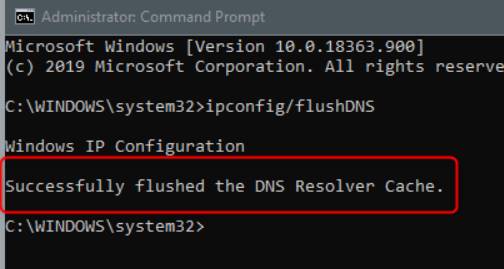
ipconfig /flushDNS
You will receive a notification letting you know that you have successfully cleared the DNS Cache.
Clear Windows Store cache
To clear the Windows Store cache, open Run by pressing Windows + R on your keyboard. The Run window will appear, type the command WSReset.exeinto the dialog box, then click OK.
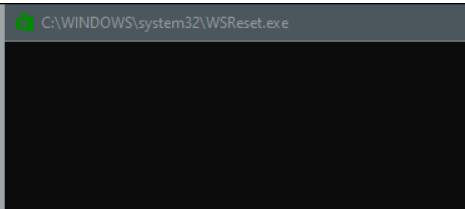
Once selected, a black window will appear. There's nothing you can do here, so just wait a moment while it clears the cache.
When the window closes, the cache is cleared and the Windows Store launches. You can close the Windows Store app if you want.
Clear location cache (location)
If authorized, Windows 10 will save the locations you have visited just like Google Maps. To ensure privacy and free up memory, you can delete or turn off the location saving feature as follows:
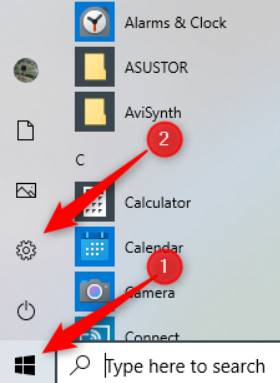
To clear your location cache, click the Windows icon in the lower left corner of your screen to open the Start menu. Then, click on the icon “Gear” to install Windows.
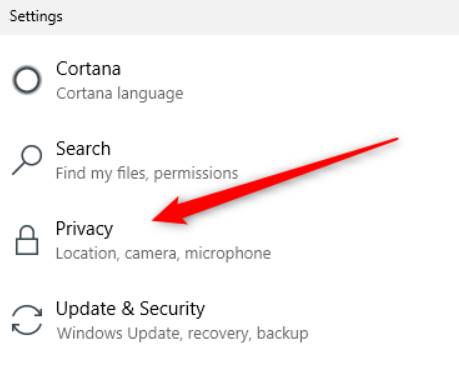
Window Settings will appear. Scroll down and select Privacy.
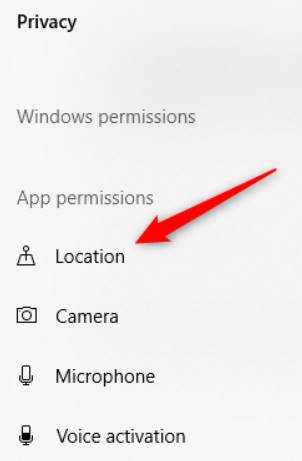
You will now be in the group Privacy. In the left pane, select LocationFound in App Permissions.
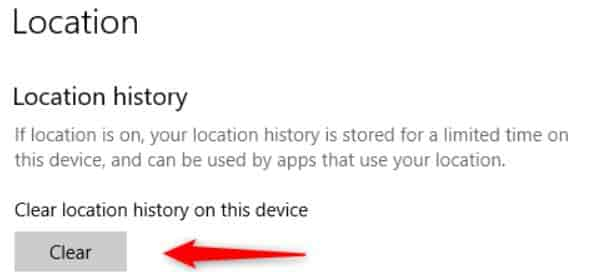
In the next window, scroll down until you find the group Location History. Here, select the button Clear in section Clear Location History On This Device.
Also you can use Spydish to turn off unnecessary functions to help Windows stay secure and work faster.


