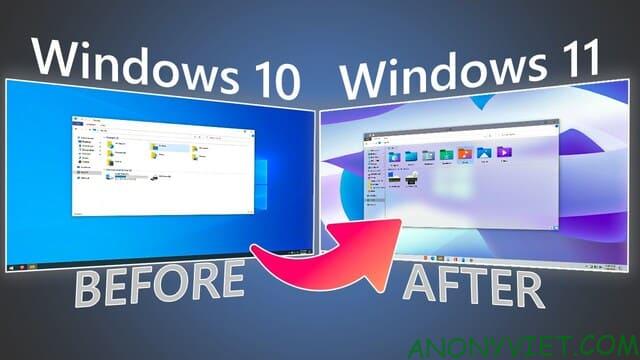
Unlike what Microsoft claimed in 2015, Windows 10 is not “the final version of Windows”. Windows 11 is coming, and in addition to a collection of new features, it will also have a much-refined interface. Today I will guide you to change the Windows 10 interface to Windows 11 without having to install Windows 11.
| Join the channel Telegram of the AnonyViet 👉 Link 👈 |
I know that many people have downloaded Windows 11 to experience the new windows interface. However, you don’t need to download the leaked, unstable and unsupported version of Windows 11 to enjoy the new look. Instead, I will guide you to turn Windows 10 into Windows 11 in this article.
How to change the Windows 10 interface to Windows 11
Create a new interface
Windows 11 includes a bunch of new interface-related tweaks. They make Microsoft’s next operating system look cleaner and better than Windows 10. You can also change the wallpaper to windows 11 but it will only change the wallpaper.
Although it is not possible to turn windows 10 into windows 11 completely, tweaking some interface elements can also give us a more immersive experience.
Those factors are:
- Windows themes.
- Icons.
- Taskbar.
Note about compatibility: The tools I’m using will be compatible with Windows 10 Builds 1903-21H1. Therefore, you should avoid trying these tools on other versions of Windows 10, as they may damage your operating system.
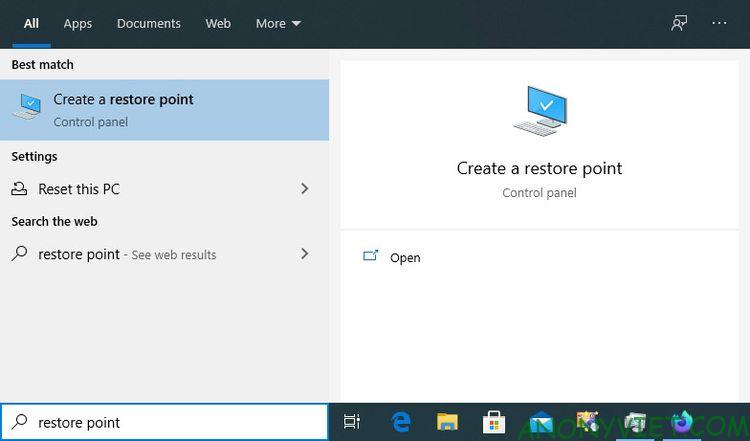
We recommend that you back up your operating system before using the tools below, even if you are using a compatible version. Take a full backup, or at the very least, create a system restore point before you begin.

Change Windows 10 theme and icon to Windows 11
By default, Windows 10 has only a handful of themes, with light and dark variations for two of them. You can download more themes from the Microsoft Store, but they often don’t look as good as the themes on sites like DeviantArt. However, Windows 10 does not allow you to install such themes unless you use 3rd party software.
Two software UltraUXThemePatcher and SecureUxTheme will help you do that. In this article, I will use SecureUxTheme because it is newer and more secure.
Access SecureUxTheme’s GitHub pagescroll down to the Download section and download the Latest releases.

Create an account at DeviantArt’s website to download themes. Then download the theme Windows 11 for Windows 10 by niivu. For ease of use, create a new folder with a name like “Win11_theme” and save all the files we are going to use there.
Go to DeviantArt and download it iivu’s Windows 11 Icon Theme and save it to the “Win11_theme” folder.

Extract both files to the newly created folder.

Unfortunately, SecureUxTheme only supports windows themes, not icons. So you’ll need another tool to do it, and one of the most popular is 7TSP (short for Seven Theme Source Patcher). You will also find it at DeviantArt.
Open the “Win11_theme” folder. Next, right click on the SecureUxTheme file and select Run as Administrator. Leave everything as it is and click Install on the right.
Next choose “Yes” to restart the PC.

After reboot, go back to “Win11_theme” folder. Inside the theme’s folder you will find the folder Windows 10 Themeswhich includes 2 folders that are 2 different theme versions.
One version comes with a regular taskbar and the other has a thick taskbar. Copy any files inside the version you like (press CTRL + A and CTRL + C).
Next, paste all those files into the path C:\Windows\Resources\Themes.

Run SecureUxTheme again as admin and this time you should see the new theme you added. Choose the variant you prefer (dark or light, with or without the address bar).
Select Patch and apply to use the selected theme.

Your screen will lock for a few seconds and Windows will prompt you to wait while the new theme is applied. When done, the new theme will be used on all windows. You can now close SecureUxTheme.
Extract 7TSP and select the file with the extension “ee”, press F2 to rename it and add an “x” between the “ee” to change the file extension to “exe” and open the renamed file.

Access folder “7TSP Themes for Windows 10 1903 and higher“.
There are many different variations of icon themes. But to use it, you need to remove the “.remove” extension, including the dot.
Go back to 7TSP and click Add a Custom Pack. Select the icon theme you want to install and click Start Patching (at the bottom right).

Finally, restart the computer to apply the changes.
A basic hybrid between Windows 10 and Windows 11 has appeared. But we can do even better.

Center icon on taskbar
To center the icon on the taskbar, I will use the TaskbarX software.
Download the “portable” version of TaskbarX. The software will not need to be installed, so you can extract the downloaded folder and create a shortcut TaskbarX Configurator on the Desktop.

Run TaskbarX Configurator and click Apply to use the software defaults. The icons will be centered on the Taskbar. However, unlike on Windows 11, the Start button and system tray will still be located at the top of the taskbar.
If you want, you can change the options of TaskbarX to your liking. For example, change taskbar color, align icons left or right, etc.
Note: The latest version of TaskbarX, 1.7.0.0 at the time of writing, does not work as expected. The icons on the Windows 10 taskbar remain in place. Version 1.6.9.0 works better, so I recommend you to use this version.
Customize the new look for Windows 10
The above tweaks will make Windows 10 more like Windows 11. It’s not quite like Windows 11, but it also gives you a more novel feel. You also decorate the new look with Rainmeter.


