Ever wanted to turn your handwriting into a font and use it on your computer? I guess many of you have thought about this already, but don’t know how. So, in this article, I will guide you to know your handwriting into your own font on your computer. You can use this own font to copy and paste it, but this way just needs a little attention and you will find it right away, be careful.
| Join the channel Telegram of the AnonyViet 👉 Link 👈 |
It makes a lot of sense to use your own handwritten font to write greeting cards for birthdays, teachers, parents or any other special occasion. But if you have bad handwriting, try to make it a little nicer.
How to turn your handwriting into your own Font
Here are quick steps to turn your handwriting into a free font.
- Visit the website MyScriptFont.com
- Sign up for an account
- Download the print form
- Print the template on paper
- Fill in that sample letter
- Scan or take a picture of the finished sample to your computer
- Upload a photo, name the font and choose a format
- Download your font
- Install fonts on your computer
- That’s it, now use your own handwritten font!
Handwritten font website and free templates
First, go to the website MyScriptFont.com create Account. Click Start App to start creating Fonts with your own writing.
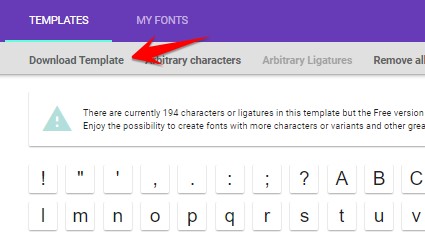
Friend Download the Font . character filling form printable as PDF or PNG. To choose Vietnamese, go to Menu Languages scroll down select Vietnamese, that press Download Template.
After selecting the print template, then print it on paper. But if you don’t have a printer, you can download it to your phone or tablet, and then use a stylus or your finger to draw your own font. It’s a bit squiggly, but that’s literally handwriting.
If you use a printer, I recommend that you print dozens of samples to try again and again until you are satisfied.
Fill in the printed form
Note, you need to use a black brush. Which kind of ink head is a bit big.
I only have this double-ended whiteboard marker, so I’ll write 2 copies. 1 copy is large and the other 1 uses the small ink tip of the brush.

Any ink stains outside the specified square will be cut off in the font processing step. To be honest, I also wrote 4 copies, it was quite tiring to get the final result, very tired.

Scan or take a photo of the completed text form on the computer
Once you’ve completed your form, scan it to your computer, I’ll use my phone to take a quick picture
If you have a scanner at home, just feed the sample straight into the scanner. The parameters can be adjusted as shown in the image below.
- Black & White
- 300 DPI
- US Letter
- Name your own font
- JPEG format

Upload an image, name the font, and convert it to your own font
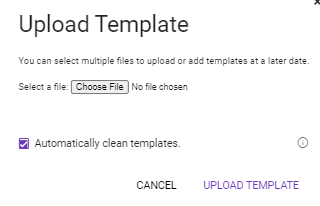
Once you have a character image of your own font, you need to return to MyScriptFont.com and go to Menu My Fonts -> Upload Template to upload an image file of your handwriting and name the font you like.
Upload each photo that you handwritten.
Then press “Upload Teamplate“.
Your handwriting has turned into a font
Moments later, a new screen will show a preview of your handwritten font.
Easy, right?
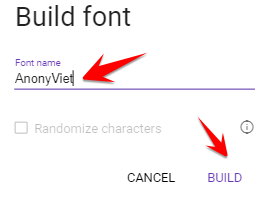
If you are satisfied then select Menu Build Font
Name your Font, I will leave it as AnonyViet.
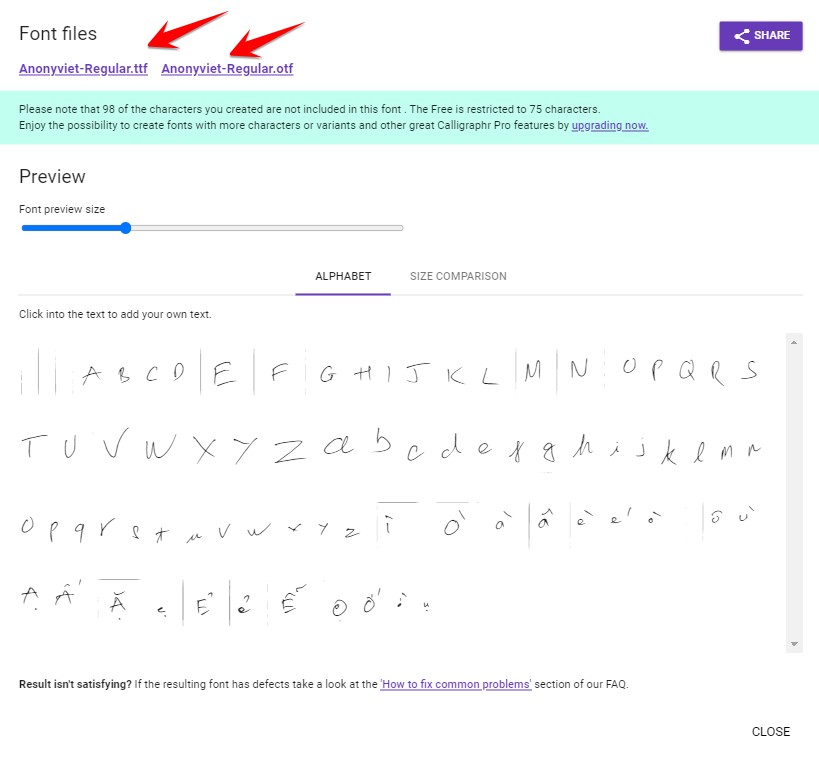
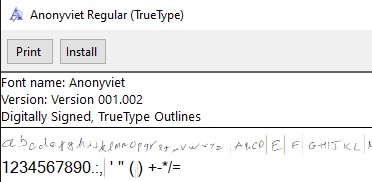
Now you will see a preview of your font, it seems that your font is “not bad”. If it feels good, then click on the Font name and download it to your computer.
You can use the drag bar where Preview to zoom in.
Install fonts on your computer
After the font is downloaded, you need to install it on your computer to use it.
If you use Windows, then just right-click on the font and click “Install”, or double click on the Font to choose Install.
If you use a Mac, double click on the font and click the “Install Font” button to install it.
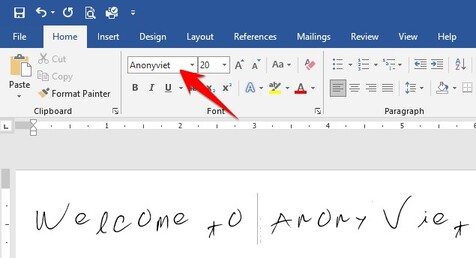
That’s it, now you can open software like Word to try to see the font you just created.
NOTE: If you currently have a program open when installing the font, you may need to close the program until the font is installed so it can reload the new fonts.
The free version you can only use 75 characters, if you want to use the full Vietnamese alphabet, you need to upgrade to the Pro version.

