
Create GIF images with Snipping Tool Is the perfect solution for those who are too tired of having to use many complex software. Instead of filming and converting, you can now do everything in a single tool. Let’s find out details about how to work and when it will debut!
|
Join the channel Telegram belong to Anonyviet 👉 Link 👈 |
Why is GIF still a force on the Internet?
Before going into details of the new feature, let’s explain why a decade -aged image format as GIF still maintains intense attraction. Although modern video formats such as MP4 are usually smaller capacity for the same amount, GIF images still have irreplaceable advantages:
- Photo gif Can run smoothly on almost every device, from an old computer from 2000 to the most modern smartphones. You do not need any special media or plugin player to view them.
- The ability to automatically broadcast continuously makes them the perfect tool to express emotions, create funny meme, or illustrate a brief operation.
- From Facebook, Zalo Until other messaging apps, GIF images have been built -in, allowing users to search and send in just a few clicks.
Because of these reasons, creating GIF images with Snipping Tool is an extremely smart and practical step.

Although this feature is still in the testing phase, the process of using it is extremely simple. When officially released, these are the steps you will take:
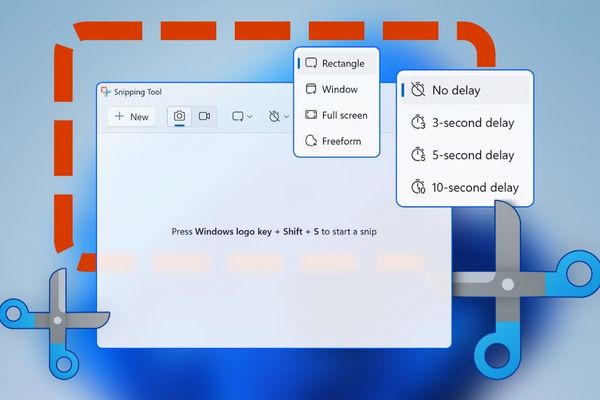
- Start the screen rotation by keyboard shortcut Windows + Shift + R. The familiar screen recording interface of Snipping Tool will appear.
- Select the screen area you want to record and start returning to the desired action.
- After stopping, a preview window will appear. In the top right corner, you will see a button “Gif“. Just click on it.
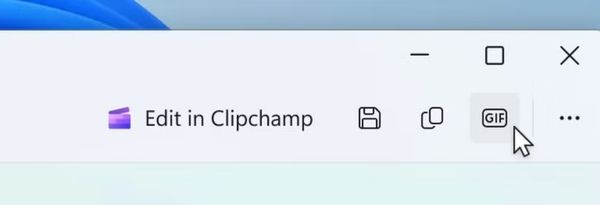
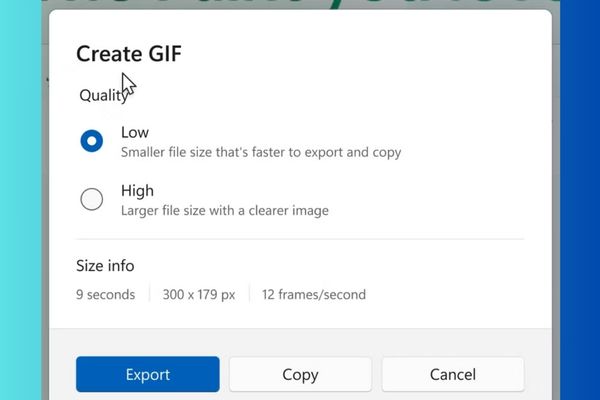
- A dialog box will appear, allowing you to name the file and choose the quality between the two levels of “high” and “low” (low “.
This process is much intuitive and much faster than the old process: recording a video with a tool, then entering the video into a third -party software to cut and export GIF images.
Things to note and limit the present
Because in the initial development stage, this feature still has a few limitations:
- Rate of 30 seconds: Your record cannot exceed 30 seconds if you want to export the GIF file. If longer, Snipping Tool will automatically suggest you save in the form of MP4 video file.
- Quality options are simple: Currently, you can only choose between two levels of “high” (high) and “low” (low). Professional users can expect more refining options in the future, such as adjusting the framerate speed (frameral) or the palette to optimize the file capacity.
When does this feature come to the user?
This is the most concerned question. Currently, the GIF image creation feature with Snipping Tool is only present on the Canary and Dev channels of the Windows Insider program. These are the earliest testing channels, which means it will take a relatively long period of time for this feature to be refined, fixed and switched to more stable channels like beta and finally the official version.
It is also possible that some testing features will never be released. However, with the practicality and outstanding usefulness, it is likely that this feature will “survive” and soon be on all Windows computers in a future update.
Alternative solutions in the waiting
If you can’t wait and need to create GIF right now, there are many other tools that can help you:
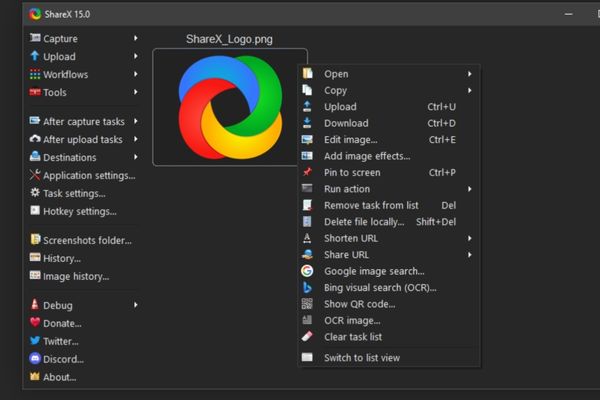
- Sharex: An open source software and completely free. Sharex not only creates GIF but also a set of extremely powerful photography and screen recording tools with countless custom features and automation.
- Screenpresso: Another popular option, providing both the free and paid version. It also supports GIF export and has a user -friendly interface.
Conclusion
Create GIF images with Snipping Tool Obviously a smart step, helping to simplify a common task. Although it still needs to wait for this feature to be officially launched, it promises to become an indispensable tool.


