• Home
  • News
  • Software
  • Knowledge
  • MMO
  • Tips
  • Security
  • Network
  • Office
AnonyViet - English Version
  • Home
  • News
  • Software
  • Knowledge
  • MMO
  • Tips
  • Security
  • Network
  • Office
No Result
View All Result
  • Home
  • News
  • Software
  • Knowledge
  • MMO
  • Tips
  • Security
  • Network
  • Office
No Result
View All Result
AnonyViet - English Version
No Result
View All Result

Instructions for connecting Macbook to TV

AnonyViet by AnonyViet
October 28, 2024
in Tips
0

Do you want to enjoy your favorite blockbuster movies or videos on a large TV screen with sharp image quality from your Macbook? Job Connect Macbook to TV It's actually simpler than you think! This article will guide you step by step to make it happen.

Join the channel Telegram belong to AnonyViet 👉 Link 👈

Instructions for connecting Macbook to TV using cable

Prepare before connecting

Before starting, make sure you have the following prepared:

1. Cable for Macbook

  • New Macbooks (from 2016 onwards): Usually use Thunderbolt 3 or USB Type-C ports. You need a cable corresponding to the connection port on your Macbook.
  • Older Macbooks: Can use HDMI, Mini DisplayPort or Thunderbolt 2 ports. Check the connection port on your Macbook and choose the appropriate cable.
Prepare cables and conversion wires

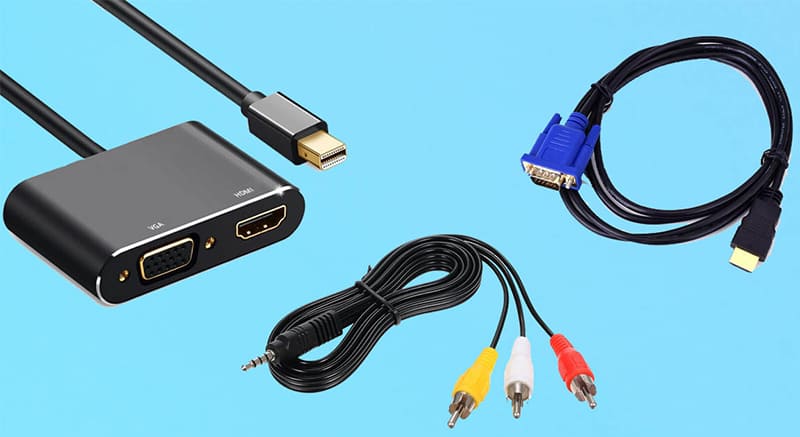
2. Conversion cord (if needed)

  • If your Macbook does not have an HDMI port, you need a converter cable from the connection port on the Macbook to HDMI. For example: USB-C to HDMI, Mini DisplayPort to HDMI,…
  • Make sure your TV has at least one free HDMI port

See more: Registration instructions Youtube Premium is free on Samsung TVs

Implementation steps

Once fully prepared, follow these steps to connect your Macbook to the TV:

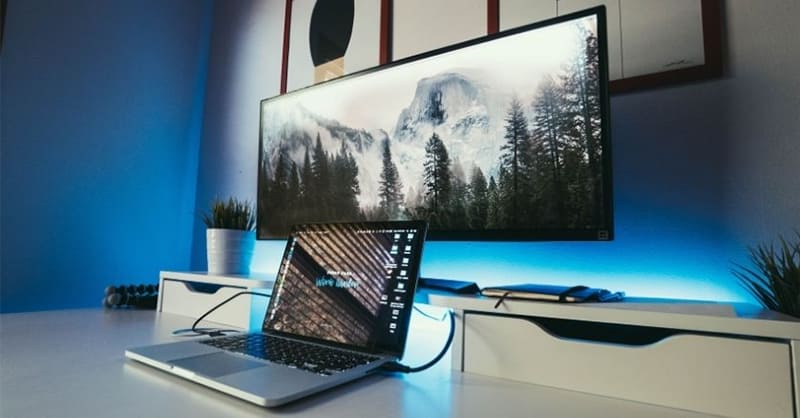
Step 1: Connect the cable

  • Plug one end of the cable into the corresponding connection port on the Macbook.
  • Plug the other end of the cable (or the HDMI end of the adapter) into an empty HDMI port on the TV.
  • Remember the HDMI port number you just used, especially if your TV has multiple HDMI ports.

Step 2: Install on TV

  • Turn on the TV and use the remote to switch to HDMI mode.
  • Select the correct HDMI port corresponding to the port you connected the cable to in step 1.

Step 3: Install on Macbook

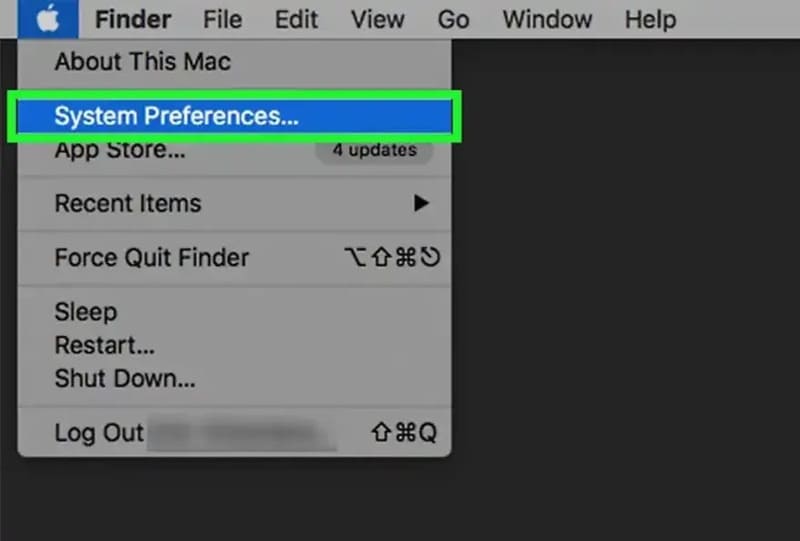
  • Click on the Apple icon in the upper left corner of the screen and select “System Preferences…”
Select System Preferences...
Select System Preferences…
  • In the System Preferences window, click on the “Displays” icon (computer screen icon).
Click on the icon "Displays"
Click on the “Displays” icon
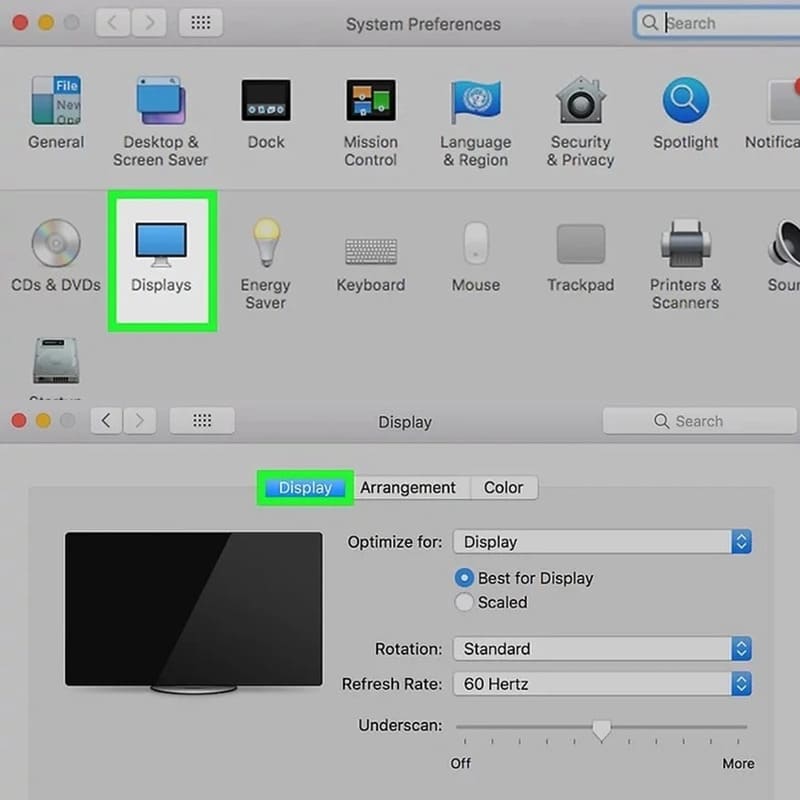
  • Hold down the “Option” key on the Macbook keyboard.
  • In the Displays window, click the “Detect Displays” button to have your Macbook automatically detect the TV screen.

Step 4: Sound settings

  • Return to the System Preferences window and click on the “Sound” icon (speaker icon).
Click on the icon "Sound"
Click on the “Sound” icon
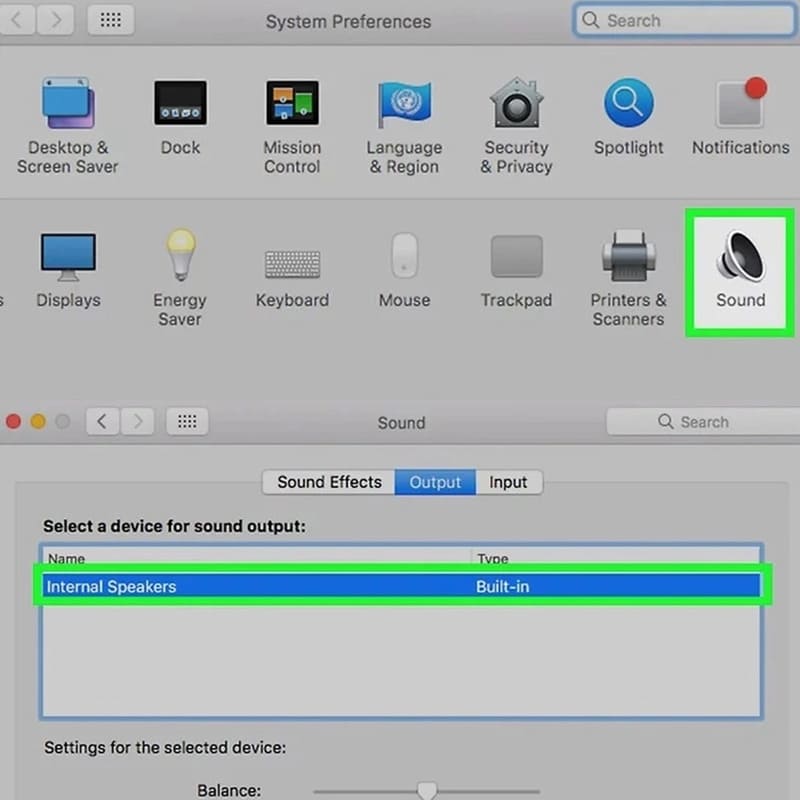
  • In the Sound window, select the “Output” tab.
  • Click on your TV name in the list of audio output devices to have your Macbook output sound to the TV.

After completing the above steps, you have successfully connected your Macbook to the TV! Now you can watch movies, videos, slideshows or any content from your Macbook on a large TV screen with excellent image and sound quality.

Instructions for connecting Macbook to TV using AirPlay

Step 1: Make sure your TV supports AirPlay 2. This information is usually specified in the TV's specifications.

Step 2: Both Macbook and TV must be connected to the same Wi-Fi network.

Step 3: Click on the AirPlay icon (rectangular icon with an up arrow) on the Macbook menu bar > Select your TV name in the list of available AirPlay devices.

Instructions for connecting Macbook to TV using AirPlay

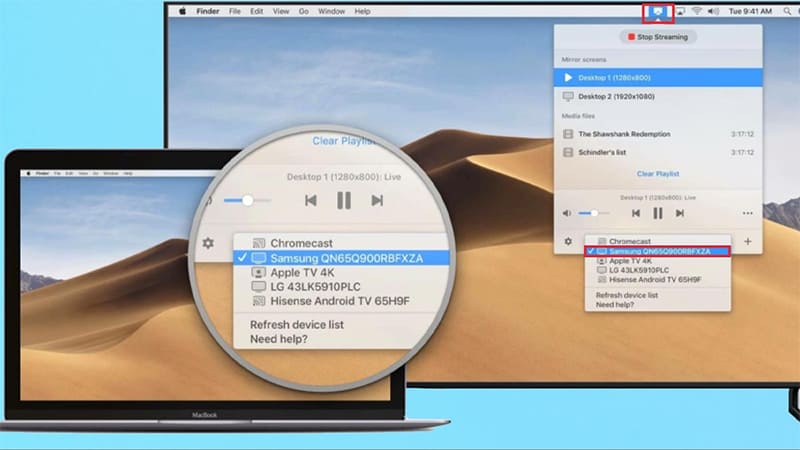
Once connected, the content on the Macbook screen will be displayed on the TV. You can adjust the volume and other settings directly on your Macbook.

The Macbook screen will be displayed on the TV

See more: 3-way guide Transfer files from Android to MacBook

Conclusion

Job Connect Macbook to TV Helps you enjoy a better entertainment experience on the big screen. You can choose the cable or wireless connection method (AirPlay) depending on your needs and device. Wish you success!

Tags: ConnectingInstructionsMacBook
Previous Post

Instructions for turning off emoji interaction in Gmail

Next Post

Analyze League of Legends opponents easily before the match with LMSS

AnonyViet

AnonyViet

Related Posts

4 ways to fix bluetooth connectivity on Windows 11
Tips

4 ways to fix bluetooth connectivity on Windows 11

August 8, 2025
How to know the computer is tracked and processed by Keylogger
Tips

How to know the computer is tracked and processed by Keylogger

August 7, 2025
Opal: Create applications who do not need to write code
Tips

Opal: Create applications who do not need to write code

August 3, 2025
How to activate a new Start menu on Windows 11
Tips

How to activate a new Start menu on Windows 11

July 29, 2025
Intellgpt: AI tool for osint and data science
Tips

Intellgpt: AI tool for osint and data science

July 28, 2025
How to create Google Ai Pro 12 months free with Indian student account
Tips

How to create Google Ai Pro 12 months free with Indian student account

July 27, 2025
Next Post
Analyze League of Legends opponents easily before the match with LMSS

Analyze League of Legends opponents easily before the match with LMSS

0 0 votes
Article Rating
Subscribe
Login
Notify of
guest

guest

0 Comments
Oldest
Newest Most Voted
Inline Feedbacks
View all comments

Recent News

Instructions for receiving 80GB of free data from VinaPhone from August 15

Instructions for receiving 80GB of free data from VinaPhone from August 15

August 15, 2025
Online driving exam preparation: Support theory and practice

Online driving exam preparation: Support theory and practice

August 15, 2025
How to add application to your favorite bar

How to add application to your favorite bar

August 14, 2025
Wowhay.com – The door opens the world of modern knowledge and network culture

Wowhay.com – The door opens the world of modern knowledge and network culture

August 13, 2025
Instructions for receiving 80GB of free data from VinaPhone from August 15

Instructions for receiving 80GB of free data from VinaPhone from August 15

August 15, 2025
Online driving exam preparation: Support theory and practice

Online driving exam preparation: Support theory and practice

August 15, 2025
How to add application to your favorite bar

How to add application to your favorite bar

August 14, 2025
AnonyViet - English Version

AnonyViet

AnonyViet is a website share knowledge that you have never learned in school!

We are ready to welcome your comments, as well as your articles sent to AnonyViet.

Follow Us

Contact:

Email: anonyviet.com[@]gmail.com

Main Website: https://anonyviet.com

Recent News

Instructions for receiving 80GB of free data from VinaPhone from August 15

Instructions for receiving 80GB of free data from VinaPhone from August 15

August 15, 2025
Online driving exam preparation: Support theory and practice

Online driving exam preparation: Support theory and practice

August 15, 2025
  • Home
  • Home 2
  • Home 3
  • Home 4
  • Home 5
  • Home 6
  • Next Dest Page
  • Sample Page

©2024 AnonyVietFor Knowledge kqxs hôm nay xem phim miễn phí mm88 8XBET mm88 trang chủ new88

No Result
View All Result
  • Home
  • News
  • Software
  • Knowledge
  • MMO
  • Tips
  • Security
  • Network
  • Office

©2024 AnonyVietFor Knowledge kqxs hôm nay xem phim miễn phí mm88 8XBET mm88 trang chủ new88

wpDiscuz
0
0
Would love your thoughts, please comment.x
()
x
| Reply