
How to turn on BitLocker Encrypting Windows 11 hard drive is an important operation to keep your data safe from unauthorized access. In today's digital age, securing personal and business data is extremely necessary. This article AnonyViet will guide you step by step in detail on how to enable BitLocker on Windows 11, helping you feel more secure about the safety of your data.
| Join the channel Telegram belong to AnonyViet 👉 Link 👈 |
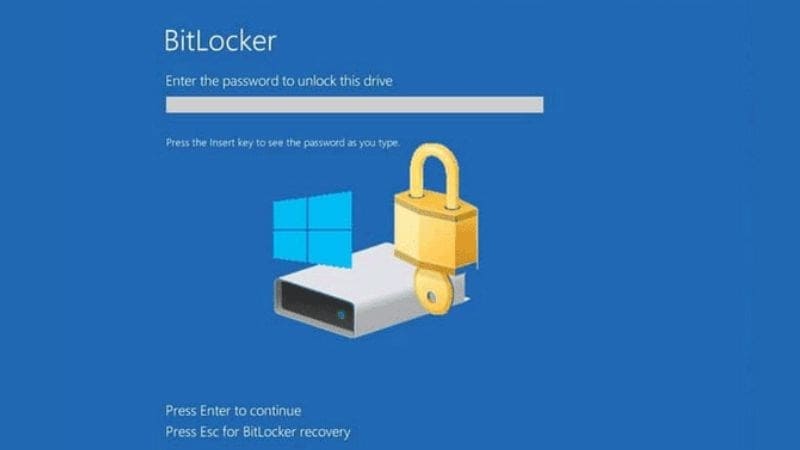
What is BitLocker?
BitLocker is a data encryption utility built into the Windows operating system that allows users to encrypt their entire hard drive to prevent unauthorized access. This tool provides a high level of protection by encrypting information stored on the hard drive, preventing data from being accessed without the appropriate password or encryption key.

BitLocker uses the advanced AES (Advanced Encryption Standard) algorithm to encrypt your data, making it unreadable without a valid decryption key. This encryption protects your data even if someone gains physical access to your device or steals your removable drive.
BitLocker Encryption Types
There are two main types of BitLocker encryption offered on Windows 11:
- BitLocker: Designed to encrypt and secure the operating system drive and fixed data drives on your computer.
- BitLocker To Go: Ideal for encrypting removable drives such as USB flash drives, ensuring their data is protected even when accessed on other devices.
When should I enable BitLocker?
When you enable BitLocker encryption, you protect your device and the data stored on your hard drive. The encrypted information and decryption key are automatically saved in your Microsoft account, helping to protect your data from outside attacks. In the event of a computer failure, you will need a new decryption key to access your saved data.
For example, when you want to reinstall Windows, erase all data on the hard drive or want to access data when connecting to another computer, you will not be able to do these operations without the login password or “Key”.
See also: Explore 3 interesting hidden features on Windows 11 that not everyone knows
How to enable BitLocker to encrypt data on Windows 11 drives
Step 1: Go to Settings > System > Storage
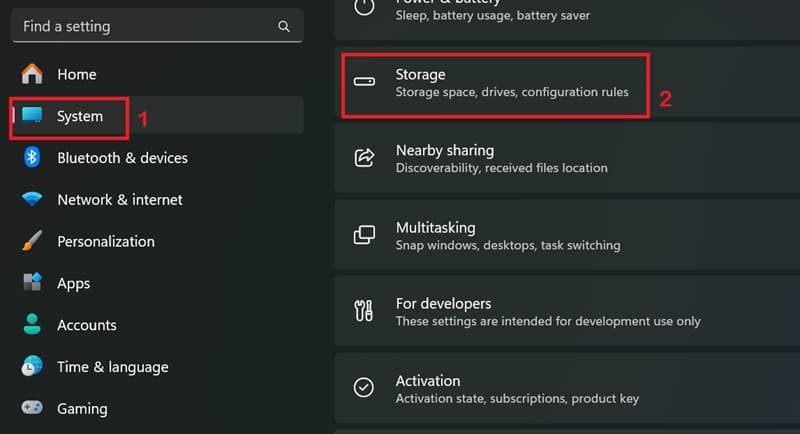 Go to Settings > System > Storage
Step 2: Select Advanced storage settings > Click 'Disks & volumes'

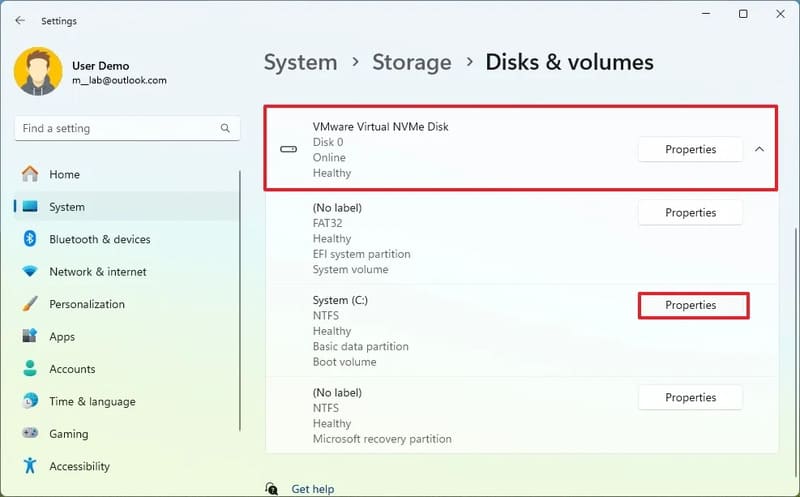
Step 3: Select the drive to encrypt
Step 4: Select the volume to enable BitLocker encryption and click the 'Properties' button
Step 5: Click the Turn on BitLocker button

Step 6: Select 'Turn on BitLocker'
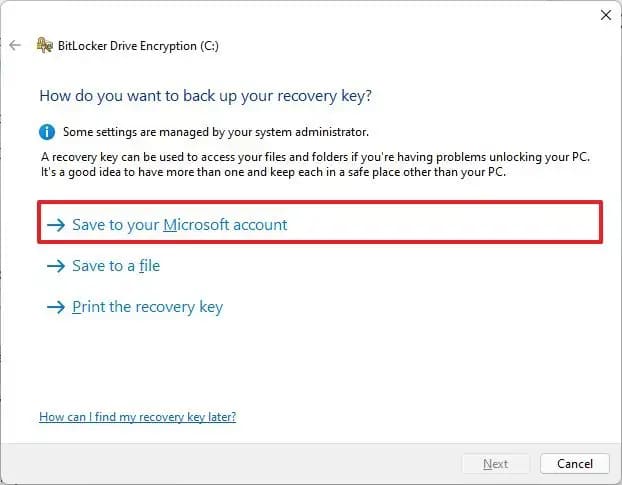
Step 7: Click the option to backup the recovery key. For example, you can use 'Save to your Microsoft account' > Click Next
Step 8: Select 'Encrypt used disk space only' > Next

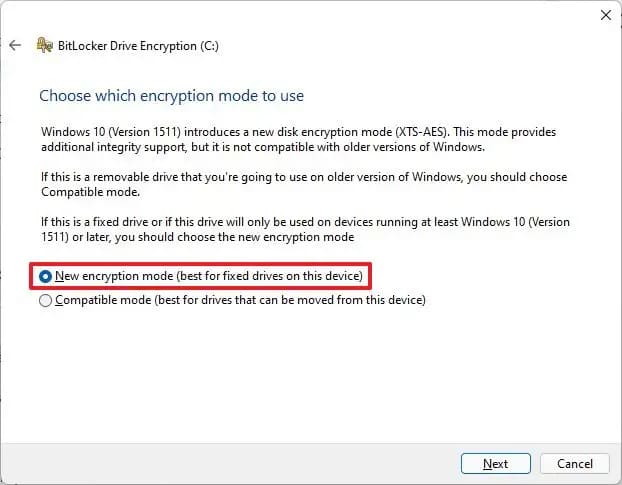
Step 9: Select 'New encryption mode' > Next
If you want to encrypt a removable drive (like a USB drive), select Compatible mode.
Step 10: Check the box 'Run BitLocker system check'
Step 11: Click the Restart now button to begin the reboot.
After you complete the steps above, your computer will restart to enable BitLocker. However, depending on the data available on the drive, BitLocker will continue to encrypt the used space in the background. If you have chosen to use a Microsoft account to store your BitLocker recovery keys, you can find them later in the Device BitLocker Recovery Keys section of your account.
See also: How Show Desktop button on taskbar Windows 11
Conclusion
So, we have learned How to enable BitLocker to encrypt your Windows 11 hard drive. By following the detailed instructions in this article, you can protect your data from unauthorized access, giving you peace of mind when using your computer. Remember to back up your data regularly to ensure the safety of your important information.


