Letscloud is a VPS provider that has just been born not too long ago. Currently, AnonyViet does not have much information about this company. But according to the introduction on the Website LetsCloud has servers in 6 countries: the United States, Australia, Brazil, Canada, the Netherlands and the United Kingdom. According to the assessment, Letscloud’s VPS has a pretty good configuration and performance, worth trying if you have a need for VPS. Currently, Letscloud is giving new users $ 10 free to their accounts upon successful registration. Follow the instructions below to get 10$ used to create VPS from Letscloud:
| Join the channel Telegram of the AnonyViet 👉 Link 👈 |
About the program giving away 10$
You will be given 10$ or 15BRL (Brazilian currency) to use for all LetsCloud services. This amount is automatically added to your account and is valid for 7 days.
If during use, your amount exceeds 10$, the VPS will be disabled and then terminated. If you intend to use it for a long time, you should Add more VISA to avoid VPS being deleted due to running out of money. Your account when accessing Letscloud’s Website is completely free, as soon as the amount is $0. But the VPS will be disabled if there is not enough money to maintain. The only way is to top up the account to continue operating.
How to register a Letscloud account to get 10$ for free
You note, 10$ free will be credited directly to your account upon successful registration. Use $ 10 to register VPS provided by Letscloud. You cannot withdraw this 10$ to your bank account or use it for other purposes.
REGISTER FOR A LETSCLOUD ACCOUNT RECEIVE 10$
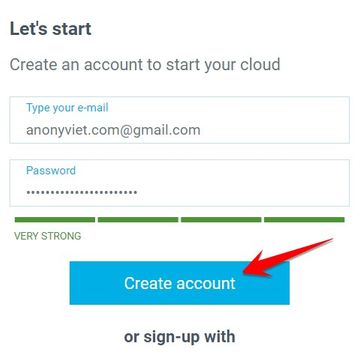
Just fill in Email and Password and click on Create account done.
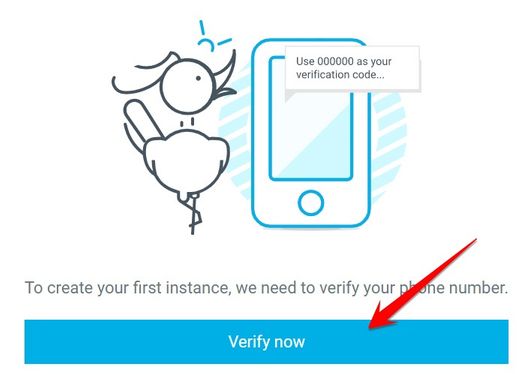
You will have a confirmation email sent to your email. When you click on the confirmation email, you will be redirected to the Verify phone number page.
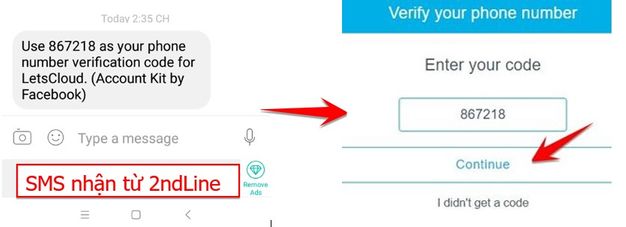
AnonyViet tried use 2ndLine to create a virtual phone number and successfully verified. So if you intend to create multiple accounts to use, use 2ndLine. You can still use a Vietnamese phone number to verify.
Once verified, you will be redirected to the login page. Look in the upper right corner will appear 10$ on your account.
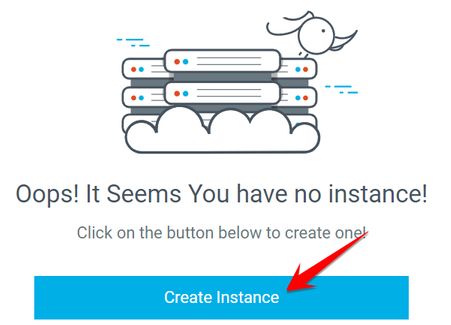
Now, you scroll down below and select Create Instance to start creating VPS.
For the next steps, you choose Location, Configure VPS, in the Set a Label and Hostname section: you can fill in anything… and the button Create Now! to create.
If you do not know how to manage VPS, read the article Use MobaxTerm to remote VPS Linux Please.

