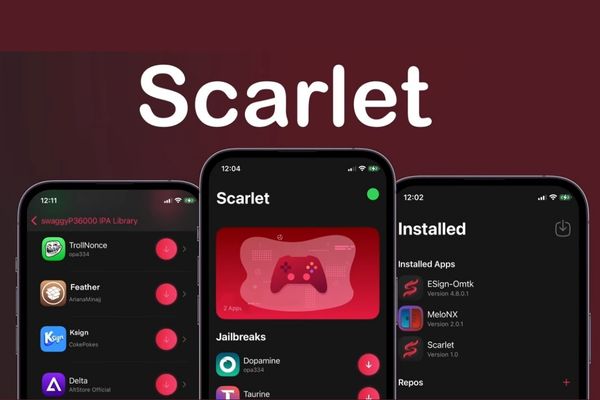
Scarlet iOS is back with a completely new version, providing an extremely stable revoke-free application sideloading experience. With this method, you can install your favorite IPA files on any iOS version, including the latest versions, without needing a computer after the first setup. Let’s explore the installation and usage steps in detail right below!
| Join the channel Telegram belong to AnonyViet 👉 Link 👈 |
Detailed instructions on how to install Scarlet iOS
- Before you begin, you need a computer (Windows or Mac) for initial setup.
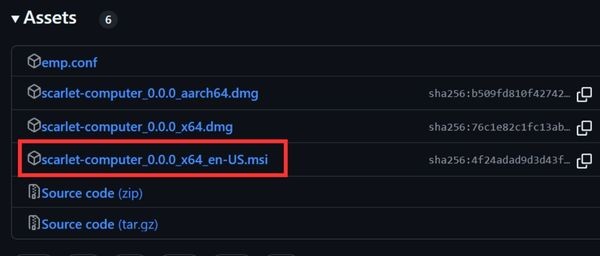
- Visit ScarletCloud’s GitHub page HERE. Scroll down, to section Assetsdownload the file in format .msi (e.g. scarlet-computer_0.0.0_x64_en-US.msi).
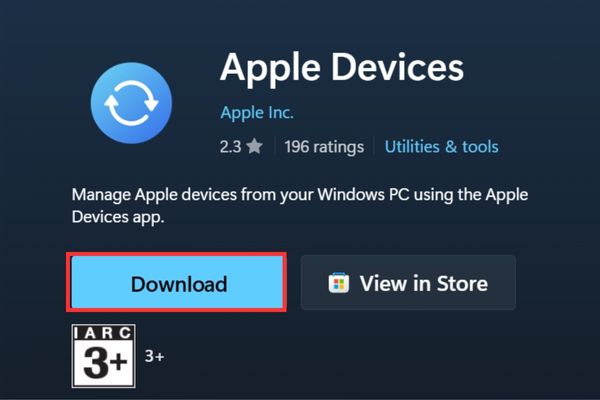
- Open the Microsoft Store page and install the Apple Devices app HERE. Once installed, open the application, agree to the terms and click Start.
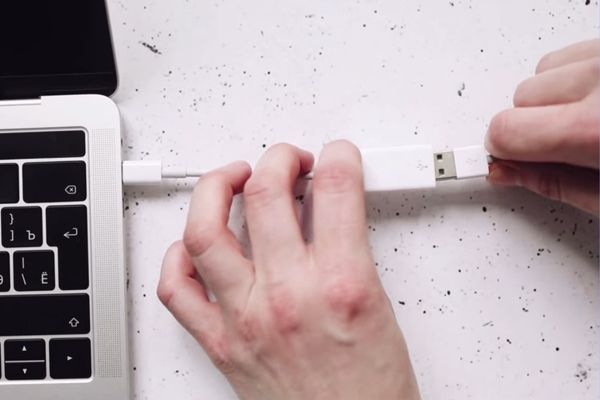
- Connect your iPhone/iPad to the computer via USB cable.
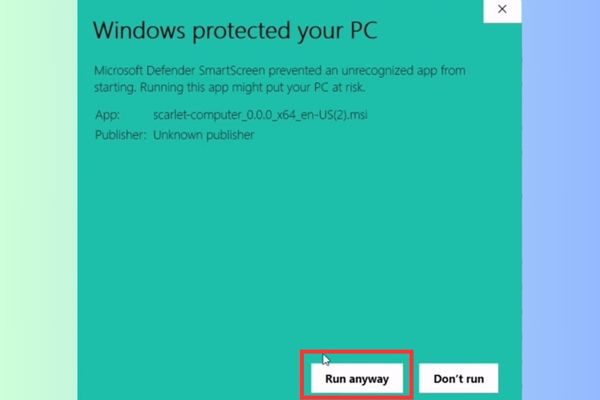
- Install ScarletCloud: Open file .msi downloaded. If Windows displays a warning, select More info -> Run anyway. Proceed with the installation like normal software.
- Open the app ScarletCloud just installed on the computer. At section Select Deviceplease select the correct device for your device.
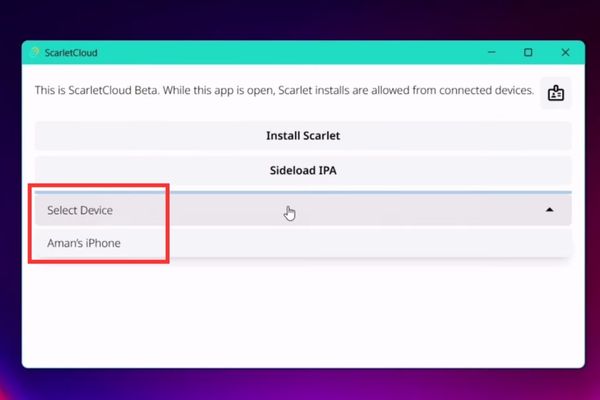
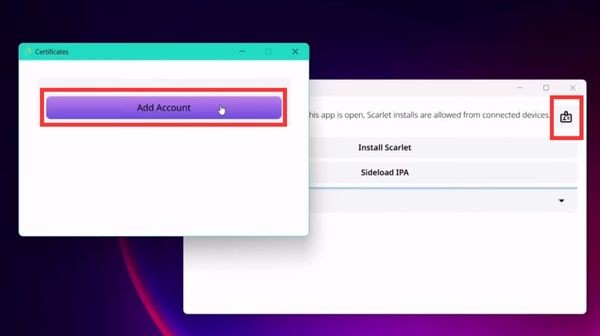
- Click certificate icon in the upper right corner > Select Add Account to sign in with your Apple ID account.
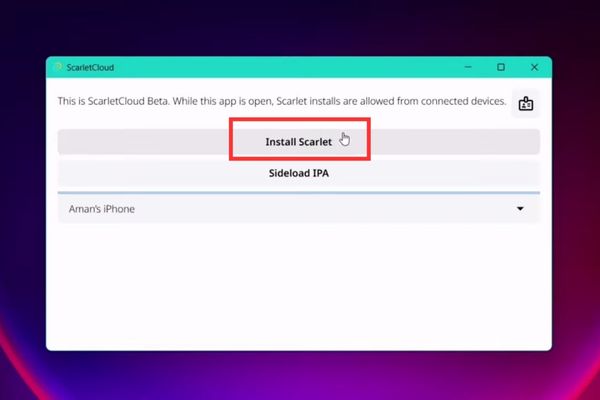
- Press the button Install Scarlet.
Note: If you get an “i/o error” error, close and reopen both the Apple Devices and ScarletCloud applications on your computer and try again.
- Once the Scarlet app appears on the home screen, you need to trust the certificate: Enter Settings -> General -> VPN & Device Management. Select the developer profile (it is Apple ID your) and press Trust.
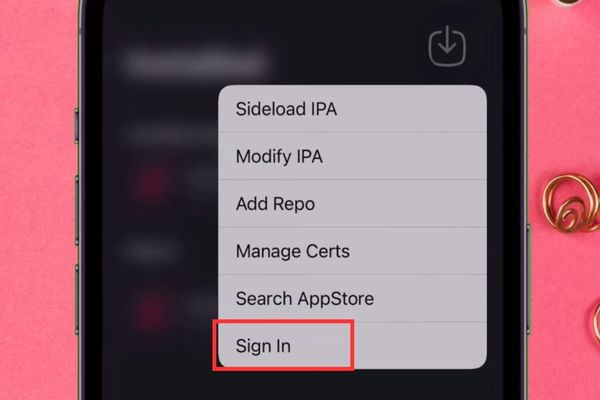
- Open the Scarlet app on iPhone > Long press on the icon in the upper right corner and select Sign In > Sign in with the same Apple ID account you used. After this step, you can disconnect your iPhone from your computer.
Below are the important steps for Scarlet to operate without recall:
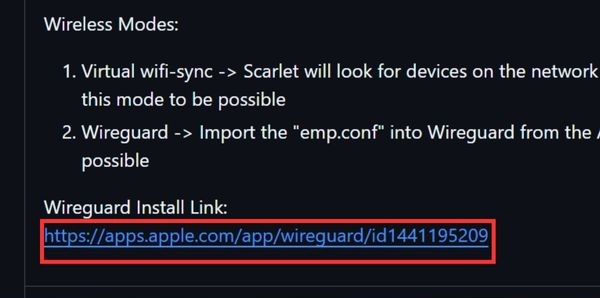
- On iPhone, access again Scarlet’s GitHub page > Find the section “Wireguard Install Link” and click to install the WireGuard app from the App Store.
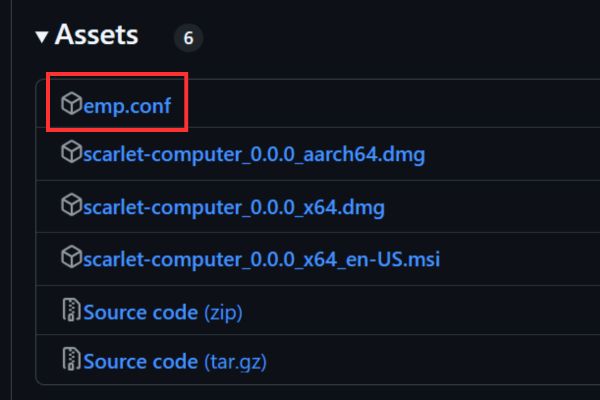
- Return to the GitHub page, in the Assets section, download the file emp.conf.
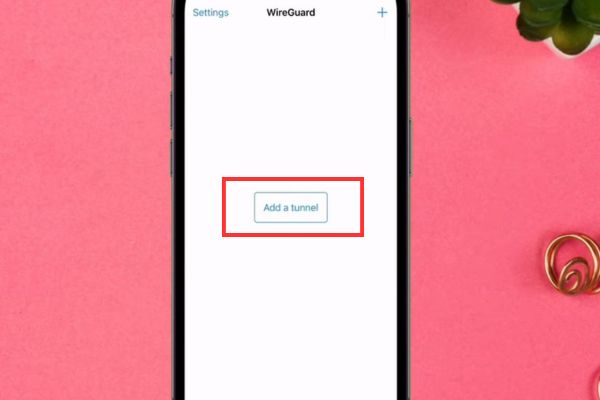
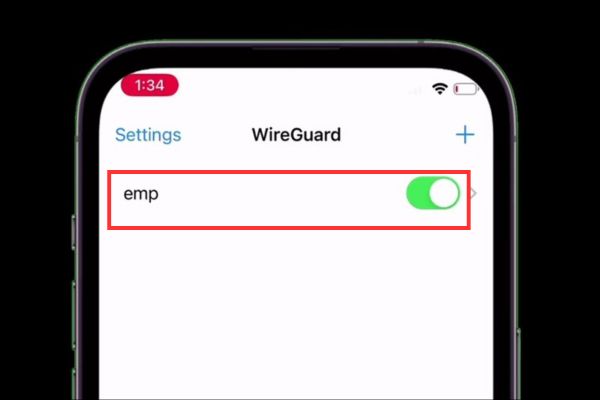
- Open the WireGuard application, select Add a tunnel > Create from file or archive.
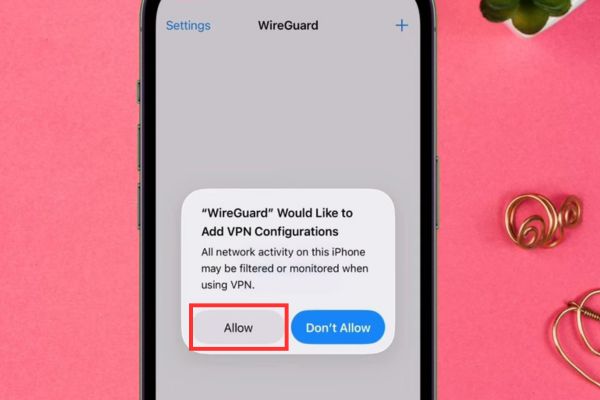
- Find and select the emp.conf file you just downloaded > Click Allow to allow the app to add VPN configuration.
How to Use Scarlet iOS to Sideload and Refresh Apps
- Turn on VPN in the WireGuard app (only enables when installing or refreshing the app)
- Open Scarlet, click the download icon > Select the IPA file you want to install.
Note: If you get the “Can’t Sideload” error, go to WireGuard, turn off VPN, then turn it back on immediately and try installing again.
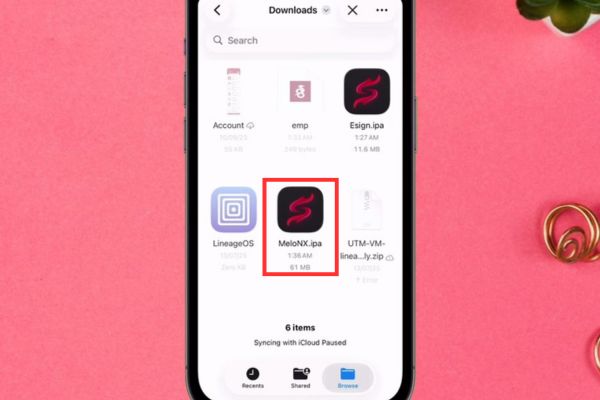
Each application installed using this method will have a validity period of 7 days. To refresh, do the following:
- Make sure VPN in WireGuard is on.
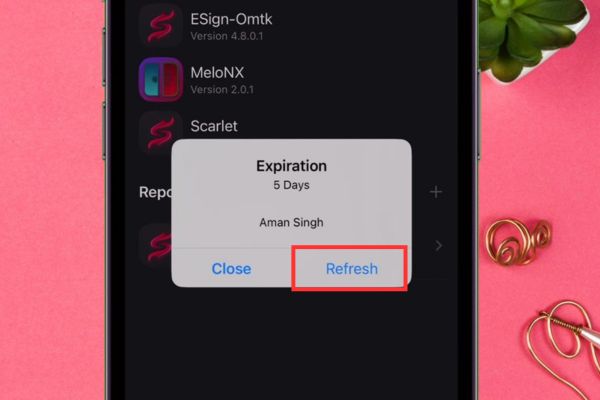
- Open Scarlet, tap the app you want to refresh (e.g. ESign, MeloNX, or Scarlet itself).
- A pop-up appears, click the button Refresh. The application will be refreshed and the expiry date will return to 7 days.
Limitations you need to know
This free method has 2 main limitations:
- You can only set the maximum 3 applications (including Scarlet).
- Expires later 7 daysso you have to refresh the app every week.
Conclusion
Above are all detailed instructions to install and use Scarlet effectively, helping you freely sideload the application without worrying about it being revoked. Although there are a few limitations, this is still a great free solution for the user community. Wishing you success with it Scarlet iOS!



![[CẬP NHẬT] 150+ Latest HOT TREND special character names 2026 [CẬP NHẬT] 150+ Latest HOT TREND special character names 2026](https://anonyviet.com/wp-content/uploads/2025/10/word-image-95531-3.png)
