
NextCloud is software that helps you create your own private cloud storage service. That is, the data will be stored on your own computer/Server. You will install, authorize, create a user and have an App to install on your phone. NextCloud is great if you want to access your data remotely or a company wants to create Cloud Storage for employees to use.
| Join the channel Telegram of the AnonyViet 👉 Link 👈 |
Today, I will show everyone how to install NextCloud on Raspberry Pi. Of course, you can also install NextCloud on your personal computer.
What is NextCloud?
NextCloud is a form of Client-Server-Software for creating cloud storage services. This is one of the open software that allows users to change the Sourcecode and allows users to create their own Server
NextCloud has an easy-to-use interface that is friendly to a wide range of devices and they have provided additional client versions for Windows, Android or even iOS.
Prepare
- A computer or VPS or Raspberry Pi has pre-installed operating system (I use Raspberry Pi 4GB Ram – 32GB microSD card and run Ubuntu Server 20.04 LTS)
- Network (opened port 443 and port 80)
- Logged in user
root(can see instructions here) - It is recommended to use SSH to connect
Things we will install:
- Apache
- PHP 7.4.1
- MySQL
- NextCloud
Instructions for installing Apache
Step 1: Install Apache
sudo apt install apache2 -y
Step 2: Start and Enable Apache
sudo systemctl start apache2sudo systemctl enable apache2
Step 3: Check Firewall with ufw . command
sudo ufw app list

It’s ok now
Step 4: Allow traffic on port 80 and 443
sudo ufw app info "Apache Full"
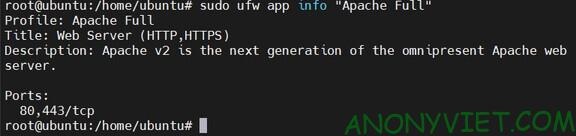
It’s okay now
Please check if the server is up
Since my raspberry pi’s IPv4 address is 192.168.1.5, I’ll try it out
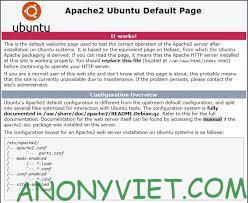
If it does, it means Apache is up and running
Installing and configuring MySQL
Step 1: Install MySQL
sudo apt install mysql-server -y
Step 2: Set root password for MySQL
sudo mysql_secure_installation
By default mysql root password will be blank. This step may or may not be present depending on the needs of the Administrators
Step 3: Configuration settings for NextCloud
mysql -u root
Create database and user
CREATE DATABASE nextcloud;CREATE USER 'nc_user'@'localhost' IDENTIFIED BY 'YOUR_PASSWORD_HERE';GRANT ALL PRIVILEGES ON nextcloud.* TO 'nc_user'@'localhost';FLUSH PRIVILEGES;exit
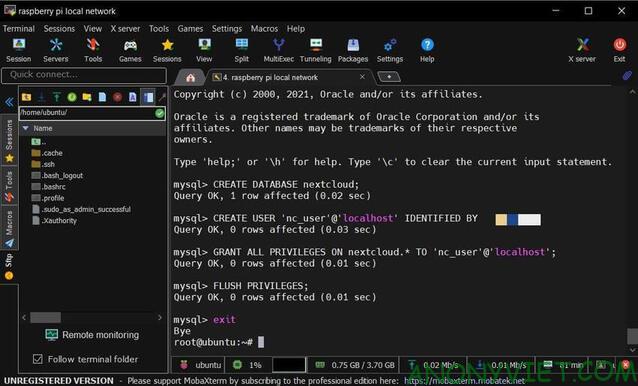
Note: change YOUR_PASSWORD_HERE to your pass!
Install PHP
sudo apt install -y php libapache2-mod-php php-ldap php-mysql php-cli php-bz2 php-curl php-gd php-imagick php-intl php-mbstring php-xml php-zip
Install NextCloud
Step 1: Install NextCloud
wget https://download.nextcloud.com/server/releases/nextcloud-22.1.0.zip -O /opt/nextcloud.zip
Note: at the time of this post, the latest NextCloud version is 22.1.0! For those of you watching after 8/8/2021, check the new version here
Step 2: Extract that file
apt-get install unzip -y unzip /opt/nextcloud.zip -d /var/www/rm -f /opt/nextcloud.zip
Step 3: Enter Virtual Host configuration
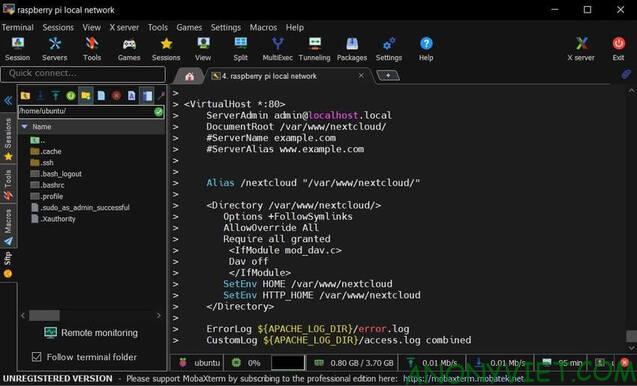
cat << EOF >> /etc/apache2/sites-available/nextcloud.conf
<VirtualHost *:80>ServerAdmin [email protected]DocumentRoot /var/www/nextcloud/#ServerName example.com#ServerAlias www.example.com
Alias /nextcloud "/var/www/nextcloud/"
<Directory /var/www/nextcloud/>Options +FollowSymlinksAllowOverride AllRequire all granted<IfModule mod_dav.c>Dav off</IfModule>SetEnv HOME /var/www/nextcloudSetEnv HTTP_HOME /var/www/nextcloud</Directory>
ErrorLog ${APACHE_LOG_DIR}/error.logCustomLog ${APACHE_LOG_DIR}/access.log combined
</VirtualHost>EOF
Step 4: Decentralize NextCloud
chmod 755 -R /var/www/nextcloud/chown www-data. -R /var/www/nextcloud/
Step 5: Re-enable NextCloud supported modes
sudo a2enmod rewritesudo a2enmod headerssudo a2enmod envsudo a2enmod dirsudo a2enmod mime
Step 6: Enable NextCloud’s Config and Restart Apache
sudo a2ensite nextcloud.confsudo systemctl reload apache2
Step 7: Access the page based on the ip address of the raspberry pi. Mine is 192.168.1.5

- user : nc_admin
- pass : password you set yourself
Connect to the database previously created.
- nc_user
- The database password that you set up in step 3 of creating mySQL
- nextcloud
- localhost
And then click finish Set Up
Wait a while for the installation to complete.
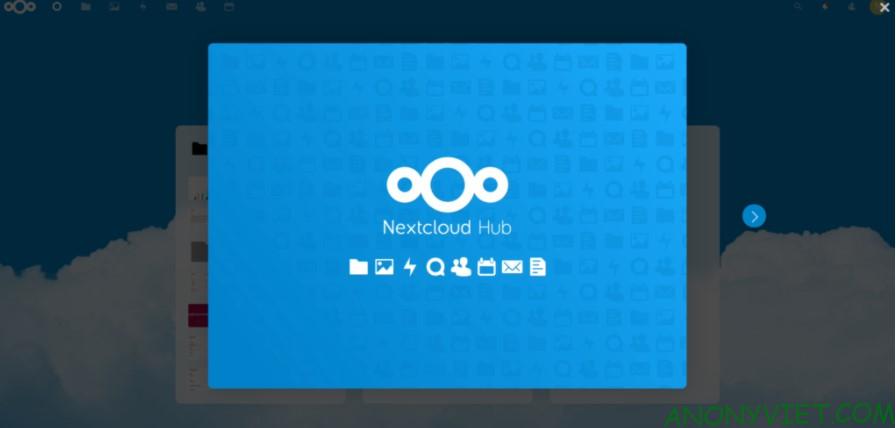
The interface after installation is as follows:
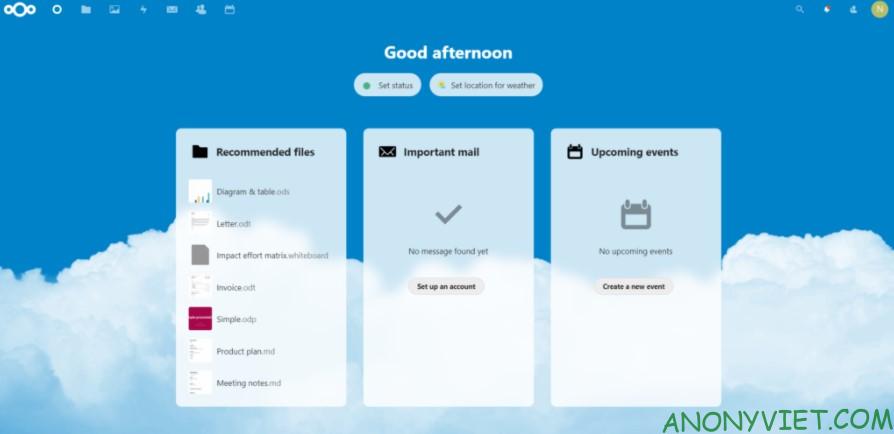
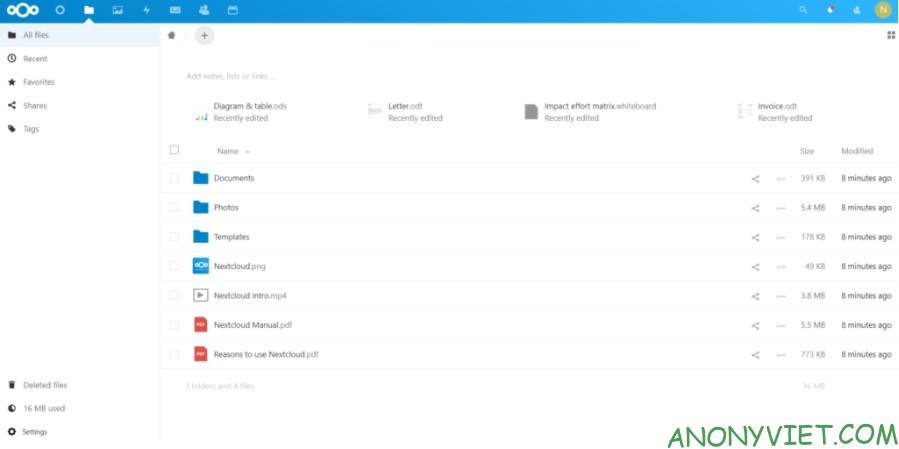
Instructions to open network modem port
Step 1: Go to the following address: 192.168.1.1
Step 2: Please login. This is usually provided by the carrier. For VNPT modems, they usually leave the username and password as follows:
- Username: admin
- Password: Passwd2@
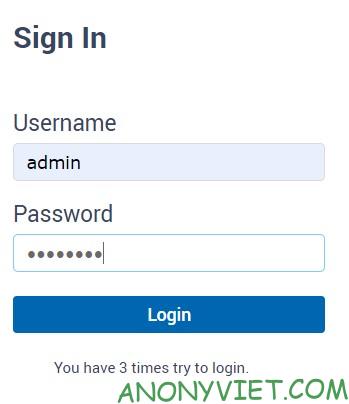
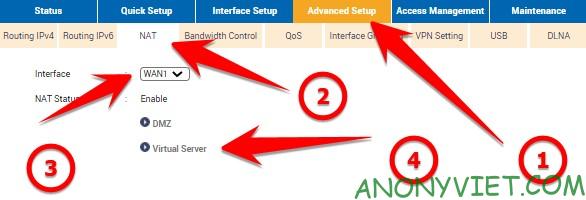
Step 3: On the top bar, select Advance Setup -> NAT. Once done, select Interface as wan1 and then select Virtual Server
Step 4: Please fill in the following 
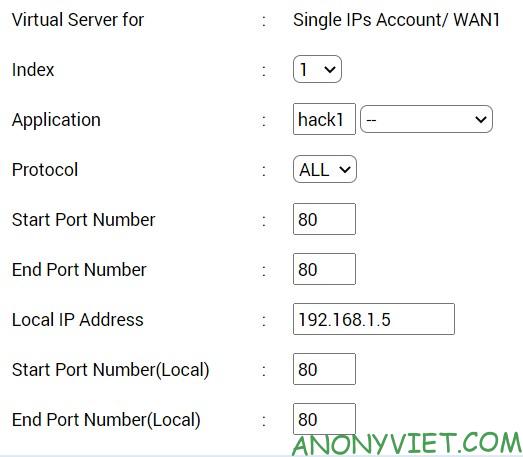
Note:
- Index: ordinal number (when you open different ports, you need to change the index for each port)
- Application: Name for you to easily identify
- Protocol: Protocol. This one, you just leave it all to yourself
- Start Port and End Port: you put two: 80 and 443
- The Local ip adress section, you can find it via status -> DHCP Client
Step 5: Please click Apply

You can Check Port here
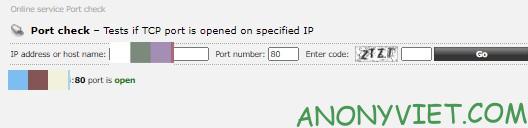
Next you need to point the Domain to the IP of your Internet Modem, do the same how to point domain from freenom to cloudflare.
So I just finished guiding you to install NextCloud on Raspberry Pi. How do you feel? Leave a comment to let me know