Auto Click PC is a useful tool for those who want to save time and improve computer productivity. This way you can automate actions like mouse hovers, key presses or menu activation. In this article, AnonyViet will guide you how to use Auto Click PC in a detailed and easy-to-understand way.
| Join the channel Telegram belong to AnonyViet 👉 Link 👈 |
Introducing Auto Click PC
Auto Click PC is a software that allows users to set mouse clicks on the computer and automatically perform them at a certain frequency and number of times.

Auto Click PC is widely used in many different fields, from games to office work. Some of the best Auto Click PC software that you should try are: Free Auto Clicker, GS Auto Clicker, Auto Mouse Clicker, Auto Click Typer, Auto Clicker by Shocker.
How to use Auto Click PC
To be able to use Auto Click PC, you can follow these steps:
Step 1: Choose the software suitable for your computer, you can search and download the software version that suits your needs. You should check that the software is compatible with your operating system and computer configuration before downloading and installing.
Step 2: You can visit the software developer's website to download and install the software. Here I will use it Free Auto Clicker.
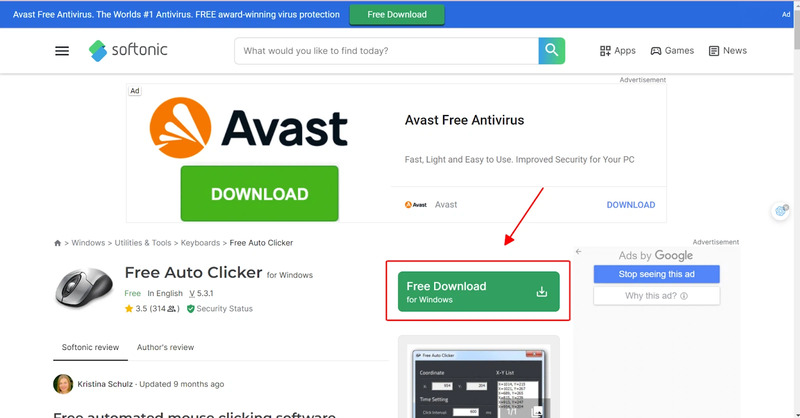
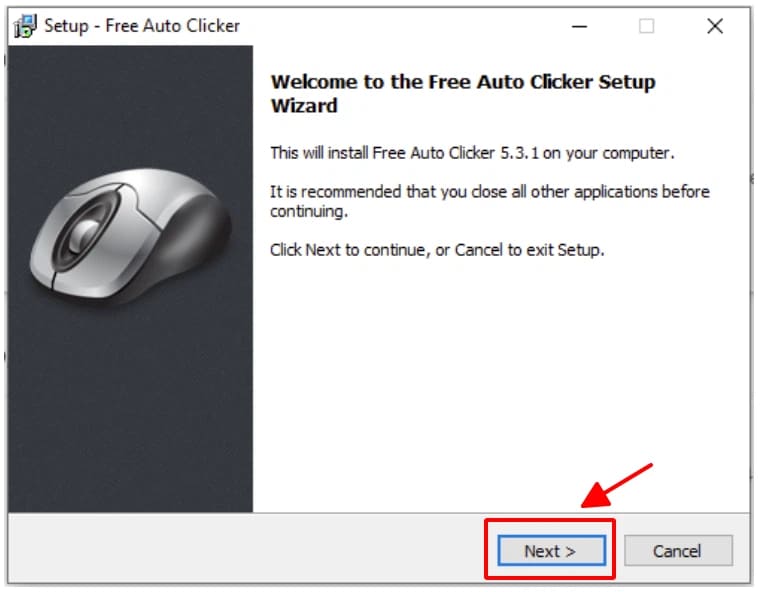
Step 3: To install Free Auto Clicker software, run the FreeAutoClicker_CCC.exe file > Click next to continue.
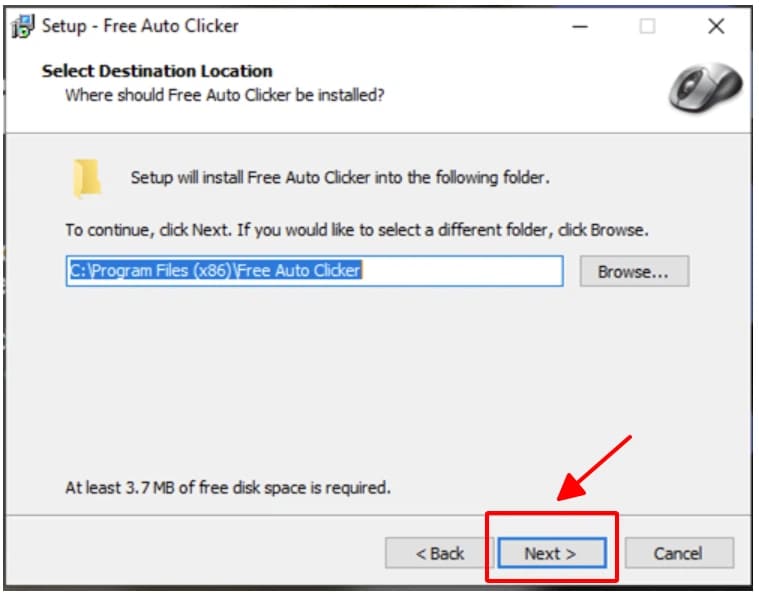
Step 4: You choose the path to save the Free Auto Clicker software to your computer. The C:\Program File folder will be the default location > Click next to continue the installation process.
Step 5: You tick the following three options: “Add a desktop shortcut”, “Add an icon to the Start Menu” and “Add an icon to Windows Quick Launch”. Finally, tick “Launch Free Auto Clicker” to start running the program > click Finish to finish.
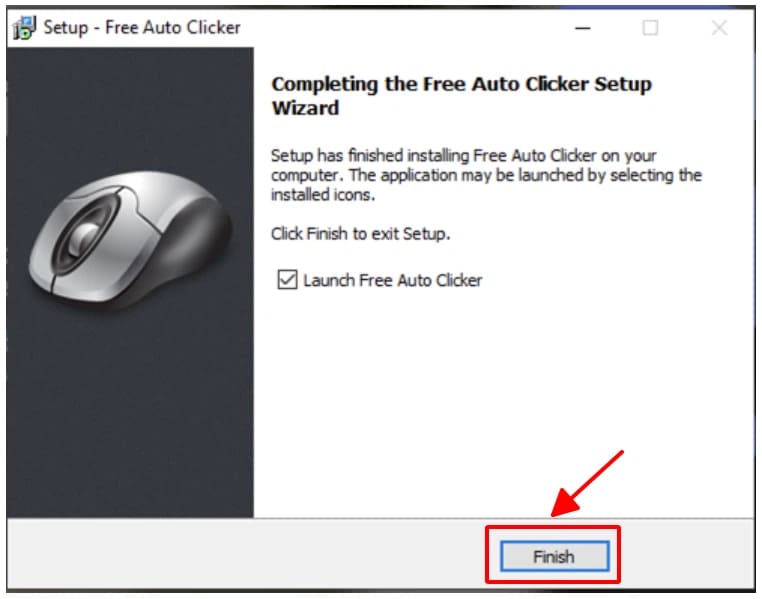
Step 6: After installation is complete, you will be redirected to the Auto Click PC software interface. Here, you can set the mouse clicks you want the software to perform, including: single click, double click, hold click, drag and drop.
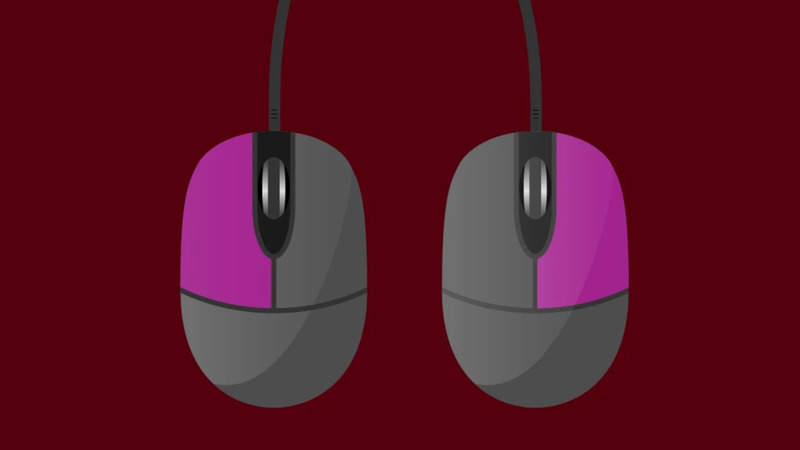
Step 7: After setting up mouse clicks, you can customize the speed and number of times the action is performed. Execution speed is measured by the number of executions per second, while the number of executions is calculated by the number of times the software will automatically perform the set operations. You can choose to do it indefinitely or limit the number of times you do it.
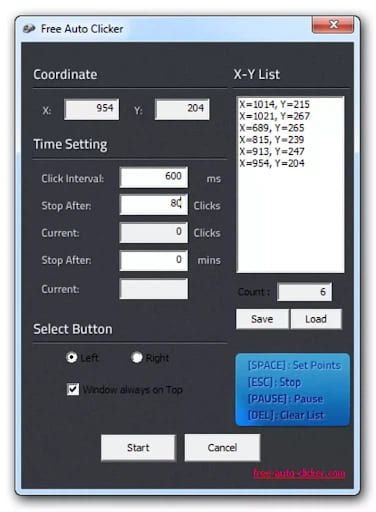
Step 8: Auto Click PC also supports recording and replaying performed operations. You can set up mouse click actions, then press the “record” button to have Auto Click PC automatically record these actions. In the next step, you use the “playback” feature to let Auto Click PC perform the recorded operations automatically.
Step 9: Auto Click PC also supports keyboard shortcuts so you can control the software quickly and conveniently. Popular keyboard shortcuts include:
- Ctrl + Shift + A: Turn on/off auto click.
- Ctrl + Shift + R : Record mouse clicks.
- Ctrl + Shift + P : Play back recorded operations.
Benefits of using Auto Click PC
Using Auto Click PC brings many benefits, including:
- Save a lot of time and increase work efficiency
- Limit errors while performing all tasks on the computer
- Automate repetitive tasks on your computer
- Save energy and mind
- Increase synchronization between applications and tasks on your computer
Epilogue
Using Auto Click PC It's not too difficult if you know how to install, set up and use the software. This is a useful tool for you to automate operations on your computer, saving time and effort. Wishing you a successful application!


