How to install Windows 11 on unsupported devices is an issue that many users are concerned about when Microsoft announces the latest version of the Windows operating system. According to Microsoft, Windows 11 requires devices to have a TPM 2.0 chip and an 8th generation CPU or higher. However, this doesn’t mean you can’t install Windows 11 on older devices. How to do it, let’s follow along!
| Join the channel Telegram belong to AnonyViet ???? Link ???? |
Configuration required to use Windows 11
Windows 11 is Microsoft’s latest desktop operating system, and for most Windows 10 users, upgrading is easy. Just go to Settings and download it like any other update.
To use Windows 11, your computer must have a CPU with a TPM 2.0 security chip, support Secure Boot and at least 4GB of RAM and 64GB of storage. But what if your device does not meet those requirements, but still want to experience Windows 11?
How to install Windows 11 on unsupported devices
To install Windows 11 on a computer or laptop that does not meet the hardware requirements, you will need to change the Registry. These changes may be permanent, so you should back up your device and follow the steps in this article carefully.
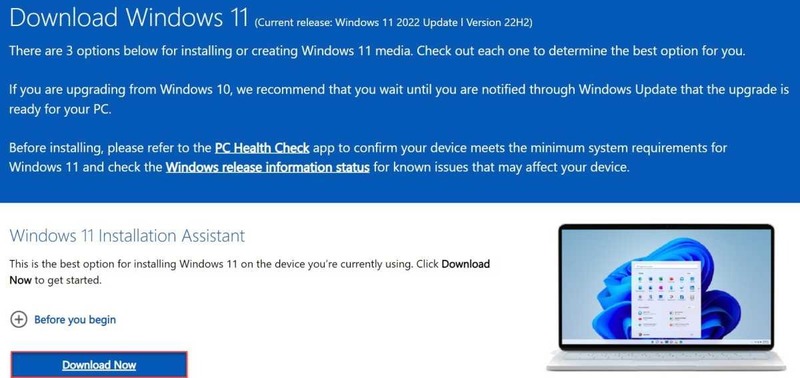
Step 1: Download Windows 11
Access Windows 11 Download page official. Under “Windows 11 Installation Assistant”, click “Download Now”. To install it on another device, you choose Installation Media or ISO instead.
Step 2: Install Windows 11
Open the downloaded file, then follow the instructions to begin the installation process. If your device does not meet the hardware requirements, you will see a message saying “This PC can’t run Windows 11”.
Step 3: Create Key in Registry
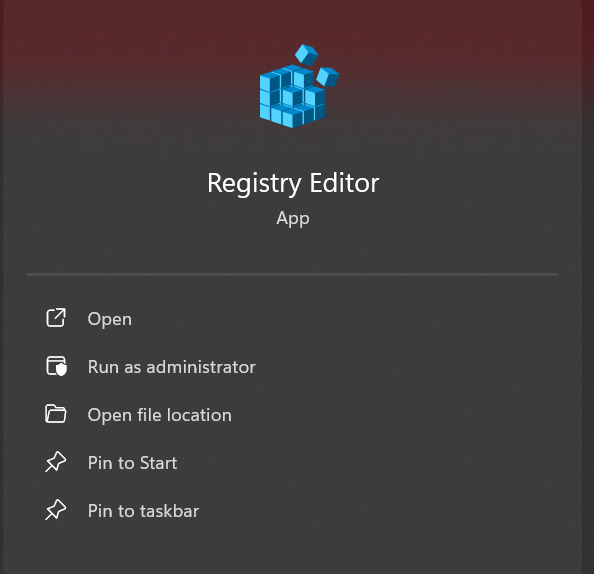
- In the search bar next to the Start menu, type “registry” and click on the result to open Registry Editor > Click “Yes” to confirm you allow changes to be made.
- Then, in the address bar of the window that appears, type:
Computer\HKEY_LOCAL_MACHINE\SOFTWARE\Microsoft\Windows\CurrentVersion\Setup and press Enter.
- Right-click in an empty area and select New > Key
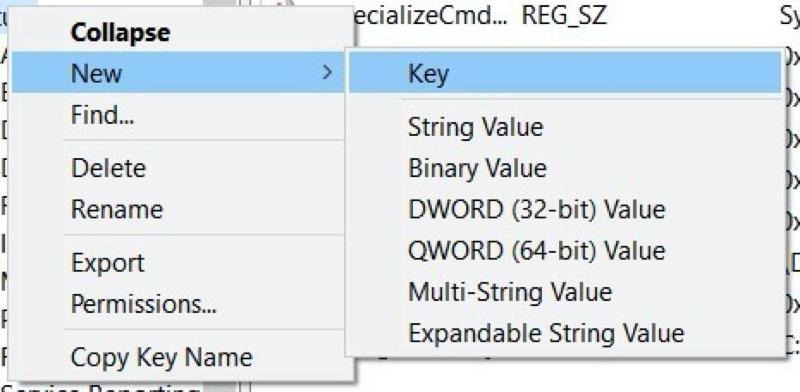
Step 4: Create DWORD values to bypass hardware checks
- Enter “LabConfig” to name this key. Once created, right-click on it and select New > DWORD (32-bit) value.
- Enter “BypassTPMCheck” as the name for this value, then right-click and select 1 as Value data > Click OK to confirm.
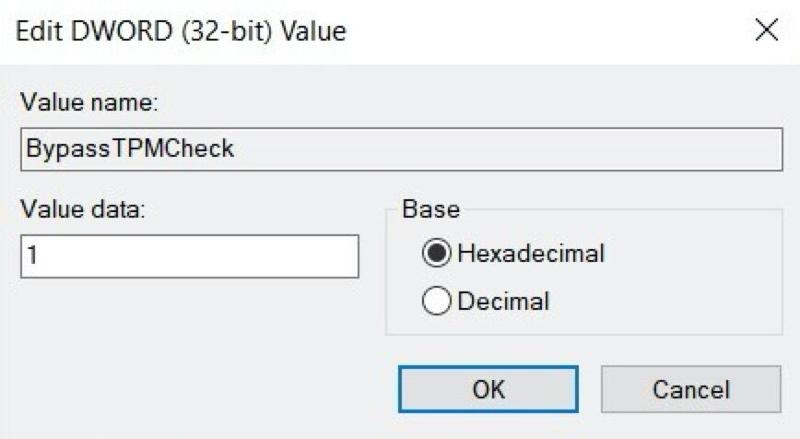
If your device also does not support Secure Boot or has 4GB of RAM, repeat the same operation above, just change the name to “BypassSecureBootCheck” and “BypassRAMCheck”.
Step 5: Complete the Windows 11 installation process
Once completed, close the Registry Editor and the Command Prompt window (by typing “exit” and pressing Enter). Then, from the screen that displays the message “This PC can’t run Windows 11”, click the back button and you will be able to complete the installation process as usual.
Note that performing these actions may affect the performance or stability of Windows 11. Proceed with caution.
Is it okay to install Windows 11 on a computer that doesn’t meet the requirements?
Hardware requirements of Windows 11 mainly about security, even if many believe they are too strict. Using an operating system that is not designed to operate without a TPM or Secure Boot chip is a risk.
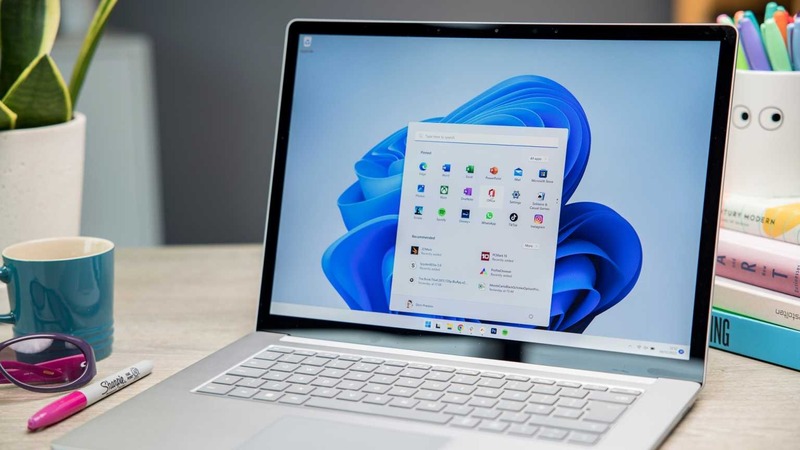
The older the hardware, the higher the risk of security risks. In any case, we recommend installing on a computer or laptop that is not your primary device. To be safe, back up your device completely first to ensure you don’t lose any data.
Epilogue
And that’s all the steps to take How to install Windows 11 on unsupported devices. This is a quite simple and effective way to experience Microsoft’s latest operating system without having to upgrade hardware. However, you should also note that this may cause some security and stability issues, so you should back up important data before doing it. Good luck!


