
Windows 11 has officially been leaked for programmers. If you want to use it first to experience, you can download the ISO file and install Windows 11 according to the instructions below for Windows 11. Because this version is under development, many errors may arise, I recommend that you install Windows 11 and experience it on VMWare to be safe.
📢 Join the channel Telegram belong to AnonyViet
Update new articles, cool tools and IT tips fastest
How to install the latest Windows 11
Step 1: Create Windows 11 installation USB
To install Windows 11, you first need Download Windows 11 ISO file about computers
If you install Windows 11 on VMware, this step is not needed. Just mount the ISO file VMware.
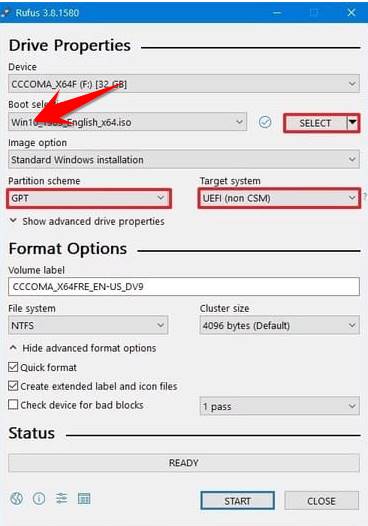
If you install Windows 11 according to UEFI standards, you need to burn the Windows 11 ISO file to USB using software. Rufus.

Step 2: Select USB Boot mode
Now you plug the Windows 11 installation USB into your computer and restart the device. Then select USB boot priority mode by pressing F2 or F9 or F12 according to each device type. Then select the USB name you created in Step 1.
Step 3: Install Windows Setup
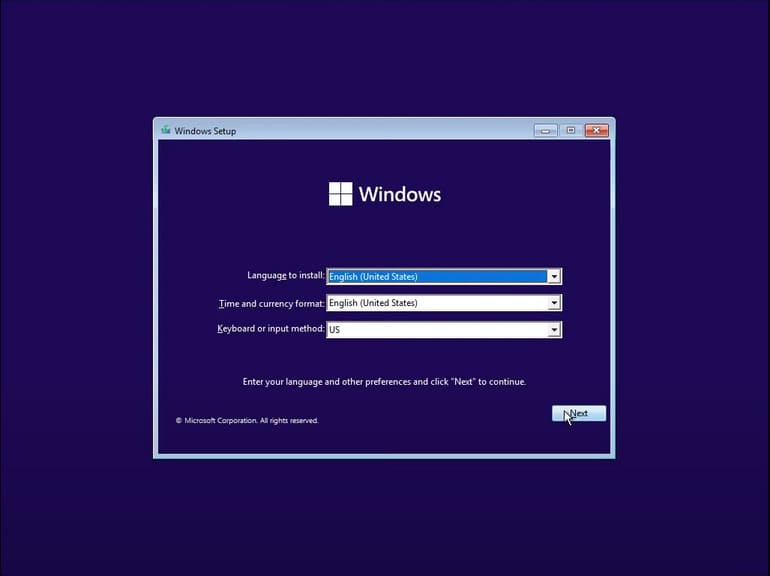
Just leave the language, time, and keyboard settings as default. Then press “Next“. I do not encourage you to use Vietnamese as the language because in my experience, it is easy to make errors during the installation process.
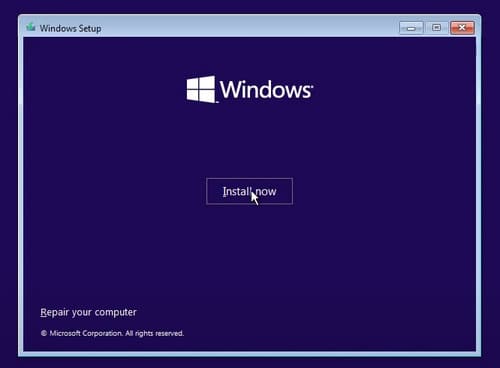
Next, click “Install”.
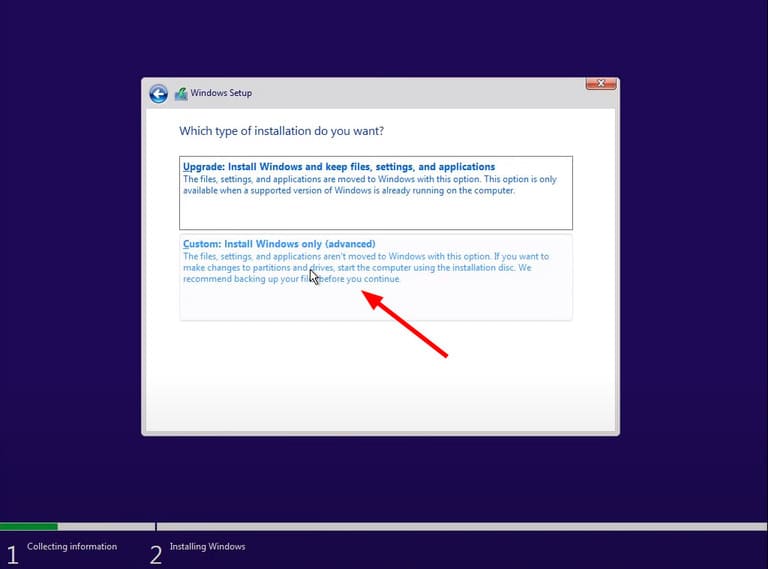
Here, I will choose the second option because I want a clean installation of Windows 11. If you want to upgrade to Windows 11 while still retaining the old Windows 10 App and data, choose the first option.
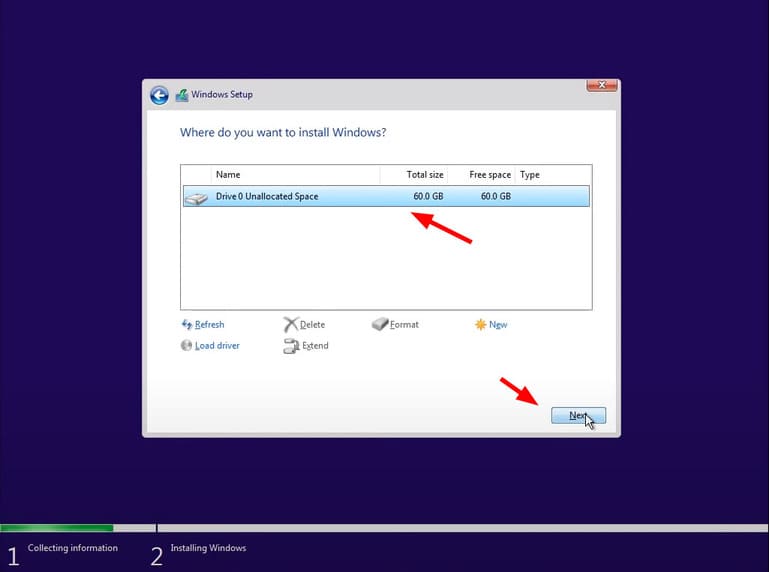
You choose the drive to install Windows 11. Note, Windows Setup will delete all data on that drive, so if you have important data, back it up. After selecting, click “Next”.
Next, you will be free to choose the version of Windows 11 you want to install. Here I choose Windows 11 Pro version.

When you are asked to enter the License Key, click on the words “I don’t have product key”.
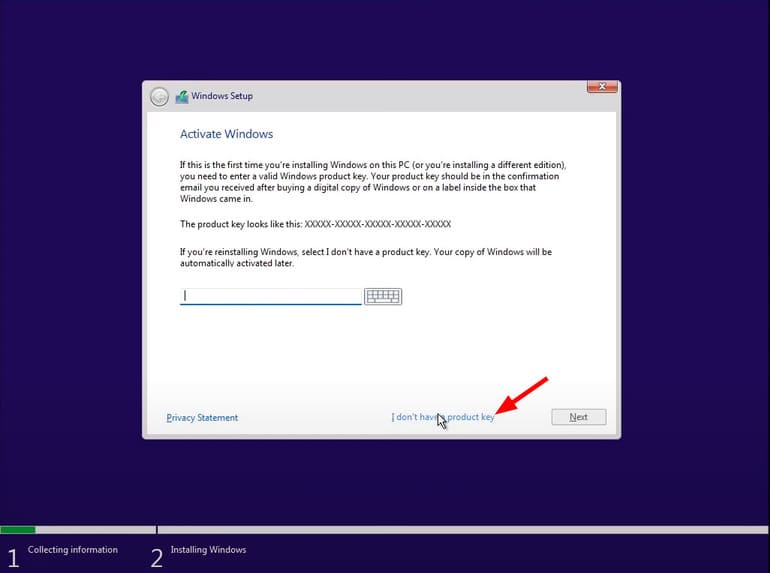
Make a cup of coffee and sit down, Windows 11 is installed. During this free time, you can read the article Link to Download Windows 11 and experience the new interface.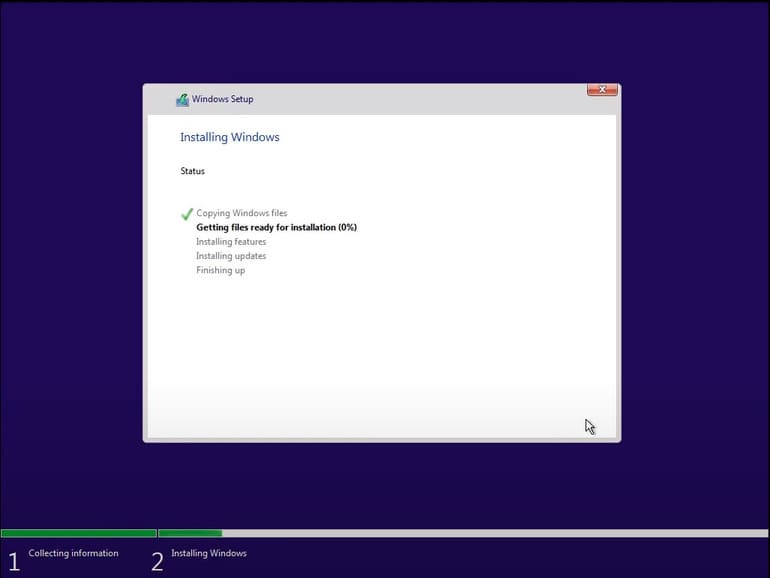
Step 4: Set up Windows 11
One of the biggest and most recognizable changes that I think you will be surprised by is the new Windows 11 installation interface. It’s really so beautiful and delicate.
Immediately after accessing Windows 11, you will be greeted with a completely new interface, very intuitive and soft. First, you will be able to choose the country or region you are in. In this step, you can choose the Vietnam region. After selecting, click “Yes”.
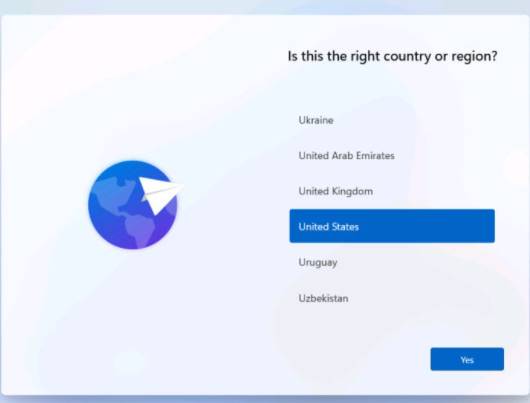
Next, you will be asked to choose the keyboard layout. For this step, just leave the default as “US” and then click “Yes”.
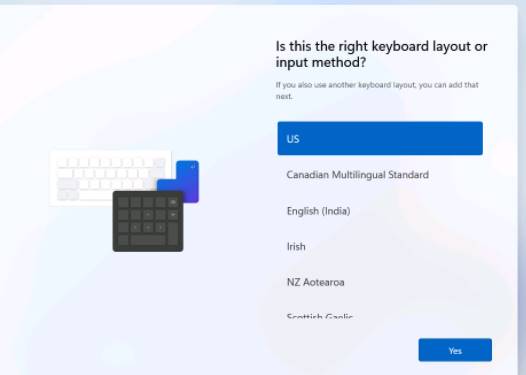
You don’t need to choose a second keyboard layout, just press “Skip”.
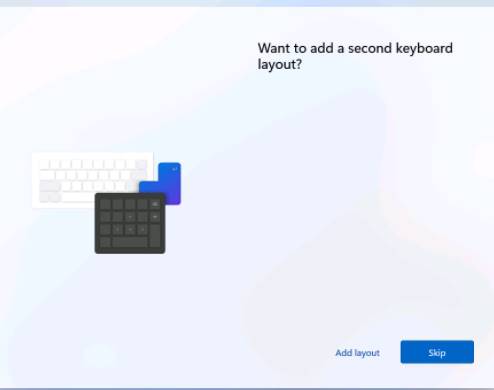
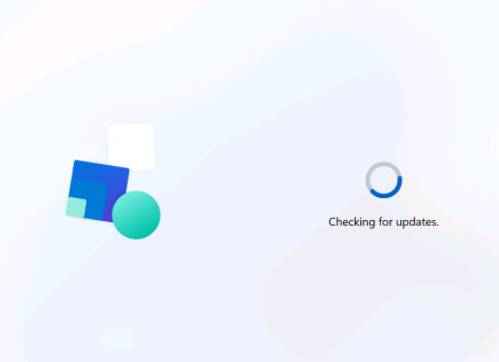
Wait a moment for Windows 11 to check for updates.
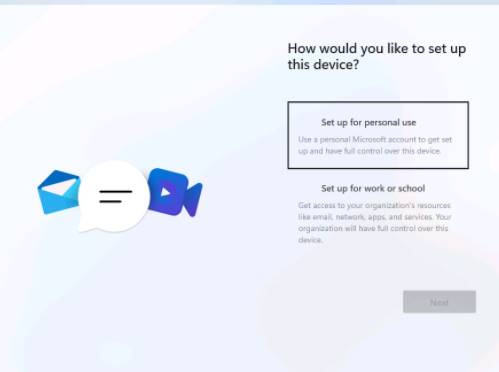
Next, you will be asked what the device is used for. There are 2 options: personal and work or for school. Here you choose “Set up for personal use” then click “Next”.
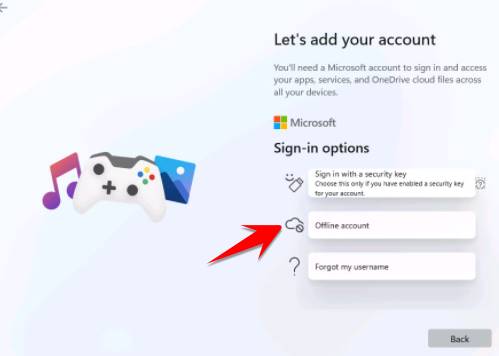
If you want to log in to your Microsoft account, please fill in your email in the field “Sign in” okay. If you want to use a local account or do not want to log in to a Microsoft account, choose “Sign-in options”.

The first option is to create a login usb key. Every time you want to log in to Windows, you must insert the USB that has been set up into the computer to unlock Windows. You can too read this article to see more USB key creation software.
The second option is to use an Offline account, that is, a Local account. But in this article, I will log in with a Microsoft account, so if you want to use a local account, wait for the next tutorial.
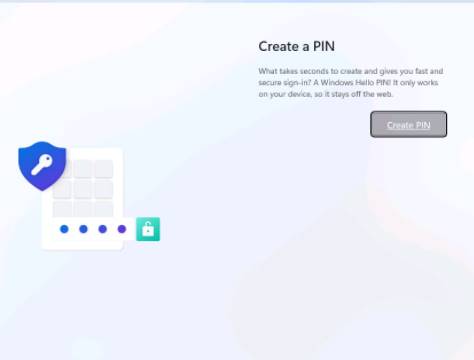
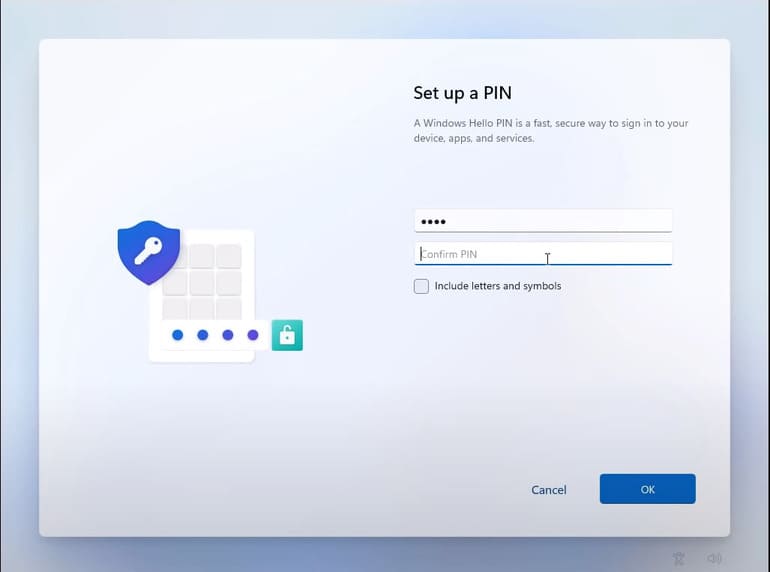
After successfully logging in to your Microsoft account, Windows 11 will ask you to create a login PIN. You press “Create PIN” to proceed with creating a PIN code.
After creating the PIN code, click “OK”.
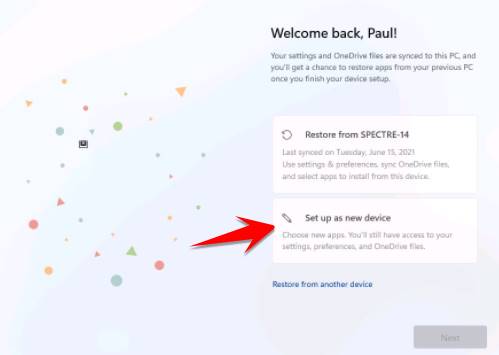
 In the next step, if you want to restore the settings you set in Windows 10, select the first line. I will set up a new device, so select the second line and click “Next”.
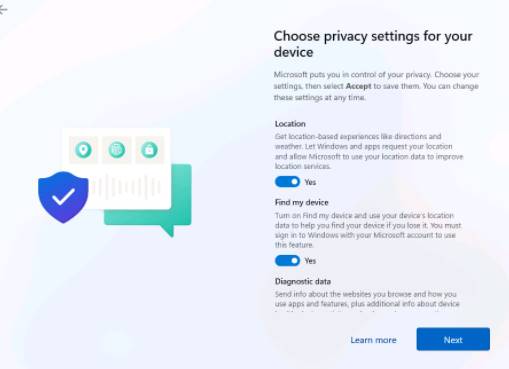
You will then see Microsoft’s privacy settings. If you do not want to enable any feature, turn it off and click “Accept”.
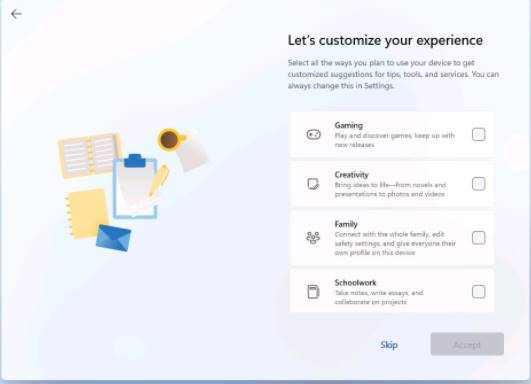
Next, choose the things you do frequently on your device. From there, Microsoft can provide suggestions and optimal settings for your work. You can always change these options in Settings so no need to worry. I choose Gaming with Creativity then press “Accept”.
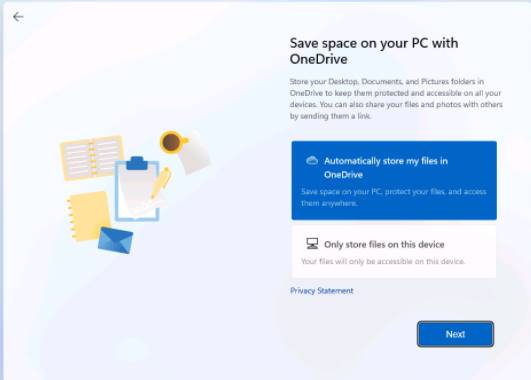
If you regularly use OneDrive, you can turn on the feature to automatically back up files on your computer to OneDrive to save computer memory. I don’t like using this feature, so I will select “Only store files on this device” and then click “Next”.
So you have successfully installed Windows 11. And this is the new interface of the Windows 11 operating system with very smooth rounded corners.

Now you can experience it to get used to it and wait for the official release of Windows 11 to update.
Frequently asked questions
What software do I need to create a Windows 11 installation USB?
You need Rufus software to burn Windows 11 ISO file to USB if installed according to UEFI standard. If installing on VMware, you only need to mount the ISO file.
Which installation mode should I choose: upgrade or fresh install?
The article covers both options. Select “upgrade” if you want to keep old data and applications. Select “fresh install” (clean install) if you want to install Windows 11 completely new, but need to back up data first.
Do I need a license key to install Windows 11?
Optional. The article shows how to install without a license key immediately, you can choose “I don’t have a product key”.