The difference between a picture and a great photo may be a few minutes you spend to edit it before sharing. These tips below can quickly improve your quality & highlight your photos.
| Join the channel Telegram belong to Anonyviet 👉 Link 👈 |
You can make all these edits on your smartphone with built -in tools, such as applications. Apple’s photo or Google Photos. Of course, there are more intensive applications for both lovers and professionalism.
Restore details from the dark and bright areas
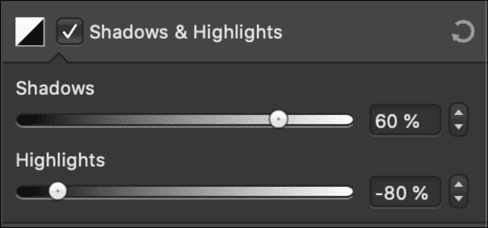
The bright area is the brightest area in your image, while the dark area is the darkest area. If one of these two colors is pure white or pure black, then these areas are excess or low light. You can overcome it by being able to try and swipe some details from these areas using the “Shadows” and “Hightlights” claws.
The format you used to take photos will affect the level of detail you can recover. If you take photos in the RAW format on the Digital SLR camera or regular camera or you have a smartphone application that can take RAW photos, you will have more things to do more next.
However, if you are using compressed image format, like JPEG, most details in the bright and dark areas will be removed during compression. The RAW file is much larger because it retains all the data taken when you press the shutter button, including those that can’t be seen with human eyes without editing.
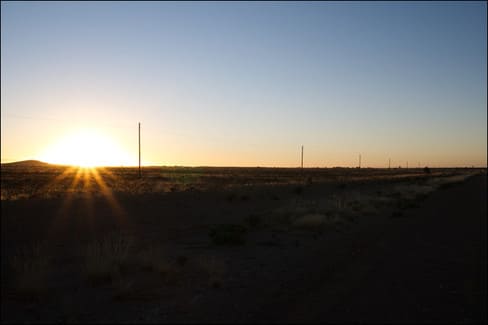
Even if you are taking a JPEG format on your smartphone, you will be able to recover too bright & too dark. The goal here is to create a more smooth image, of which no area is too bright or low in light. In this way, the image will lose contrast, but it’s okay because you can add it later.
First, reduce the “Hightlights” slider until you see some details returning to the brightest area of the image. Then, increase the “Shadows” slider to restore some details in the darkest areas.
The level you can restore the image too bright or too dark with one of these two settings depending on your image, its format and the interface of the app supported.
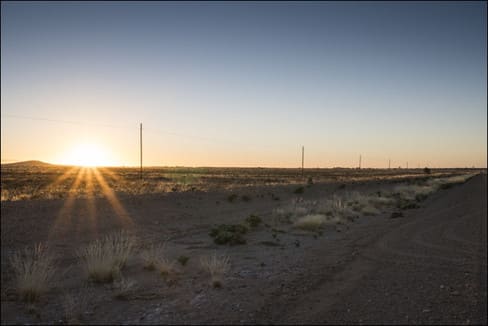
Now you have a flat image with more color bands. Now you can gradually add some contrast to the image using the contrast slider. However, go slowly if you do not want to lose any details you have just recovered above. It is important to find the appropriate balance between the color range and the contrast.
You can use this procedure to fix excess or low light by focusing mainly on the corresponding light or dark areas.
Straighten your photo
If the photo is completed, you notice the image is tilted and looks uncomfortable, you can completely adjust it straight
If it is a landscape photo, look for the horizon and adjust the tilt, rotate to match the horizon
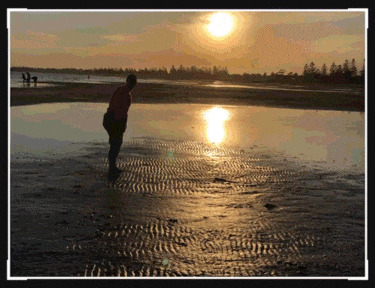
Or you can choose the objects in the image as a fulcrum to rotate the image more straight depending on your needs!
Cut the excess details if any
Cut the excess details to highlight the subject’s subject
For example. There is an excess mirror under the corner of the photo, if removing this mirror, the train will become more prominent

After removing:

White balance exactly to have more beautiful colors
Most of the cameras and smartphones do well the white balance work in the first shooting. Of course, no device is perfect. It is easy to use manual white balance but sometimes, light conditions change quickly or have too many light sources, causing white imbalance.
Different light sources produce different lighting temperatures and this is reflected in white balance. The golden sunset creates a warm light, while the image of a gloomy snowy mountain may seem cold and green. The tubular fluorescent light emits cold white light, while the incandescent lamp in the table lamp is usually warmer.
Please focus on the white balance as close to neutral white as possible.
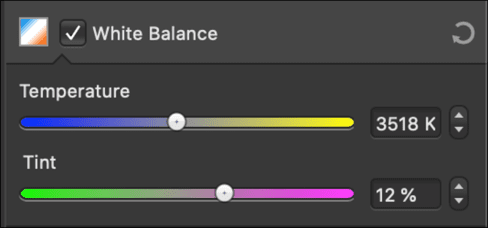
Try to balance the cold (blue) and warm (yellow) by adjusting the “Temperature” slider slider
Once you have balanced the yellow and blue, adjust the green and bright red (pink). Most image editing processes also have a “tint” slider that you can use to create a suitable balance between green and bright red.
Once you have achieved good white balance, your image will look neutral & harmonious. Human skin color will also become as natural as possible.
Increase colors with “Vibrance” & maintain image tones
The “Vibrance” slider targets the most sad, lightest colors in your image without overdoing the saturated tones. You can use the “saturated” slider to increase the overall color amount, but this will affect the entire image.
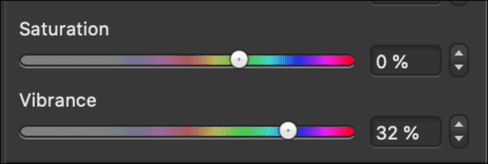
Do not abuse the saturation. Saturated skin tones can cause jaundice. Bruises like freckles or moles can become too prominent.
Or you can edit photos by Photoshop A more detailed way.


