When you forgot to prepare the green screen before recording the video but for some reason you want to change it change the background of the video after it has been recorded for the best video quality, it is completely impossible. But with a simple background, I will help you with the Unscreen tool in this article.
| Join the channel Telegram of the AnonyViet 👉 Link 👈 |
Introducing the Unscreen tool to remove the background for simple videos
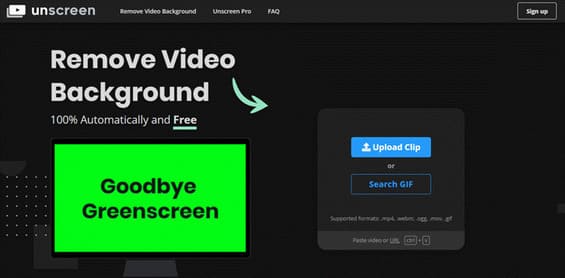
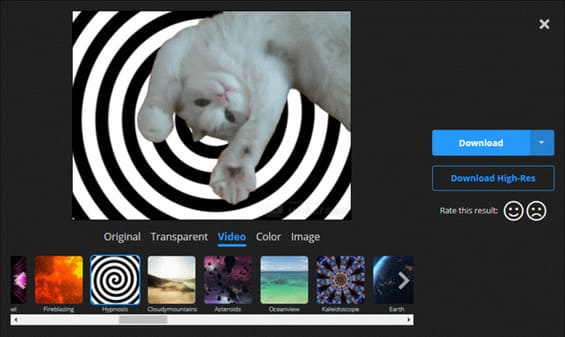
“Unscreen” is an online tool to help you remove Background Video completely automatically and 100% free. After uploading a file to remove the background you can make the background transparent or add videos, images or another color as a new video background.
Unscreen supports popular video formats like .mp4, .webm and .ogg but also other formats like .gif. You probably also know that both videos and animations are much more difficult to separate the background than the background of an image, so if Unscreen does not remove the background carefully, you should also understand, it is best that the video background is simple and clean, it works. The performance is quite good, the rest is only about 90%.
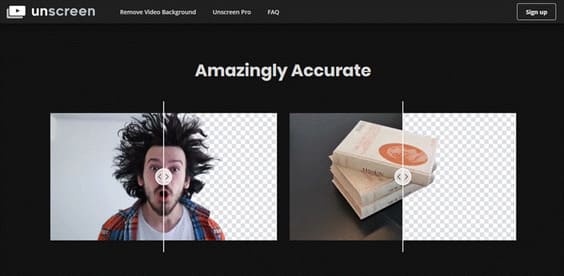
There are some simple examples on the website you can browse by dragging left and right to see the effect.
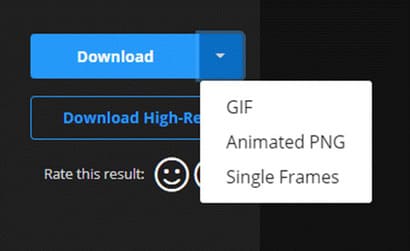
Unscreen has a paid Pro that supports Full HD resolution, full video duration, no watermark, and downloadable videos. The video after editing at Unscreen is currently only downloadable files in GIF, Animated PNG and Single Frames formats. I see it as more of a beta test than a finished service.
Instructions for using Unscreen to remove Video background
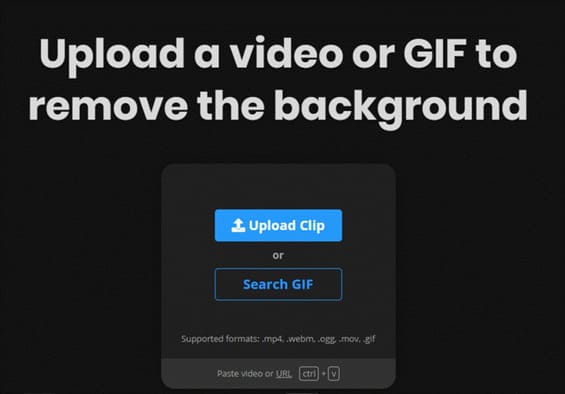
Step 1: The web site https://www.unscreen.com, click “Upload Clip” and then select the video or GIF file that needs to be removed from the background. If you want to find GIFs directly on GIFHY page then you can click “Search GIF”, it will search and when you done selecting it will automatically process for you or you can use video URL or shortcut ctrl + V.
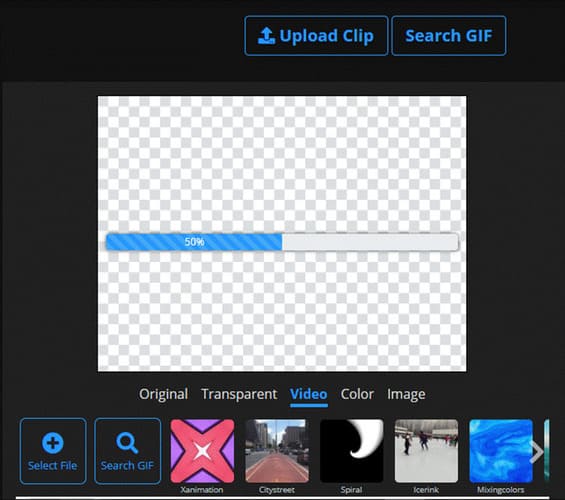
Step 2: While the Video is being processed, you can see more effects in the toolbar below. If the video has a complex background, Unscreen will not be able to highlight the main character or may not give the beautiful background you want.
Step 3: Once done, you can change the background from the bottom bar like adding videos or another image as the background.
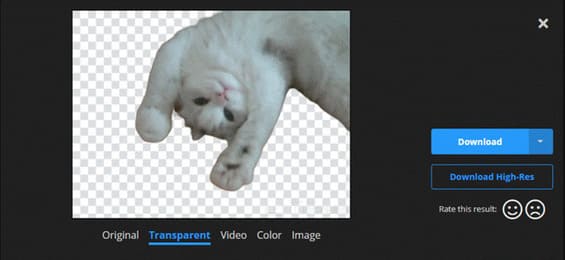
If you do not want to add any background but want to keep the background transparent after editing, click “Transparent”.
Unscreen really doesn’t have many options to help edit fonts, even the main character’s area in the video is automatically detected without any intervention from the user. If there is some intervention from the user, the result will be much better, hope the developer can add it in the next updates because there is still a lot of room for improvement.
Step 4: After separating the background you can click “Download” to download it, but currently Unscreen only allows you to download files in GIF, Animated PNG and Single Frames formats, the output of the video is limited to five seconds and the video output function longer will be released in the future.
So I have finished showing you how to separate the Video Background by Unscreen simply and quickly, the website interface is quite easy to use but a few functions need to be improved. Unscreen is also quite nice because sometimes circumstances do not allow to get a professional blue background. This tool will help you by finding a temporary background to shoot the fire, but it must be simple and clean a bit and then edit for “Unscreen” to work. Then you can completely change the background to your liking.
However, Unscreen is only suitable for short videos, enough to live on social networks because the output is only five seconds. And if you want to use it more professionally for work purposes, for example, you can wait for the Pro version.
Truong Thuy Quang Nhat

