These days, famous Pages all use BOT Chat to automatically reply to messages, like the autistic Simsimi app, today. AnonyViet I will guide you to create your own Facebook Messenger Chat BOT on FanPage, just follow the steps below in sequence.
| Join the channel Telegram belong to AnonyViet 👉 Link 👈 |
Here are the steps to create a chat bot on Facebook Messenger.
1. Setup
The Messenger bot uses a web server to process the messages it receives or figure out which messages to send.
1.1. Build server
1. Download and install Heroku Toolbet here: https://toolbelt.heroku.com/ to start, stop, and monitor problems.
If you don’t have an account, you can sign in for free at https://www.heroku.com.
2. Access https://nodejs.org to install Node create a server environment.
Then proceed to open Terminal or Command Line Prompt to make sure you have the latest version of npm installed by installing nmp again:
sudo npm install npm –g
3. Create a new folder and create a new Node project. Press Enter to accept the default value:
npm init
4. Install more Node Dependencies service pack. Express for the server requires sending the message, and the body-parser is for handling the message:
npm install express request body-parser --save
5. Create the index.js file in the directory and copy the following code to confirm the bot:
var express = require('express')
var bodyParser = require('body-parser')
var request = require('request')
var app = express()

app.set('port', (process.env.PORT || 5000))

// Process application/x-www-form-urlencoded
app.use(bodyParser.urlencoded({extended: false}))

// Process application/json
app.use(bodyParser.json())

// Index route
app.get('/', function (req, res) {
    res.send('Hello world, I am a chat bot')
})

// for Facebook verification
app.get('/webhook/', function (req, res) {
    if (req.query['hub.verify_token'] === 'my_voice_is_my_password_verify_me') {
        res.send(req.query['hub.challenge'])
    }
    res.send('Error, wrong token')
})

// Spin up the server
app.listen(app.get('port'), function() {
    console.log('running on port', app.get('port'))
})
6. Create a file and name it Procfile, then copy the following line of code in so that Heroku can know which file to run:
web: node index.js
Validate all the code with Git then generate a new Heroku code and “push” the codes to the cloud:
web: node index.js7. Validate all code with Git then generate a new Heroku code and “push” the code to the cloud:
git init
git add .
git commit --message 'hello world'
heroku create
git push heroku master
1.2. Set up the Facebook App
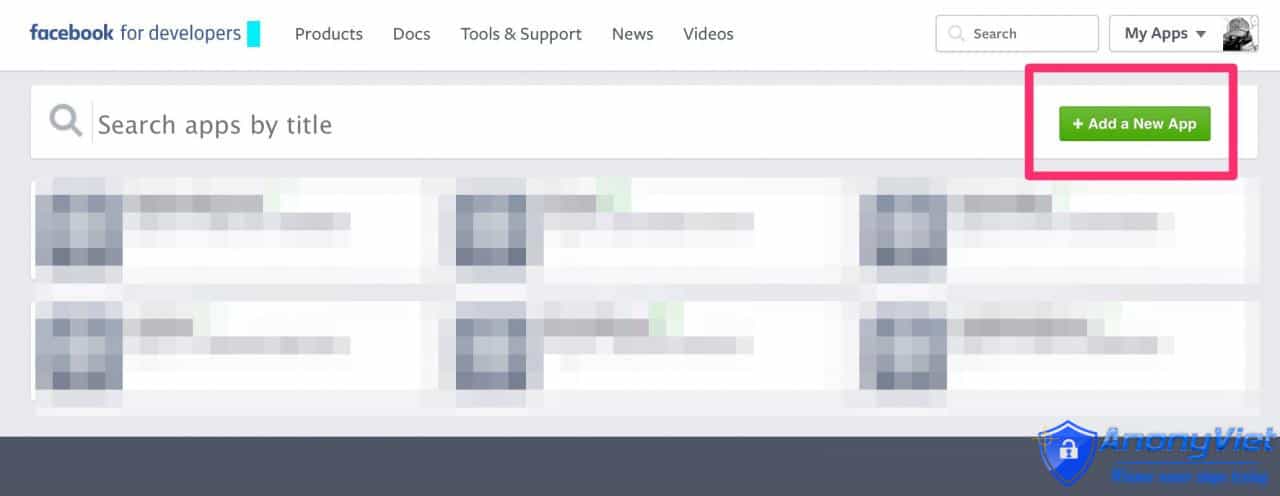
1. Access https://developers.facebook.com/apps/ to create or configure a Facebook App or Page.
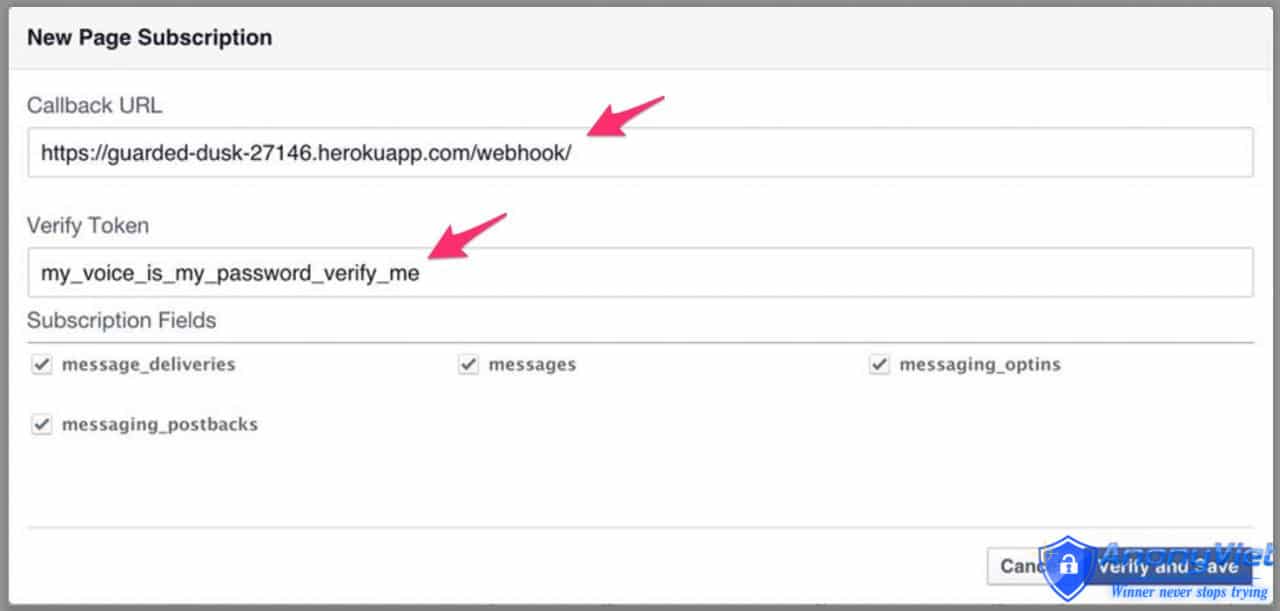
2. On the app, switch to the Messenger tab then click Setup Webhook. Here enter the URL code of the Heroku server and the token.
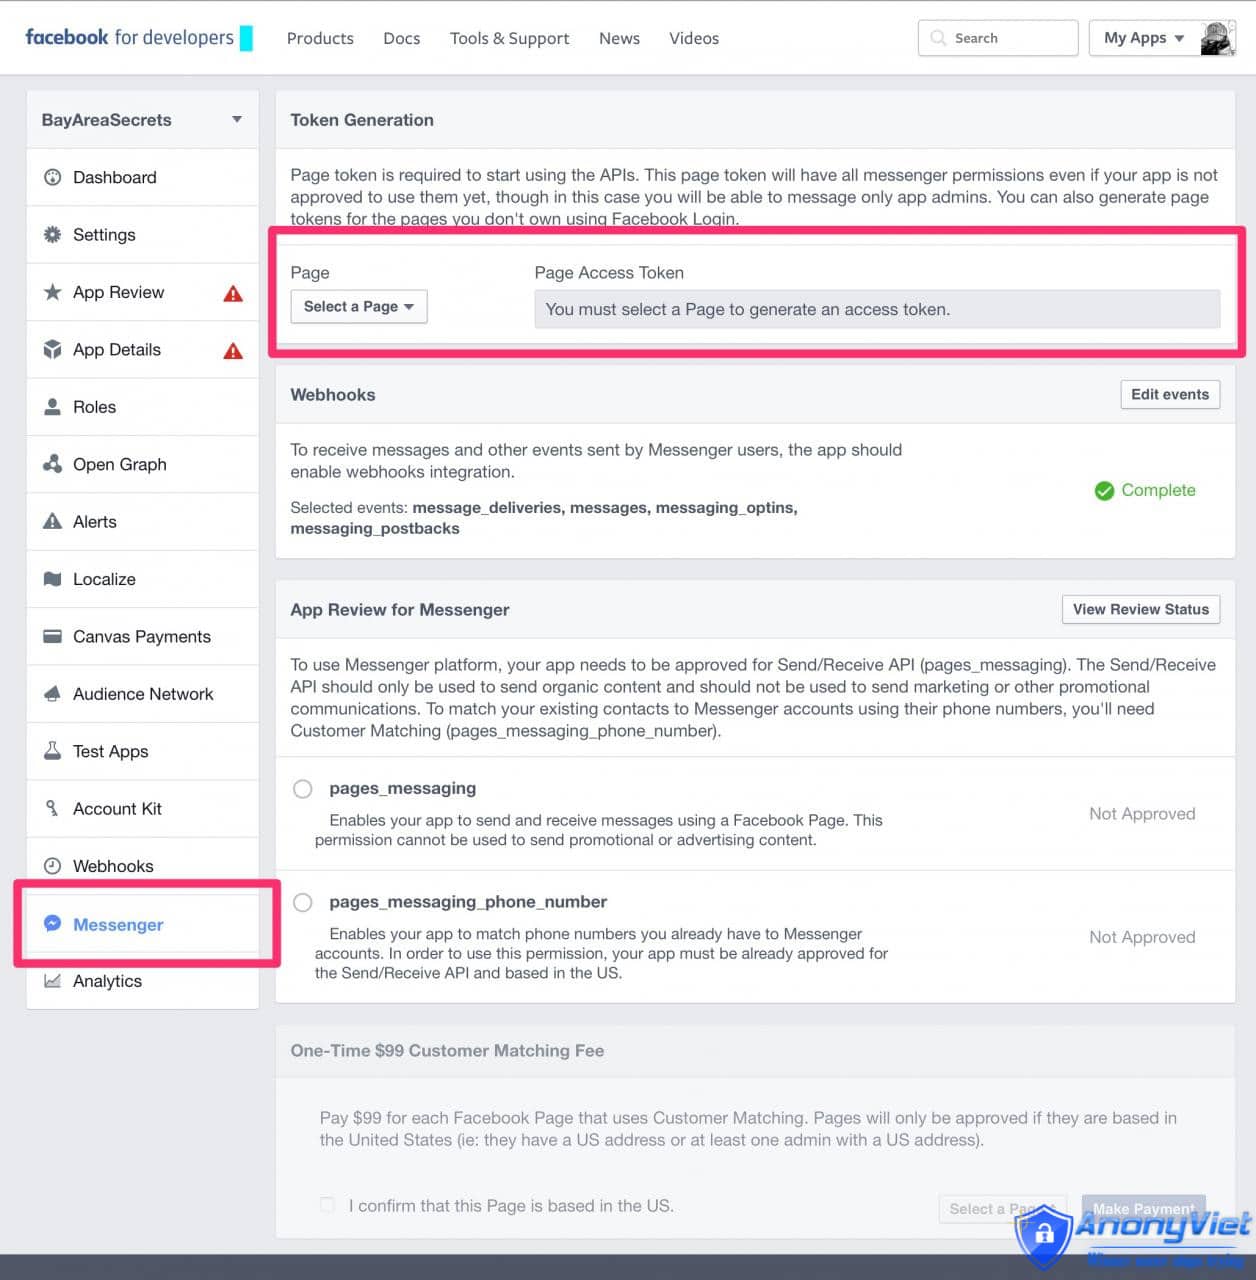
3. Get Page Access Token and save this code.
4. Return to Terminal and enter the command below to activate the Facebook app to send messages. Note, use the token that you used before.
-
curl -X POST "https://graph.facebook.com/v2.6/me/subscribed_apps?access_token=<PAGE_ACCESS_TOKEN>"
1.3. Set up Bot
1. Add an API endpoint to index.js to handle the message. Note, including the token you received earlier:
app.post('/webhook/', function (req, res) {
    messaging_events = req.body.entry[0].messaging
    for (i = 0; i < messaging_events.length; i++) {
        event = req.body.entry[0].messaging[i]
        sender = event.sender.id
        if (event.message && event.message.text) {
            text = event.message.text
            sendTextMessage(sender, "Text received, echo: " + text.substring(0, 200))
        }
    }
    res.sendStatus(200)
})

var token = "<PAGE_ACCESS_TOKEN>"
2. Add a function to respond to messages:
function sendTextMessage(sender, text) {
    messageData = {
        text:text
    }
    request({
        url: 'https://graph.facebook.com/v2.6/me/messages',
        qs: {access_token:token},
        method: 'POST',
        json: {
            recipient: {id:sender},
            message: messageData,
        }
    }, function(error, response, body) {
        if (error) {
            console.log('Error sending messages: ', error)
        } else if (response.body.error) {
            console.log('Error: ', response.body.error)
        }
    })
}
3. Validate the code again and push to Heroku:
git add .
git commit -m 'updated the bot to speak'
git push heroku master
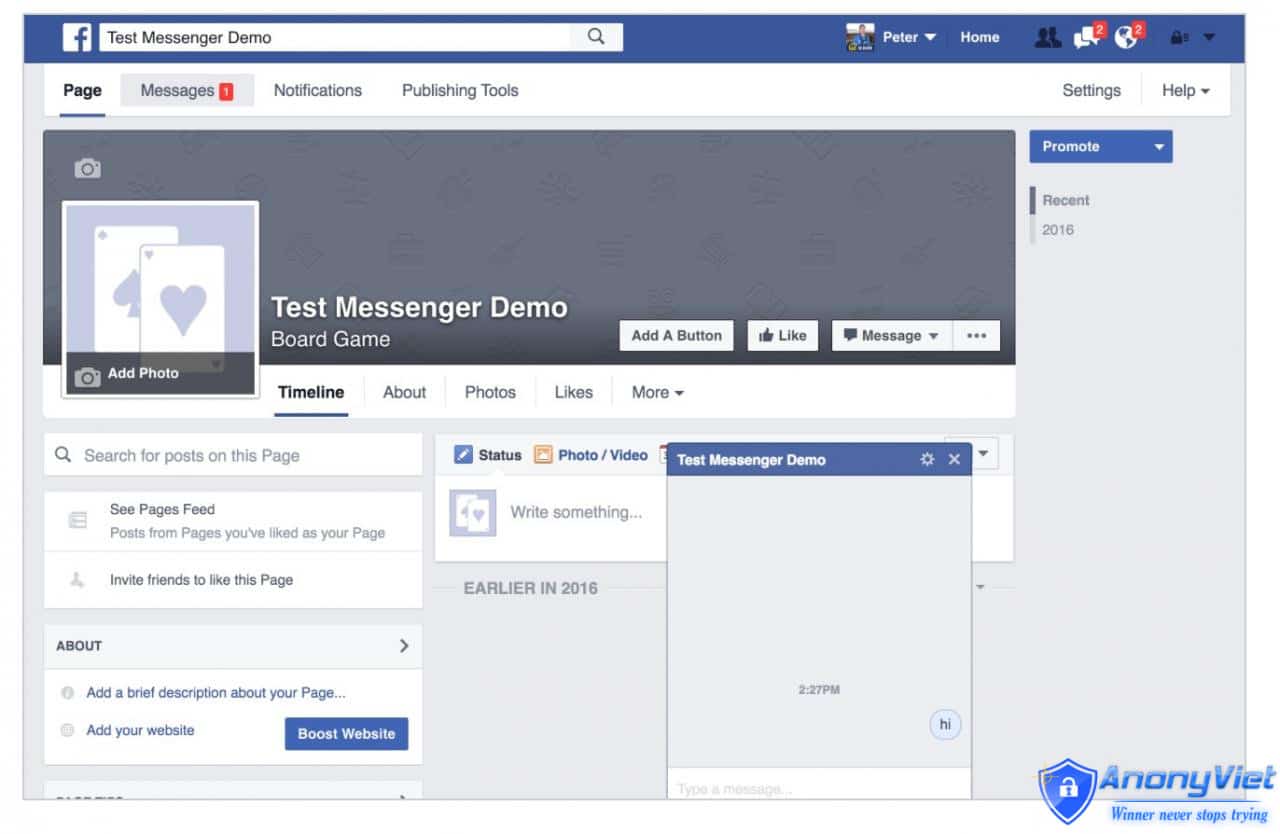
4. Go to Facebook and click Message to start chatting.
2. Customize the “speak” bot message
2.1. Send a message structure of Message
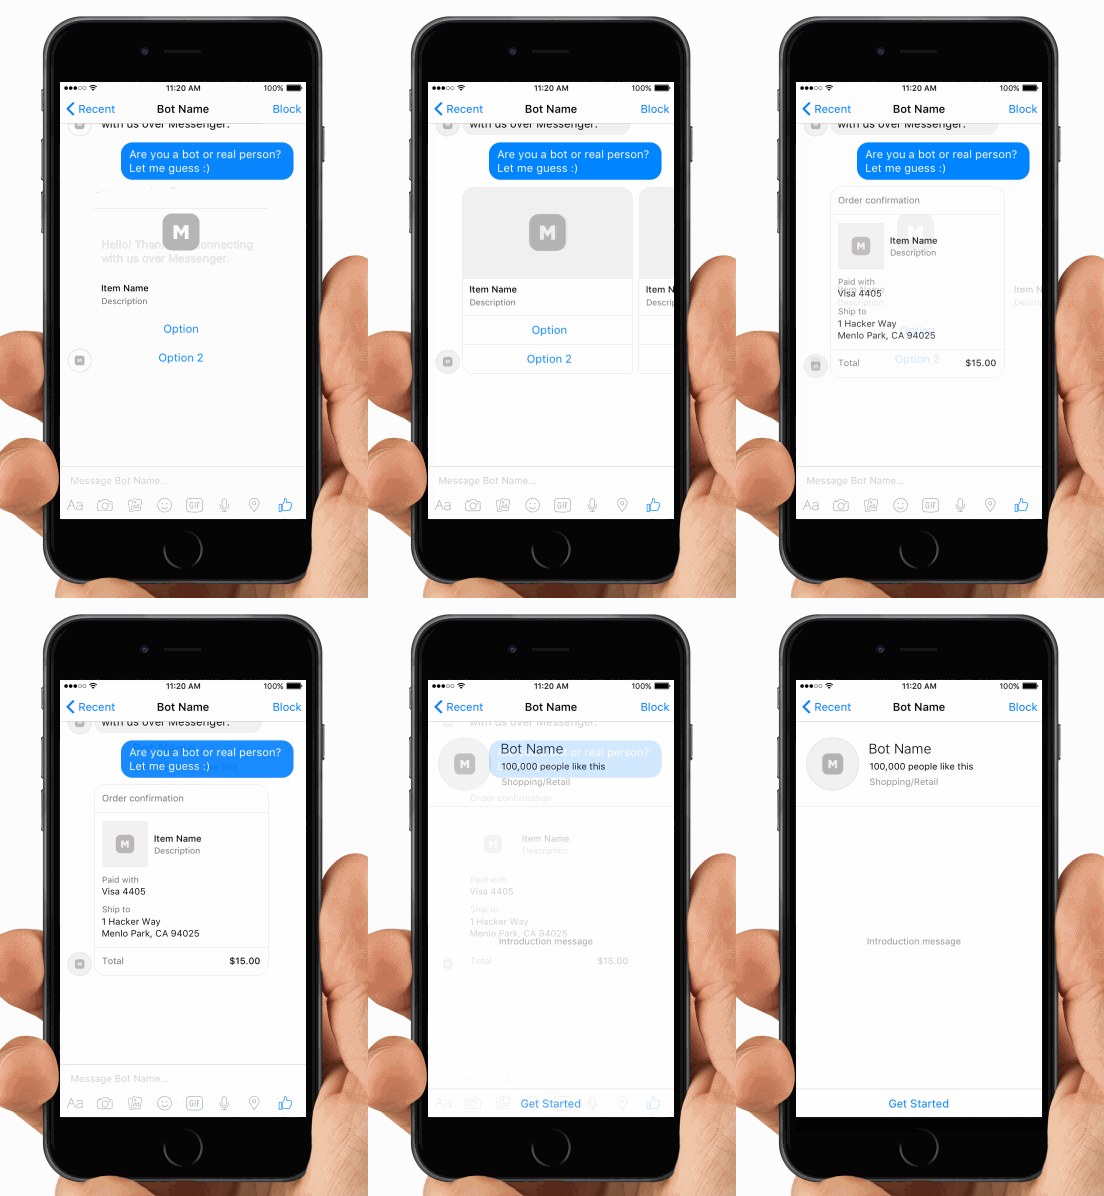
Facebook Messenger can send a Message structure in the form of cards or buttons.
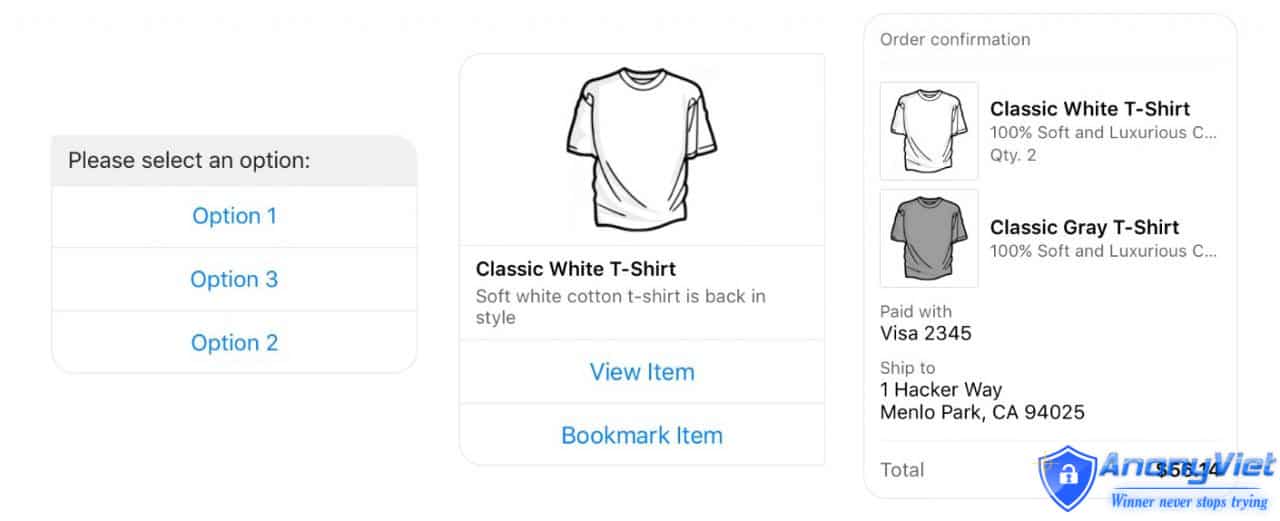
1. Copy the code below some index.js to send a double check message as 2 cards:
function sendGenericMessage(sender) {
    messageData = {
        "attachment": {
            "type": "template",
            "payload": {
                "template_type": "generic",
                "elements": [{
                    "title": "First card",
                    "subtitle": "Element #1 of an hscroll",
                    "image_url": "http://messengerdemo.parseapp.com/img/rift.png",
                    "buttons": [{
                        "type": "web_url",
                        "url": "https://www.messenger.com",
                        "title": "web url"
                    }, {
                        "type": "postback",
                        "title": "Postback",
                        "payload": "Payload for first element in a generic bubble",
                    }],
                }, {
                    "title": "Second card",
                    "subtitle": "Element #2 of an hscroll",
                    "image_url": "http://messengerdemo.parseapp.com/img/gearvr.png",
                    "buttons": [{
                        "type": "postback",
                        "title": "Postback",
                        "payload": "Payload for second element in a generic bubble",
                    }],
                }]
            }
        }
    }
    request({
        url: 'https://graph.facebook.com/v2.6/me/messages',
        qs: {access_token:token},
        method: 'POST',
        json: {
            recipient: {id:sender},
            message: messageData,
        }
    }, function(error, response, body) {
        if (error) {
            console.log('Error sending messages: ', error)
        } else if (response.body.error) {
            console.log('Error: ', response.body.error)
        }
    })
}
2. Update Webhook API to look for special messages to trigger on the card:
app.post('/webhook/', function (req, res) {
    messaging_events = req.body.entry[0].messaging
    for (i = 0; i < messaging_events.length; i++) {
        event = req.body.entry[0].messaging[i]
        sender = event.sender.id
        if (event.message && event.message.text) {
            text = event.message.text
            if (text === 'Generic') {
                sendGenericMessage(sender)
                continue
            }
            sendTextMessage(sender, "Text received, echo: " + text.substring(0, 200))
        }
    }
    res.sendStatus(200)
})
2.2. Respond to user messages
What happens when the user clicks the button or card on the Message? In this case update the Webhook API again to send the postback function:
    ```
app.post('/webhook/', function (req, res) {
    messaging_events = req.body.entry[0].messaging
    for (i = 0; i < messaging_events.length; i++) {
        event = req.body.entry[0].messaging[i]
        sender = event.sender.id
        if (event.message && event.message.text) {
            text = event.message.text
            if (text === 'Generic') {
                sendGenericMessage(sender)
                continue
            }
            sendTextMessage(sender, "Text received, echo: " + text.substring(0, 200))
        }
        if (event.postback) {
            text = JSON.stringify(event.postback)
            sendTextMessage(sender, "Postback received: "+text.substring(0, 200), token)
            continue
        }
    }
    res.sendStatus(200)
})
```
Add Git, commit and push to Heroku again.
You can now chat with the bot and enter “Generic” to see the bot.
Author: Quantrimang.com


