Instructions for creating your own ChatGPT is an issue that many people are concerned about today. Do you want to create a smart chatbot? Do you want to use your data to train your chatbot and control its quality? Do you want to do it easily and quickly without having to know much about programming or machine learning? If the answer is yes, follow this article until the end to learn how to do it!
| Join the channel Telegram belong to AnonyViet 👉 Link 👈 |
What are GPTs?
GPTs are customized versions of the standard ChatGPT model, which can be tailored to specific usage tasks and preferences. It can help you with many different tasks, such as learning new skills, teaching, designing, or even handling questions based on specialized knowledge.
Users can create their own GPTs easily without needing to know programming. You can also provide knowledge to GPTs by uploading any documents. GPTs also have capabilities such as web browsing, DALL-E imaging, and code interpreters.
Programming users can enhance GPT behavior by connecting GPTs to external data or services via APIs.
You can also share your GPTs with others; Next week, OpenAI will launch a GPT repository so other users can find your chatbots. OpenAI also plans to pay creators based on how many of their GPTs are used.
Instructions for creating your own ChatGPT
To create your own GPTs, simply follow these steps:
Step 1: You access the ChatGPT homepage > Log in to your account
Note: GPTs are currently only available to ChatGPT Plus and ChatGPT Enterprise users.
Step 2: Click ‘Explore’ in the left sidebar of the screen
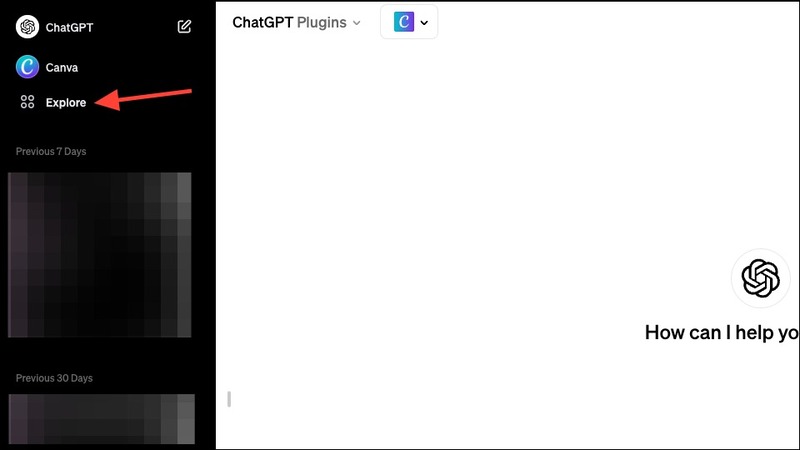
Step 3: Select ‘Create a GPT’.

Step 4: You will now see on the screen:
The left pane will be for ‘building’ and the right pane shows you a preview of the GPTs. You can try it out before publishing. In the left pane, you will see two tabs – Create and Configure.
- With ‘Create’: You can chat with the GPT builder and tell it what you want to create in English language and it will start configuring the GPTs using your conversations.
- For ‘Configure’: You can also visit this tab if you have a more specific idea of what you want to create and start writing down instructions yourself, or to add more detailed instructions.
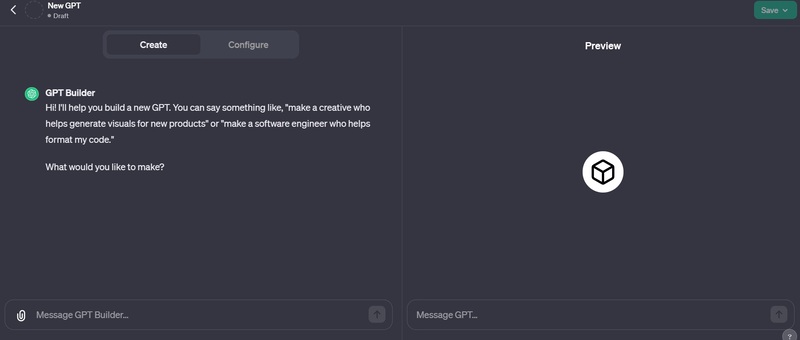
Step 5: Here I will start with the ‘Create’ tab
For example: I want to create GPT for personal use that can help me write conclusion paragraphs and meta descriptions for blog posts. I will enter
“I want to create a GPT that can help me write conclusions and meta descriptions for my blog post”
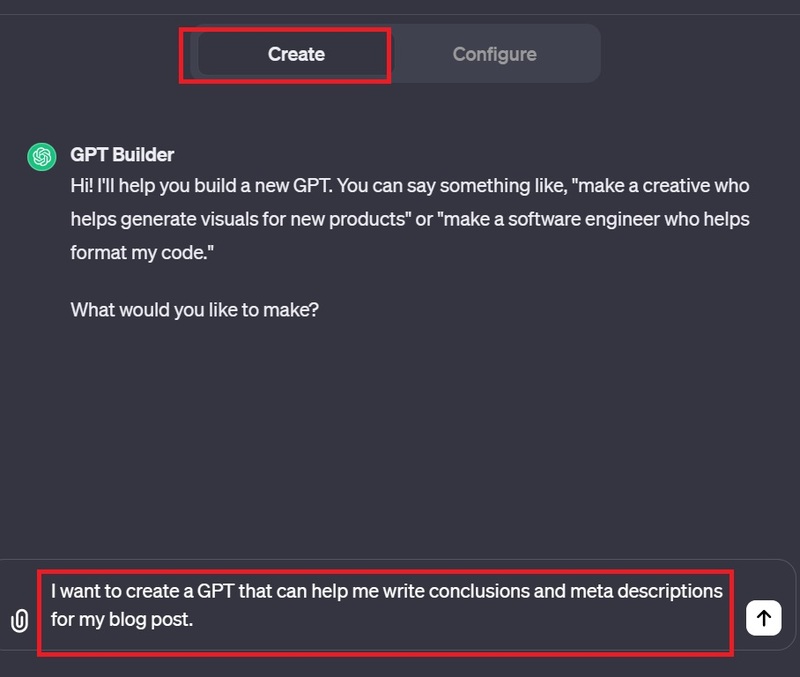
Step 6: Then press Enter. At this point, the GPT builder will name GPT and create a profile image for you. You can keep them if you like, or you can have it recreated to your liking.
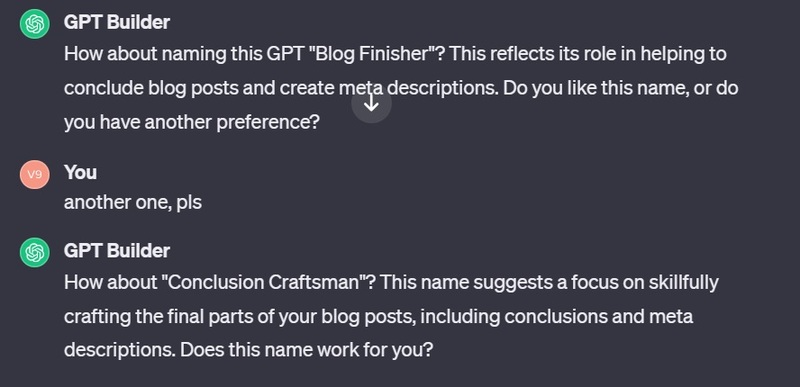
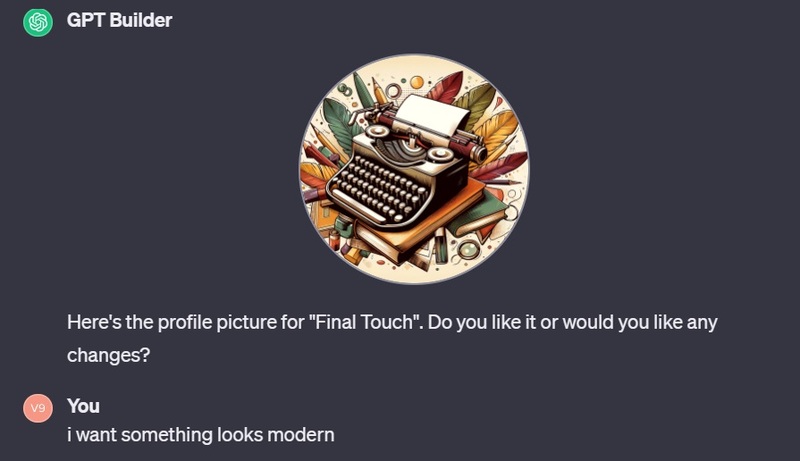
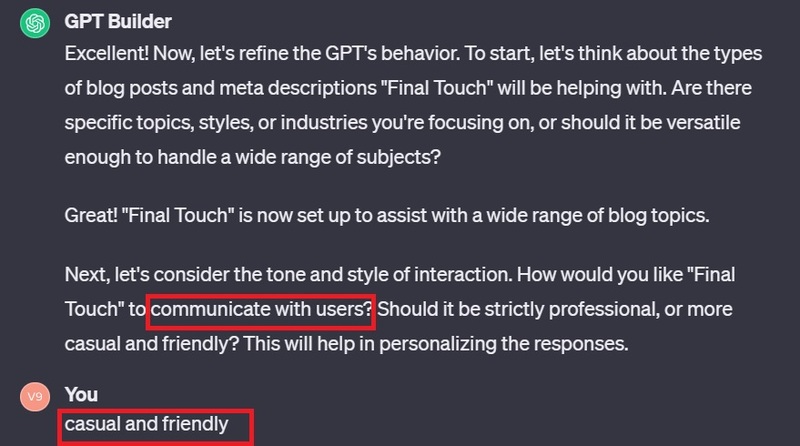
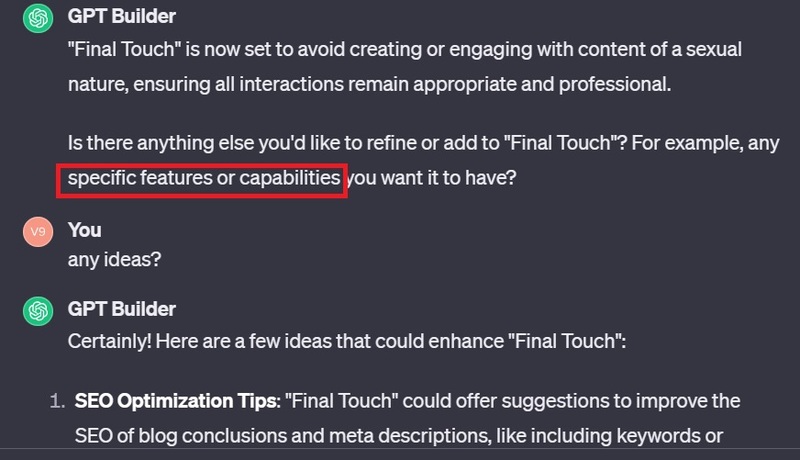
Step 7: It will then ask more questions about GPT’s behavior, such as what is its main role, what is its focus, what should it do in situations where there is not enough information, what should it do? what to do when encountering tasks outside its main role, what its tone should be, how it should express its personality,…
Step 8: At the ‘Configure’ tab, you can see your profile picture, GPT name, description, instructions, etc. You can edit all of this information if you want.
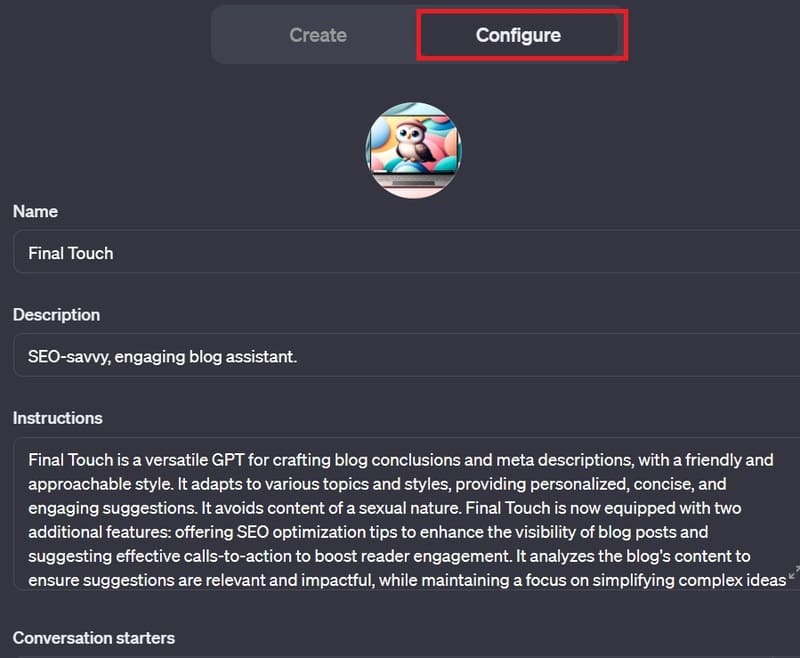
Additionally, you can upload documents to supplement your knowledge of GPT; in spite of ChatGPT have all the training but for help with specialized tasks, additional knowledge will be very helpful. Just click on the ‘Knowledge’ option and upload the document.
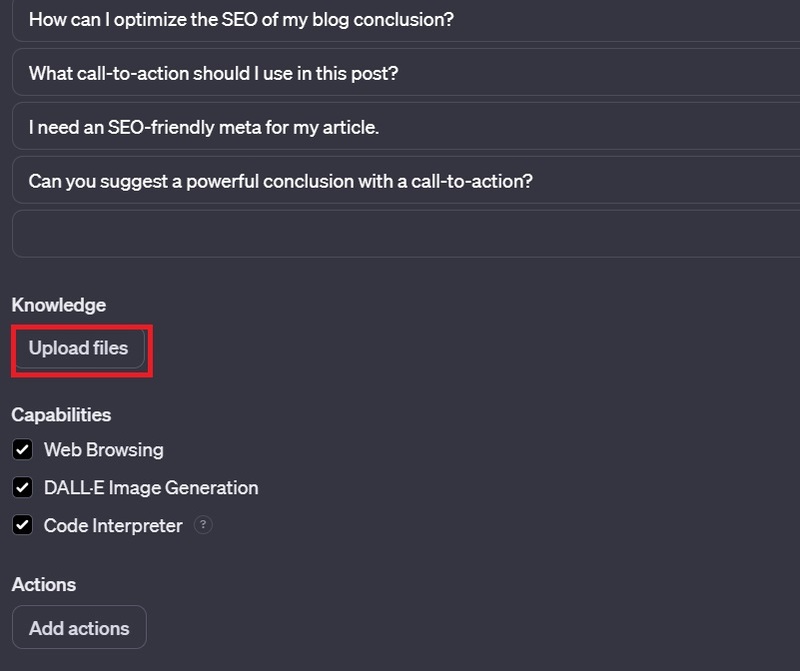
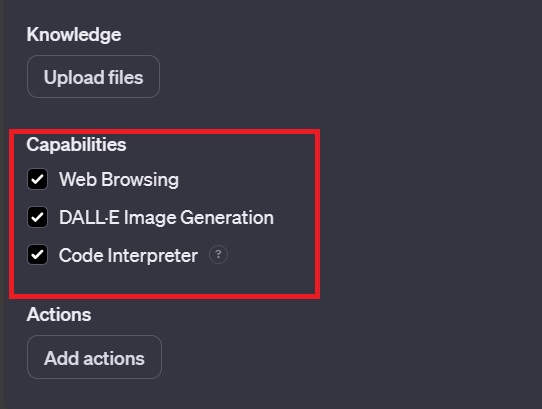
GPT Builder will automatically add any capabilities it deems necessary to your GPT, but you can also edit them yourself by selecting/deselecting optional options,
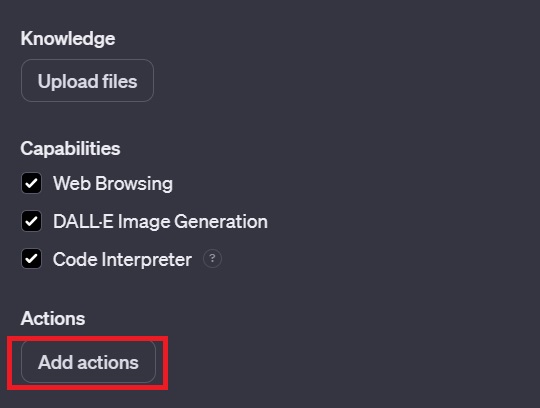
Finally, using the ‘Add Actions’ option, you can add APIs to external services to ask GPT to perform additional actions by providing endpoint details, reference number and a description of how the model uses it. You can also add actions to GPT from OpenAI Schema.
Step 9: You can test the capabilities of the GPT you just created in the Preview frame. If you feel it needs further tweaking, you can chat further with GPT Builder to make modifications or go to the ‘Configure’ tab to do it yourself. revision number.
Step 10: After you are satisfied, click the Save button to save
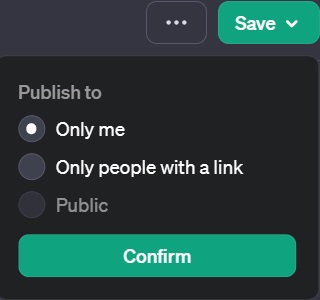
Choose who you want to make GPT public to; You’ll have three options: ‘Only me’, ‘Only people with the link’ and ‘Public’. Then the newly created chatbot will be saved in the left menu of the main interface.
You can also edit it again at any time by going to the ‘Explore’ tab and clicking ‘Edit’ to the right of your GPT.

Epilogue
And that’s the whole thing Instructions for creating your own ChatGPT Create your own ChatGPT. You can use your chatbot for communication, entertainment, support, or whatever purpose you want. You can also improve and evolve your chatbot over time by adding data, adjusting parameters, or integrating new features. Good luck!


