
Are you looking for ways to make your Windows 11 computer run smoother? Let's explore with AnonyViet How to set virtual RAMthe ultimate solution for performance and multitasking.
| Join the channel Telegram belong to AnonyViet 👉 Link 👈 |
What is virtual RAM?
Virtual memory, or virtual RAM, is an important feature of the operating system that allows a portion of the hard drive to be used as an extension of physical RAM. In the event of a shortage of RAM, the computer system will automatically switch to using space on the hard drive to create more virtual memory, making it possible to run programs that require more RAM than is available.

Advantages of virtual RAM
Enhanced multitasking capabilities: Using virtual RAM allows the computer to run multiple applications at the same time without requiring a large amount of physical RAM, thereby improving work performance and user productivity.
- Cost savings: Instead of investing in purchasing additional physical RAM, users can take advantage of free virtual RAM from the operating system to meet memory needs.
- Increased hardware durability: Not having to regularly upgrade physical RAM reduces hardware wear and tear, thereby extending the life of your computer.
- Easy to manage: Managing virtual RAM through the operating system is a flexible and easy process, allowing users to adjust the capacity according to their personal usage requirements.
How to calculate virtual RAM capacity
Here are instructions for calculating virtual RAM size:
- Initial Size: It is recommended to set the initial size equal to the physical RAM capacity to ensure the system has enough memory for basic tasks.
- Maximum Size: Microsoft recommends that the maximum size of virtual RAM should be 1.5 to 3 times the size of physical RAM.
How to set virtual RAM on Windows 11
Here are the steps to help you set up RAM virtual machine on Windows 11, helping the device operate more smoothly when processing tasks that require many heavy tasks.
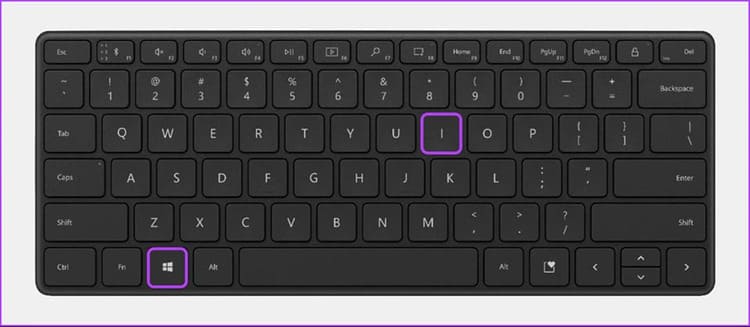
Step 1: Access Settings by pressing Windows key + I.
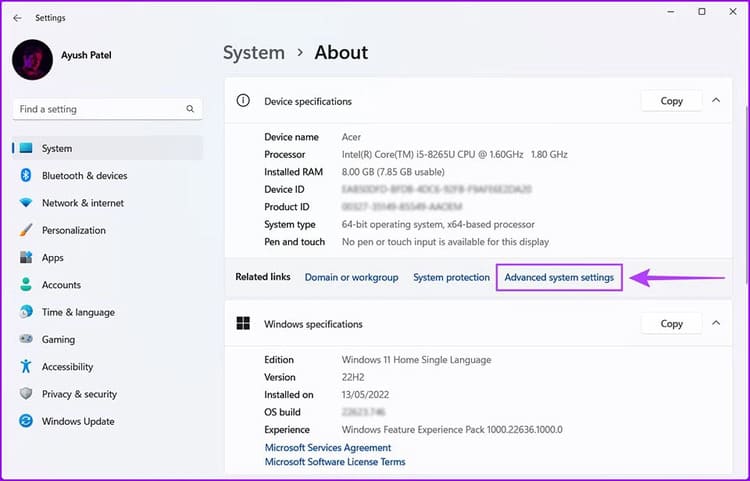
Step 2: Select System and then About at the bottom of the list.
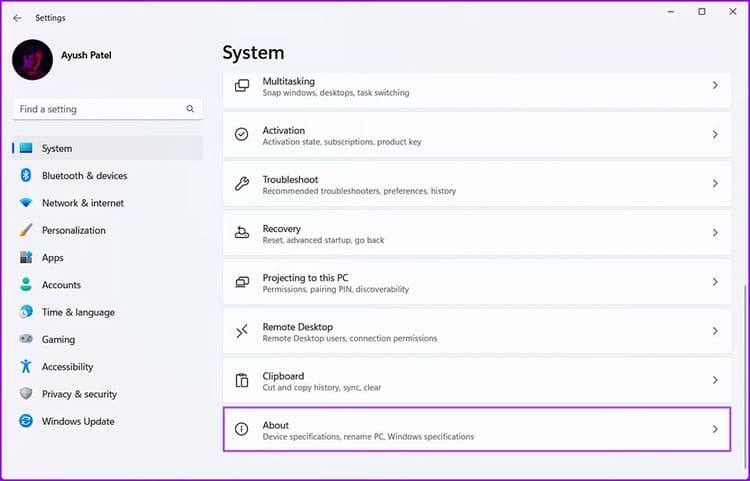 Select System > About
Step 3: Find and select 'Advanced system settings'.
Step 4: In the Advanced tab > Click 'Settings'
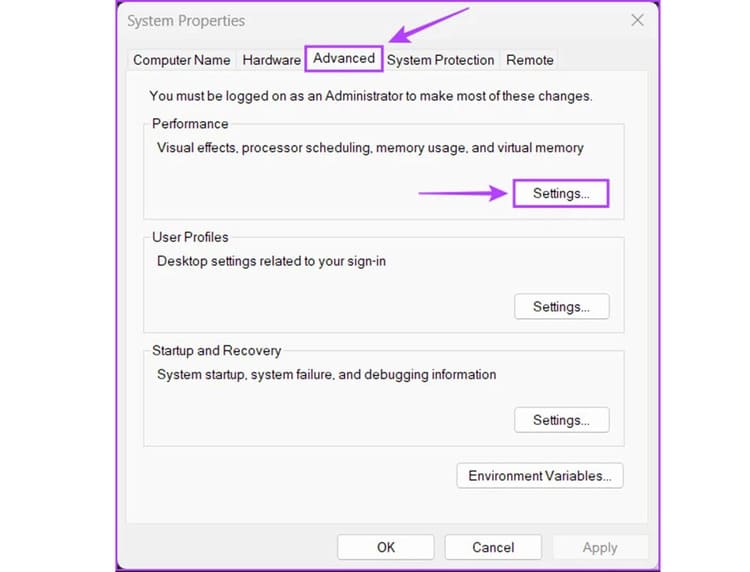 In the Advanced tab > Click 'Settings'
Step 5: Go to the Advanced tab in the Performance Options window
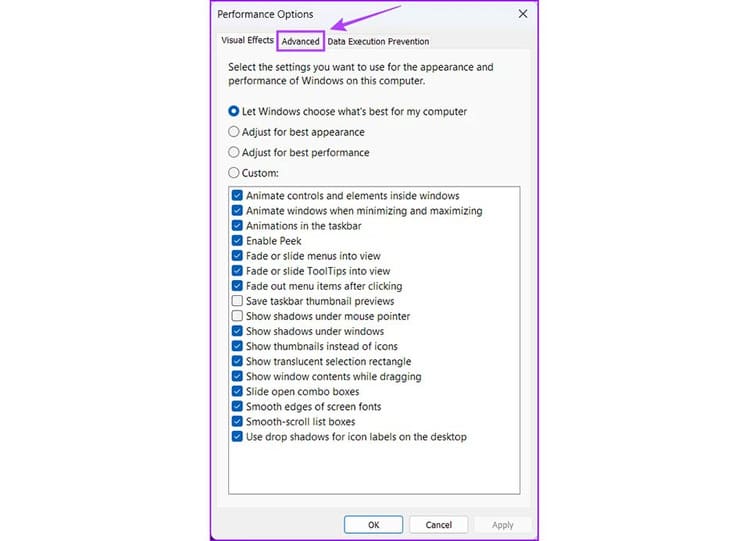
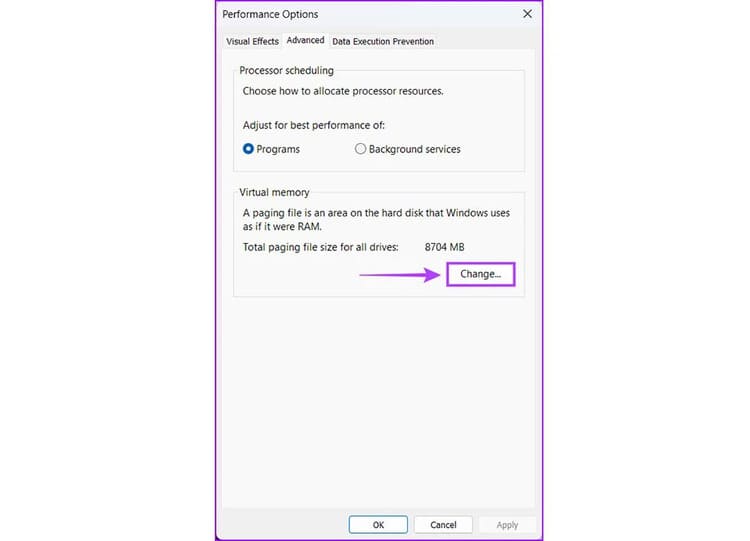
Step 6: Next, select 'Change' under Virtual memory.
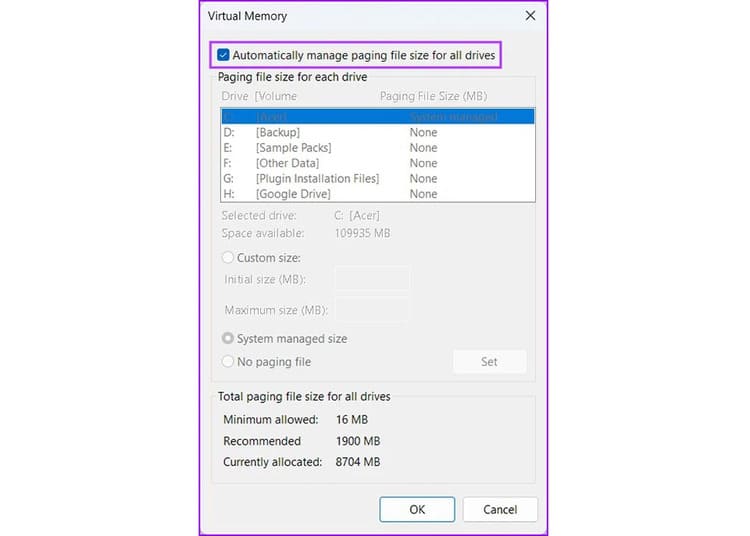
Step 7: In the Virtual Memory interface, clear the Automatically manage paging file size for all drives option.
Step 8: Select the drive you want to use to install virtual RAM, usually the drive that contains the Windows operating system (for example, drive C:). Enter a Custom size, including Initial size and Maximum size.
Note that the initial size should be equal to the physical RAM and the maximum size should be 1.5 to 3 times the physical RAM.
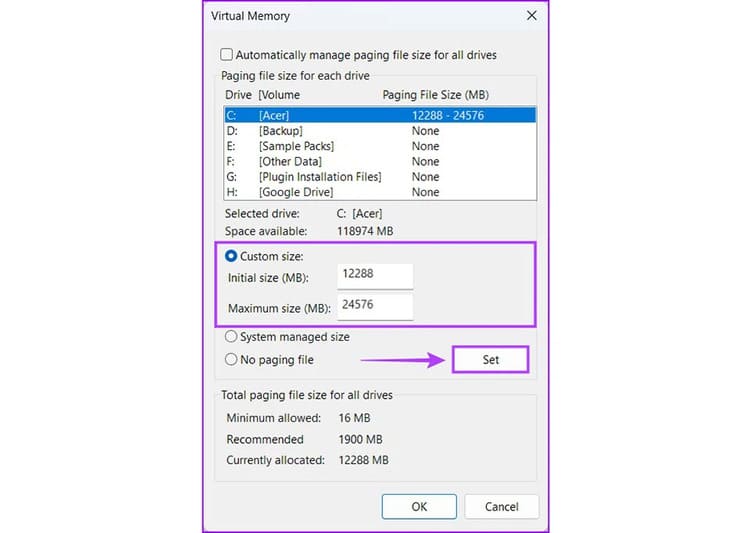
Step 9: Press Set then OK to complete the installation.
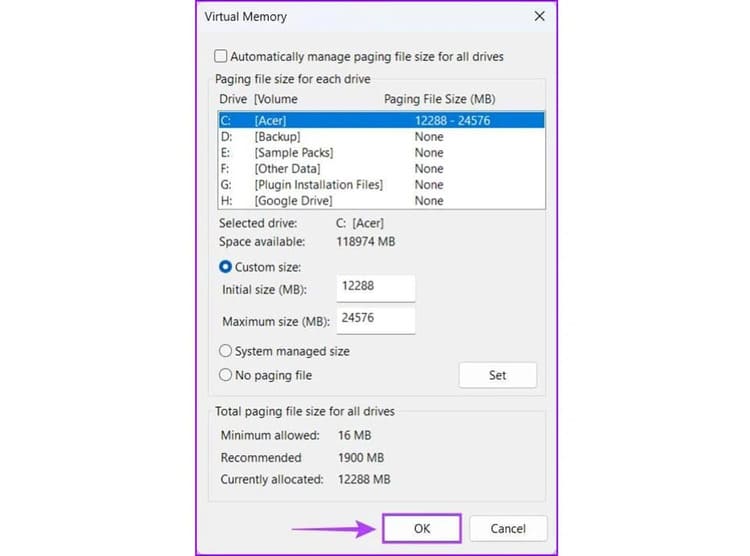
Step 10: Once you have completed the above steps, click OK to close the windows. Then restart your computer to update the changes.
Epilogue
Setting virtual RAM is an effective solution to improve computer performance. Especially when you cannot upgrade physical RAM. Apply the above steps to make your computer run smoother. Good luck!


