Some friends after creating VPS Google Cloud by IBAN successfully, but then the VPS was turned off because the payment could not be made, there are also cases where some of you verify bank failed so you can’t create a VPS. That’s because Google can’t verify your IBAN for payment. Therefore, you need to fix the error of not being able to create VPS on Google Cloud by adding more Other Billing. This way, you can easily reuse your old account to continue creating a free Google VPS with a $300 trial. Please follow the instructions below to Fix the error of not creating VPS on Google Cloud.
| Join the channel Telegram of the AnonyViet 👉 Link 👈 |
Fix the error of not being able to create VPS on Google Cloud by creating another Bill
The feature of these fixes is that you will not have to create another Google Account. In case the active Google Cloud VPS is locked, you still continue to add another IBAN to create another VPS to use, the old VPS will stop working. Instructions in the article use IBAN of Germany (Germany), you can use English, French … as long as you have IBAN.
Image illustrates the error that cannot create a Google Cloud VPS: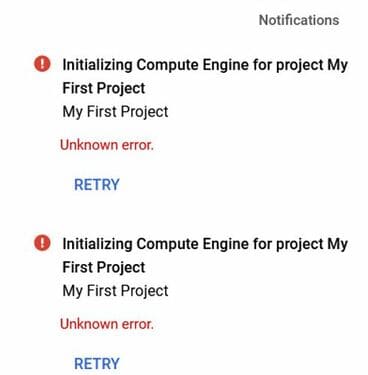
Start Fixing Google Cloud errors with another Add Billing by the following:
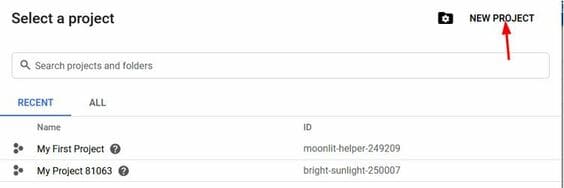
Step 1: You choose the section Select a project in the Compute Engine section
Step 2: You choose NEW PROJECT to create a new Project!
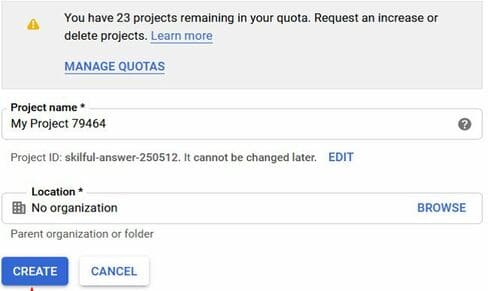
Step 3: You can name Project for easy management. Press Create to start creating
Step 4: Click on the project you just created in the section Select a project
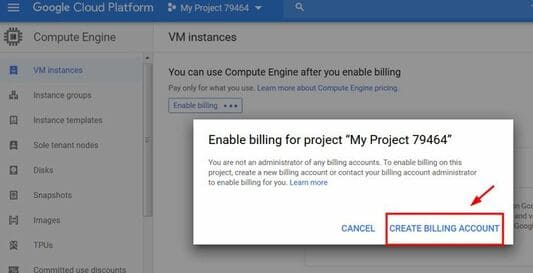
Step 5: Select Enable billing to add IBAN to reactivate the trial 300$ for Google Cloud.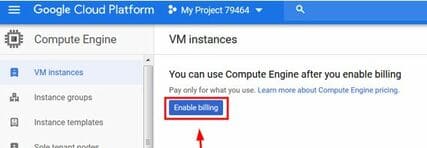
Next: Choose Create Billing Account
Select tiếp tục to continue
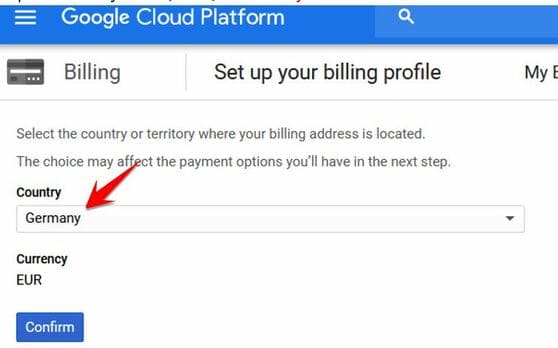
In the section Country: you can choose Germnay or any other country that supports IBAN such as: UK, France, Switzerland, Sweden… After that, choose Confirm
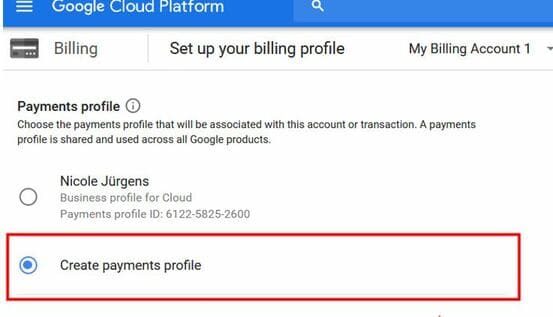
In this section, you choose Create payments profile to create a new account
Now you come back in Websites get IBAN to fill in the information as in the tutorial create VPS with Google Cloud for free using IBAN that AnonyViet instructed. Remember to choose Add a bank account and fill in the correct IBAN information.
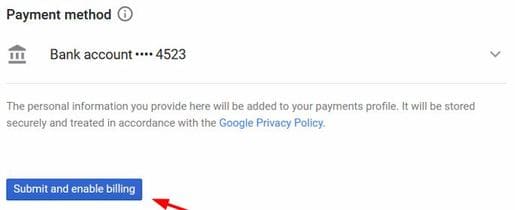
Once done, then Click Submit and Enable Billing it’s done
Now you can create a normal VPS again.
Collaborators: Dao Tung Lam


