Generative Fill tIn Photoshop beta is a new feature that allows users to create unique and creative images by filling in empty areas in an existing image, which can be applied for many different purposes, such as photo editing. , graphic design, etc. In this article, AnonyViet will introduce you to how to use Generative Fill in Photoshop beta.
| Join the channel Telegram belong to AnonyViet ???? Link ???? |
What is Generative Fill?
Generative Fill is a new Photoshop function that allows users to transform images with text just like OpenAI and Midjourney’s Dall-e2. With Generative Fill, users can add, edit or delete details in an image just by typing the required description. Then, the AI will do it automatically based on Photoshop-trained data on 100 million Adobe images.
Generative Fill applies a well-known AI technique called “inpainting” to create a context-aware generation that can harmoniously combine composite images into an existing image.
The core of Generative Fill is Adobe Firefly, which is Adobe’s custom image compositing model. Firefly is a deep learning AI model that is trained on millions of images in Adobe’s stock to associate specific images with their text descriptions.
You can use it to:
- Enlarge the image
- Remove unwanted details
- Add new details
- Change background image
How to use Generative Fill
To use Generative Fill, you need to download the latest beta of Photoshop
You can go through this article to know how to use PTS beta for free, without spending money
>> How to download Photoshop beta for free forever <<
Change details in the image
Step 1: You go to PTS, open any photo, make a selection you want to edit with Rectangular Marquee / Lasso tool
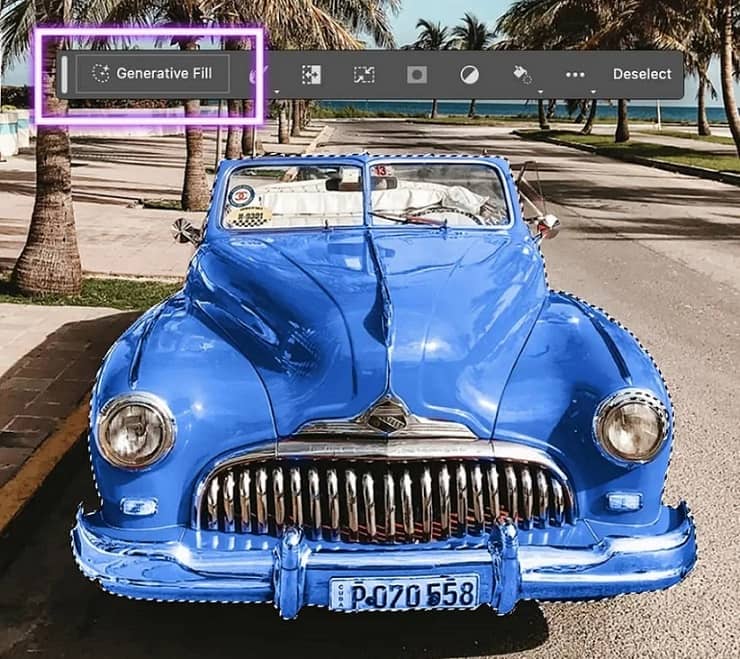
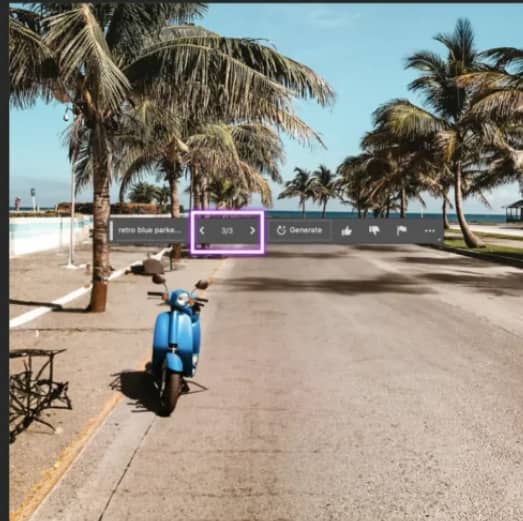
Step 2: Click on Generative Fill, fill in the description in the English pop-up dialog box and press enter or press the Generate button. Example: retro blue motorcycle parked by the curb”
Step 3: Wait a few minutes for the image change process to proceed
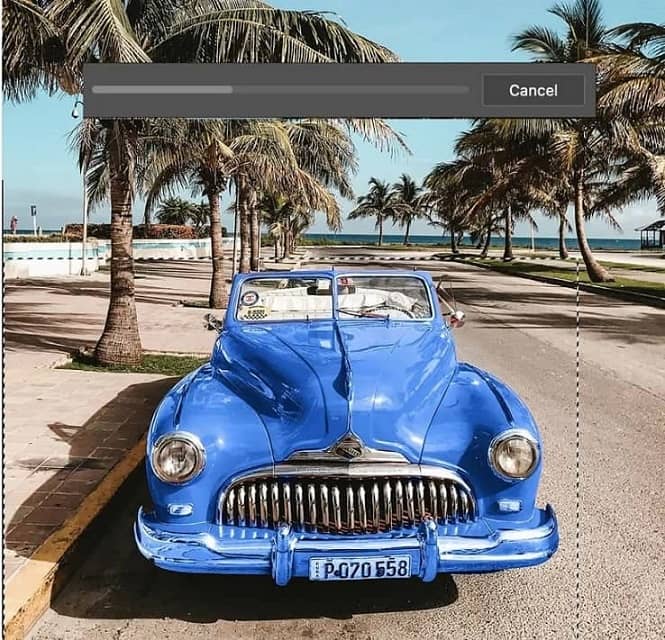
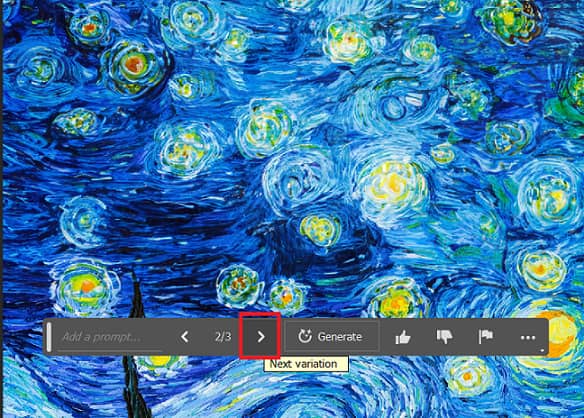
Step 4: You will get 3 different options. You can click the arrows to see these options.
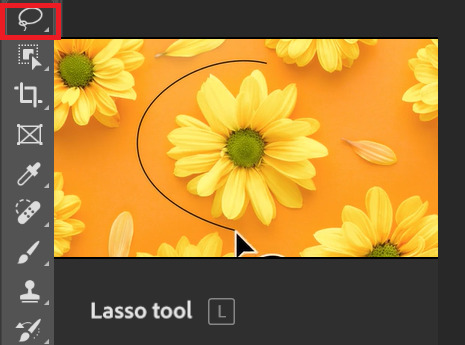
Change background
Step 1: Use the Lasso tool to zone the object
Step 2: You press Select > Inverse to convert the selection to the background
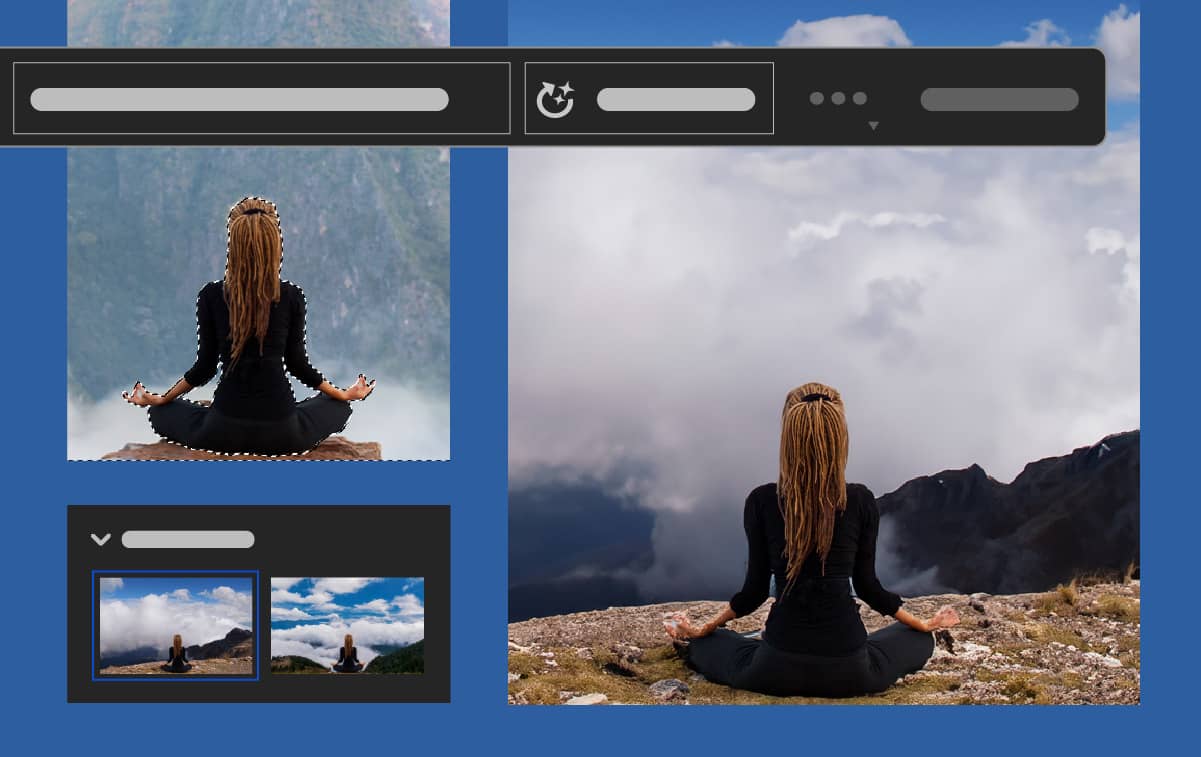
Step 3: Click on “Generative Fill” > Fill in description > Generate
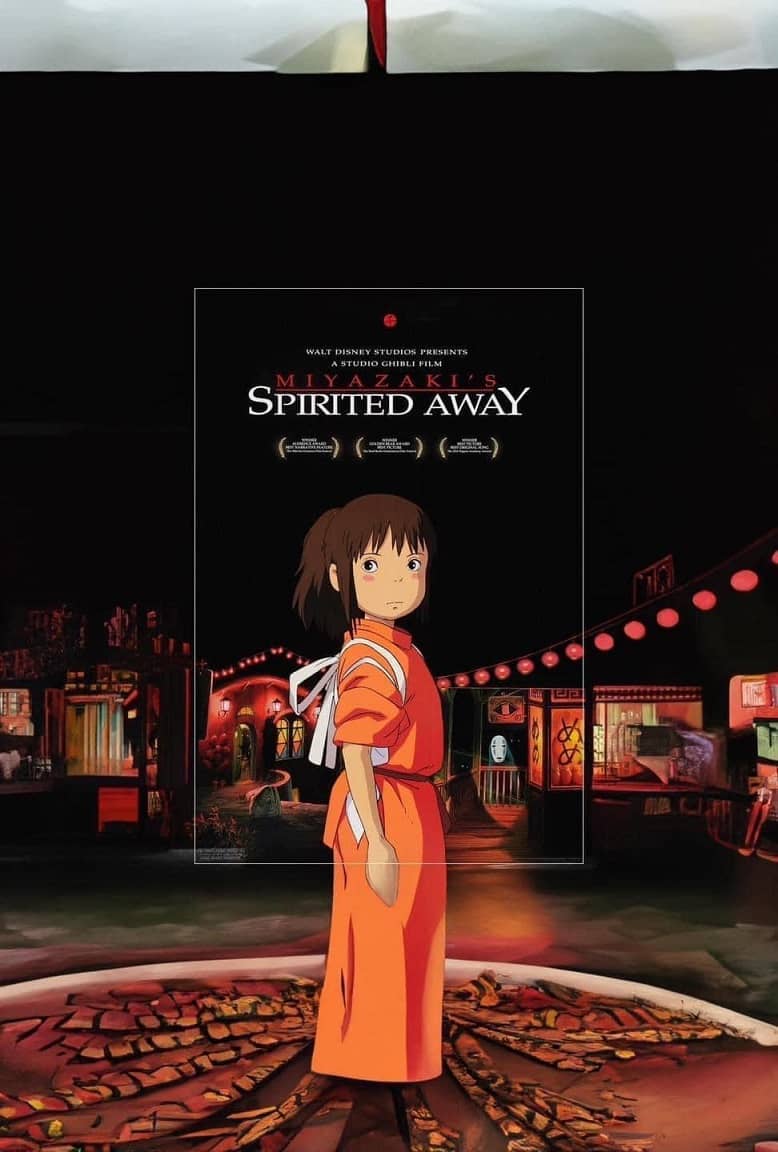
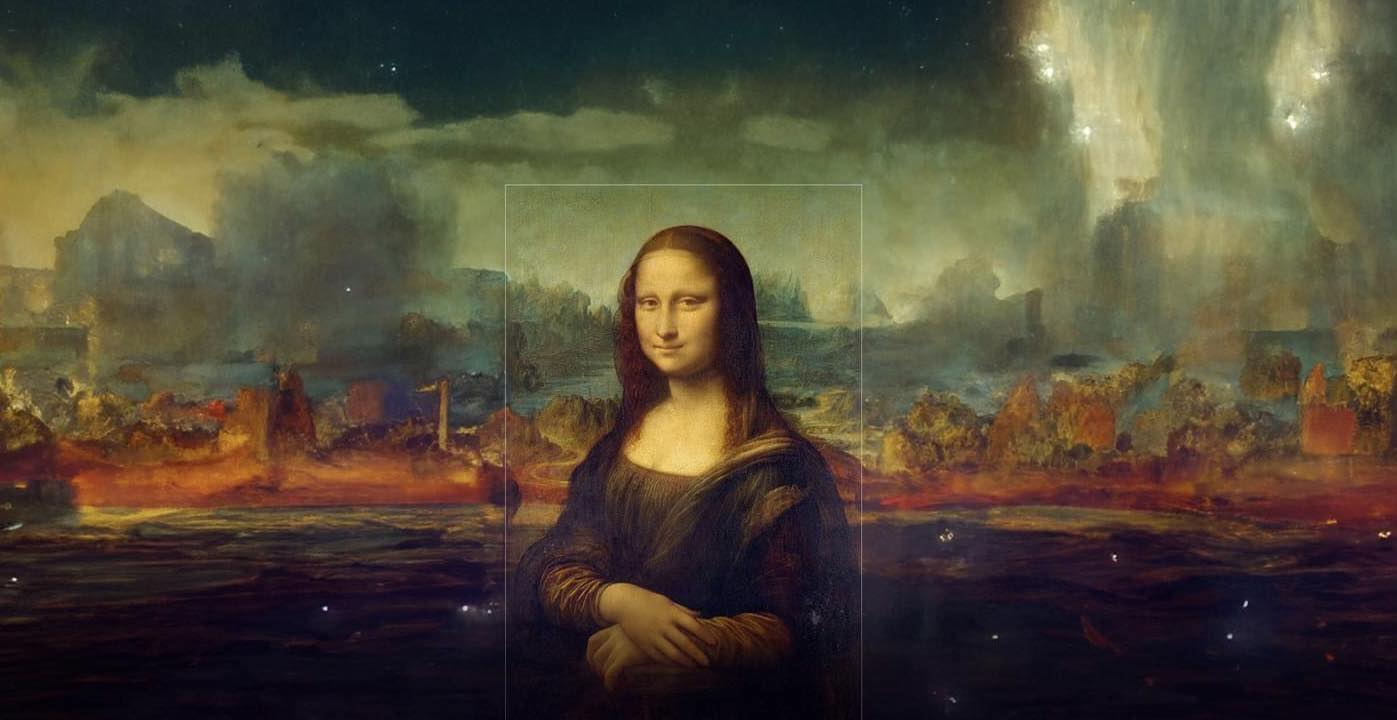
Enlarge the image
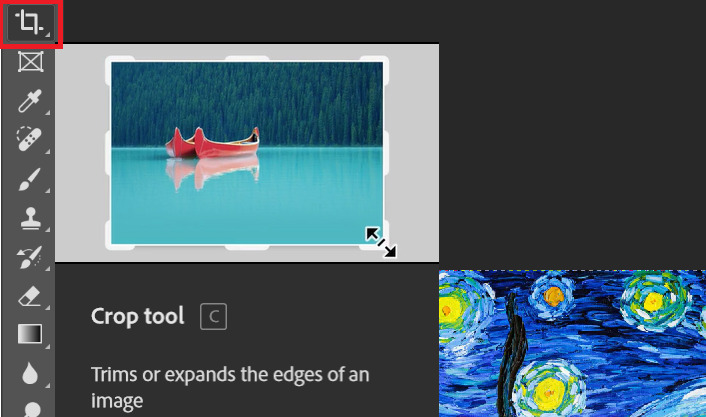
Step 1: Click on the Crop tool from the toolbar, you will see the crop borders will show at the edges of the image
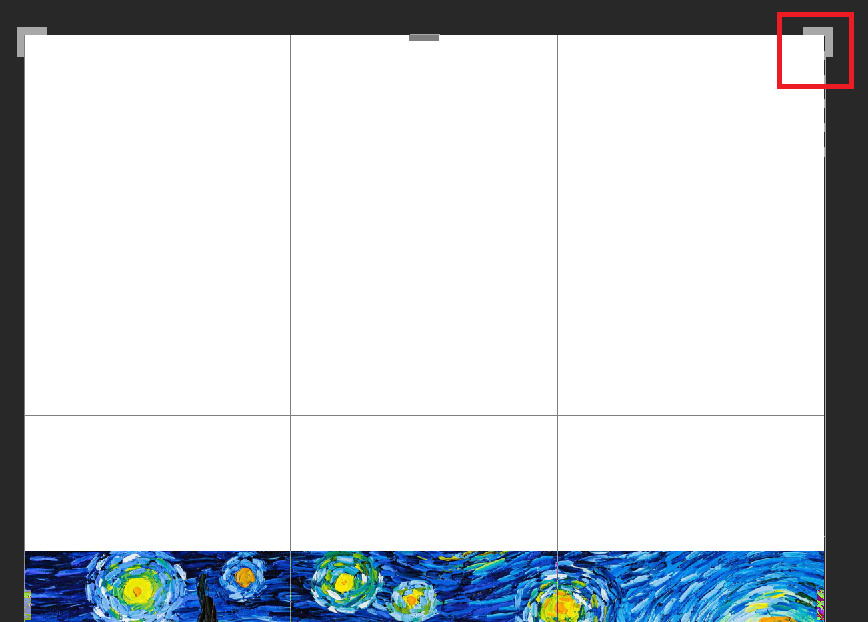
Step 2: Drag the corner and edge points out to expand the frame size > Press Enter
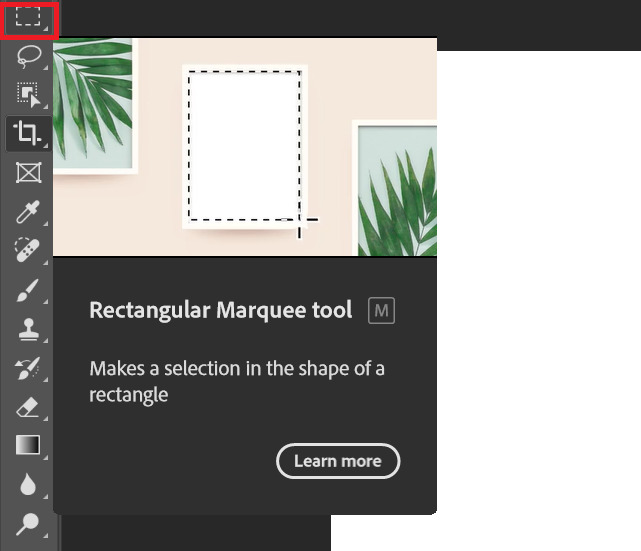
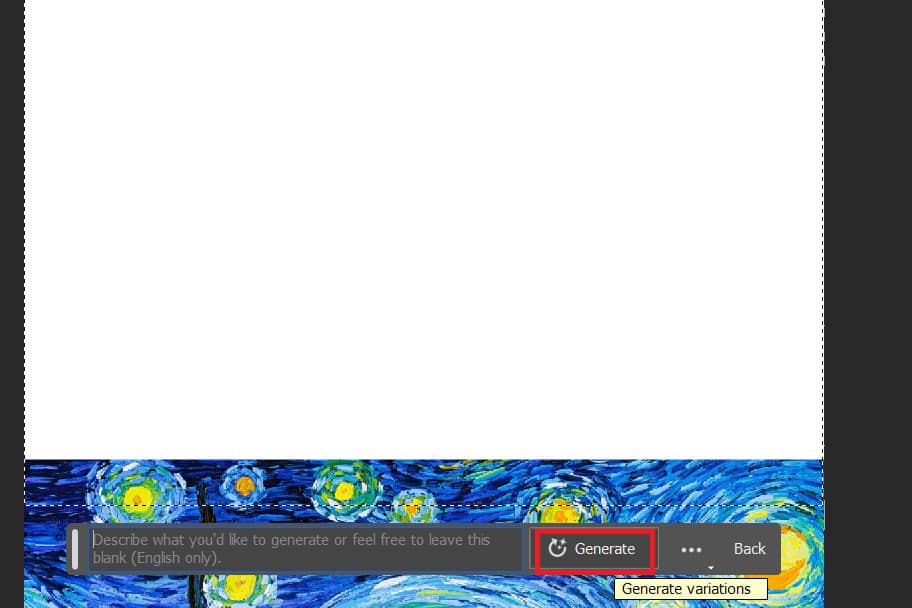
Step 3: Use the Rectangular Marquee Tool to select the extra frame by clicking and dragging to make a selection (remember to stick a bit to the original image)
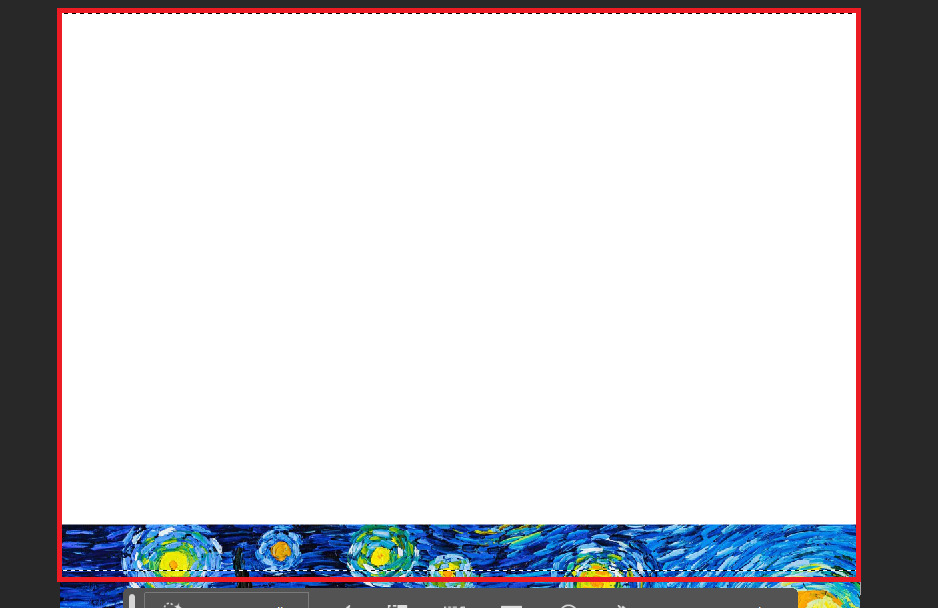
Step 4: Click Generative Fill > Enter a description (or leave it blank) > Generate
Remove details in photos
Step 1: Select the object you want to delete

Step 2: Leave the text box blank > Generate

Add details to the photo
Step 1: Circle the area where you want to insert more details
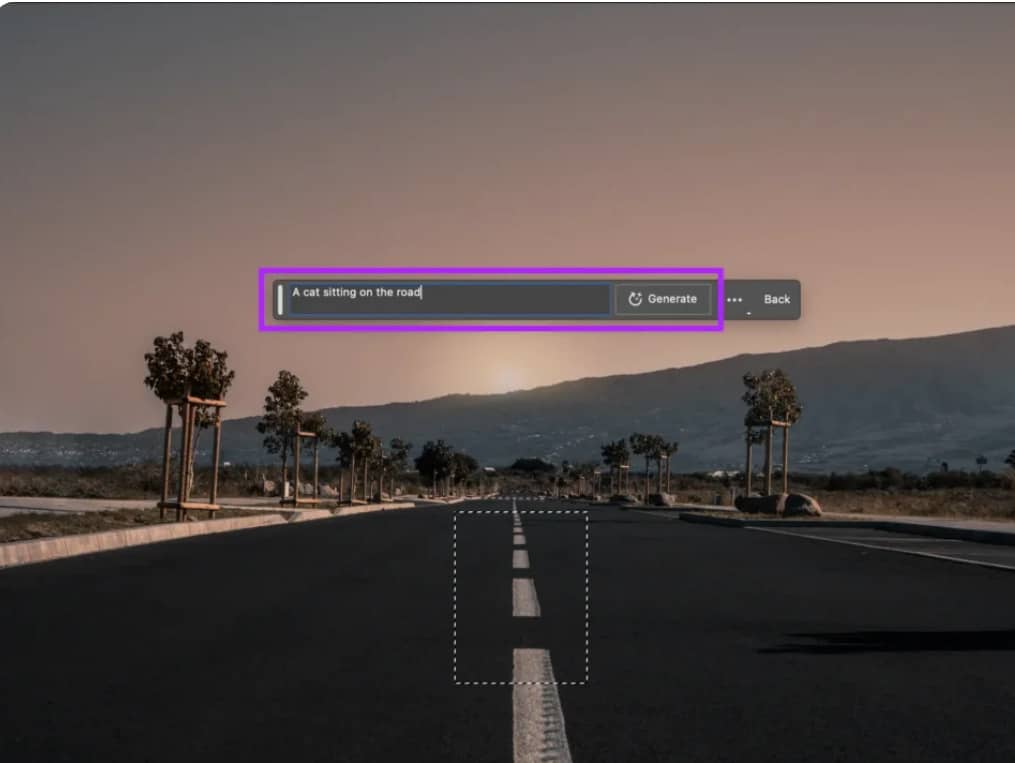
Step 2: Type in the details box you want to add, Example: a cat on the road > Generate
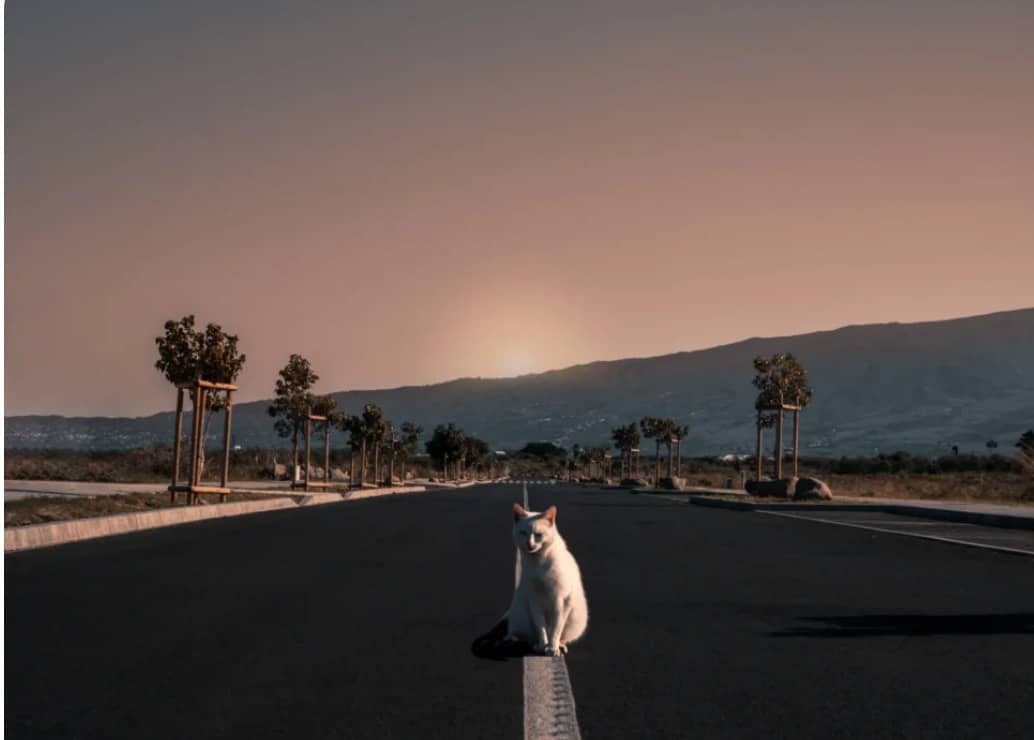
You can refer to the images/movie posters after using Generative Fill for an impressive expansion below:


Epilogue
With Generative Fill, you can easily create images that are unique and consistent with your ideas, without having to worry about copyright issues or design skills. This is indeed a useful tool for those who love photo editing, graphic design, or simply want to express their creativity without much time or experience.


