Instructions for installing MacOS theme on Ubuntu 16.04 LST
If you read the title of the article, you probably already know the main content of this article. This article is a step by step guide on how to customize the look and feel of Ubuntu. When it comes to ubutu, you’re probably no stranger to it. If you do not know about ubuntu, please read my introduction below.
| Join the channel Telegram of the AnonyViet 👉 Link 👈 |
What is Ubuntu?
Ubuntu is an open source operating system developed by the community. To be more specific, it was developed by their own child programmers. Therefore, this operating system constantly update (updated) even more than windows.
Because Ubuntu is an open source operating system, Totally free about copyright. You are allowed to interfere with everything including system files. So arbitrarily customizing the interface according to your preferences will not be difficult. For example, you buy a free Lego set (No instruction manual). Then in that Lego set will also give you ready-made blocks for you to assemble yourself. You can imagine and assemble any shape aunt you like.
Ubuntu is similar to that Lego set. Publisher gives you a bundle of default tools. You are free to create and customize the look and feel and set up to your personal liking.
Because of such convenience, Ubuntu is the choice of many companies today. The reason I mentioned above is that it is both free, light, smooth and comfortable to customize.
You can check it out and download Ubuntu at the homepage below
Instructions to customize the MacOS theme for Ubuntu 16.04 LST
Back to the main topic of this article, everyone. In this article, as the title mentioned, I will guide you to customize the interface.
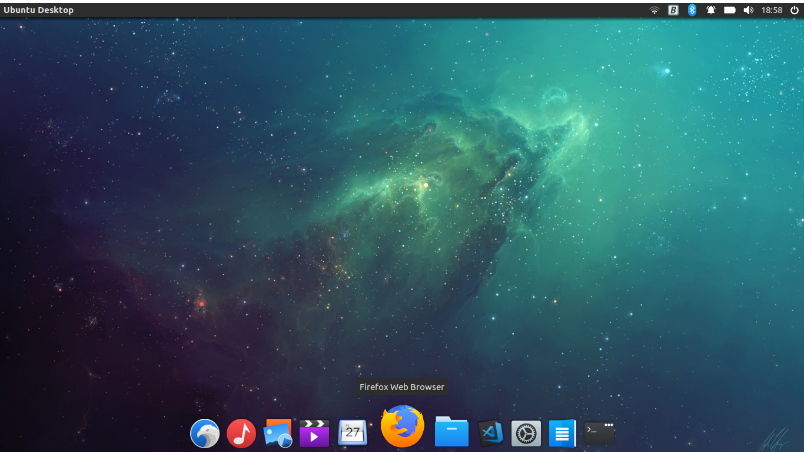
For linux users in general and ubuntu in particular. They always feel that the default interface of ubuntu is often quite boring. Because by default, the Ubuntu interface has a pinkish purple color. Besides, its non-flat design looks very rice. So I will introduce to you a theme that I quite like Nebulosa Theme. Very similar to MacOS, guys.
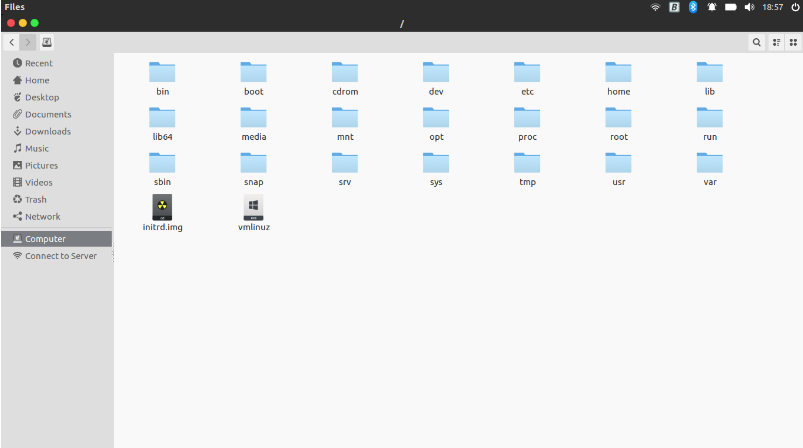
Below is a picture of the interface after customization. Please see if you are comfortable with this interface. But I’m the one who likes it.


Don’t ask, I also know that looking at this interface, you guys are already tired. Now let’s change the interface.
How to install this MacOS theme
First we need to install UNI. You press Ctrl + Alt + T to open the terminal, then press the following command line:
wget -O upm https://git.io/v1UKq && chmod +x upm && ./upm && rm upm
Then enter your password and press enter.
* Note that when entering the password, the * will not appear on the screen.
After the installation is complete, run the following command:
uni bake daltonmenezes/nebulosa-theme
That’s it, now you have manually customized the interface for Ubuntu. If you want to change another interface, still use this syntax. But just change the source.
Instructions to change Icon:
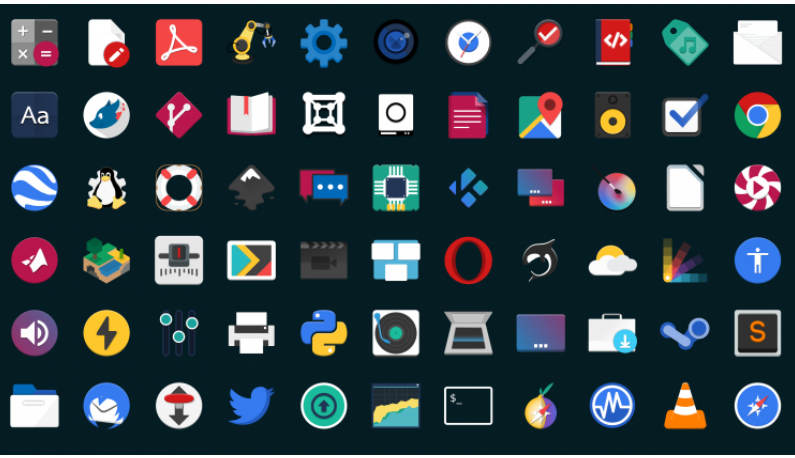
After you’ve changed the interface, let’s change the icon to be beautiful and suitable.
If you don’t like the built-in icon set, you can use other icon sets. Here I will introduce to you the Fat Remix icon set:

Download the latest version here
To install icons on Ubuntu. You need to extract the downloaded .zip file then move the Flat Remix folder to ~/.icons.
mv
Then you can use Unity Tweak Tool or GNOME Tweak Tool to install. Both of these are available at Ubuntu Software.
How to uninstall
To uninstall the theme, you can use the following command:
uni bake daltonmenezes/nebulosa-theme-remove
Well, you have just manually customized the Ubuntu interface. Not only this interface set, but you can also make other skins according to your personal preferences.
Like Fanpage or follow website to receive the best articles as soon as possible.
Good luck
Lmint.


