I) Introduction
| Join the channel Telegram of the AnonyViet 👉 Link 👈 |
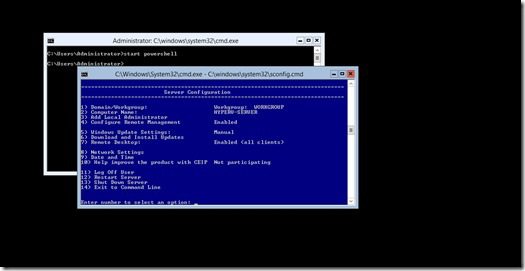
Sometimes the enterprise’s infrastructure has some server lines that do not have hard drives, and to run the operating system, the operating system must be booted via SAN/iSCSI SAN or SD Card/USB. This article will guide you to create and run Hyper-V Server 2012 R2 operating system on USB. Make it possible to run Hyper-V Server on any server and anywhere.
Hyper-V Server 2012 R2 is a free version that allows download and installation. . It is a Stand-alone version and contains only the virtualization layer (Hypervisor) to run Hyper-V, so it consumes less CPU/Memory resources. Hyper-V Server contains all the same features and components as the Hyper-V role in Windows Server 2012 R2.
II) Prepare
- Download and download Hyper-V Server 2012 R2 at this
- Download and download Windows AIK for Windows 7 at this
- Lab exercises done on Windows 7
III) Implementation
1) Install Windows AIK for Windows 7
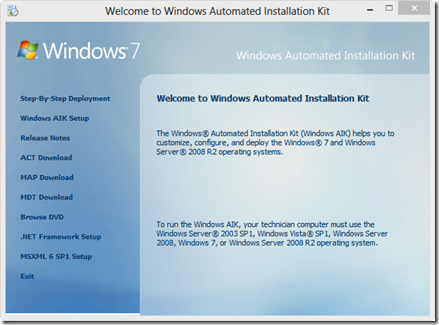
- Run StartupCD.exe and select “Windows AIK Setup” to proceed with the installation
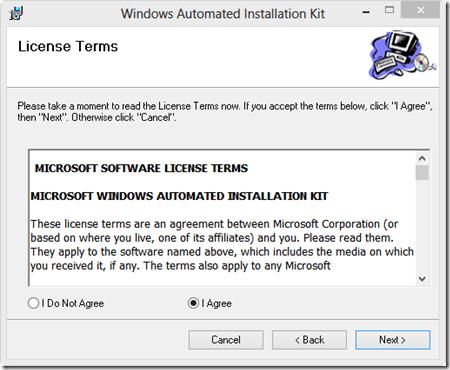
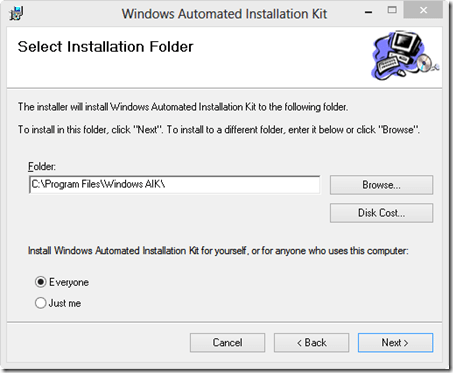
- Select the installation path -> Leave as default
2) Copy files Install.WIM of Hyper-V Server 2012 R2 DVD
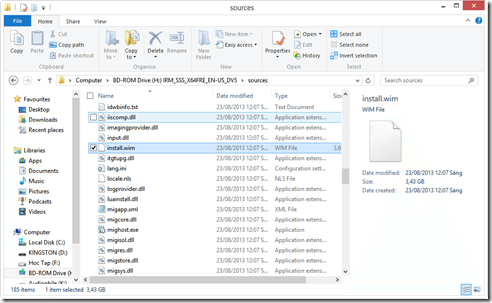
- Go to DVD -> Sources -> find the file “Install.WIM” and copy them
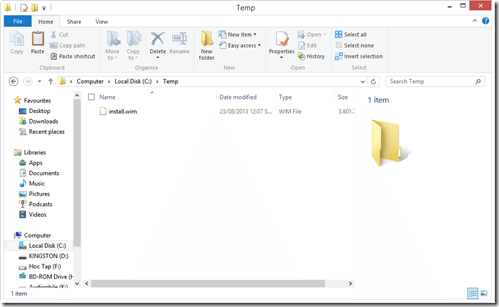
- Create a temporary folder on C drive and name it “Temp” -> Past file “Install.WIM into the”
3) Create a VHD file with Diskpart and show the VHD drive
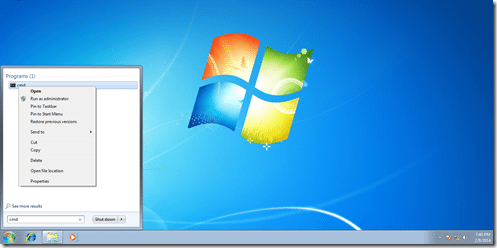
- Go to Windows -> find “cmd” and right click “Run as administrator”
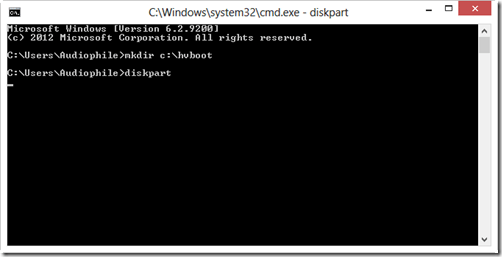
- Create a hvboot directory on drive C to store VHD files with the command “mkdir c: hvboot”, type diskpart to use this tool to create VHD files
-
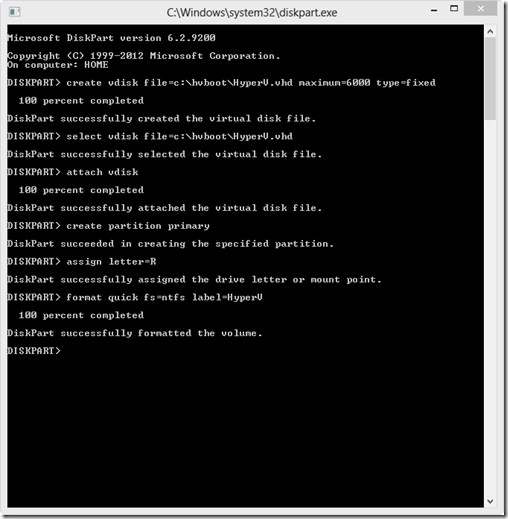
- Create a vhd with a capacity of 6GB, stored in the hvboot directory:
- Create vdisk file=c:hvbootHyperV.vhd maximum=6000 type=fixed
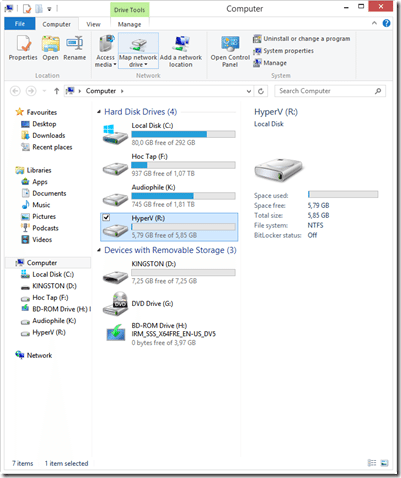
- Create a partition and attach the newly created VHD file so that the drive can be seen HyperV.vhd(R:)
- Select vdisk file=c:hvbootHyperV.vhd
- Attach vdisk
- create partition primary
- assign letter=CHEAP
- Format the drive and name it:
- format quick fs=ntfs label=HyperV
- Create a vhd with a capacity of 6GB, stored in the hvboot directory:
4) Insert the Hyper-V Image into the newly created VHD drive and detach the HyperV drive (R:)
After creating the VHD file, the next step is to put the Hyper-V Image (Install.WIM) to this VHD drive
- Go to the Windows AIK folder and select the architecture, depending on the server model, there are appropriate architecture types (eg x86, ADM, IA64)
- Type: cd “C:Program FilesWindows AIKToolsx86”
- Perform pressing HyperV Image to the VHD drive:
- Type: /Apply C:TempInstall.WIM 1 R:
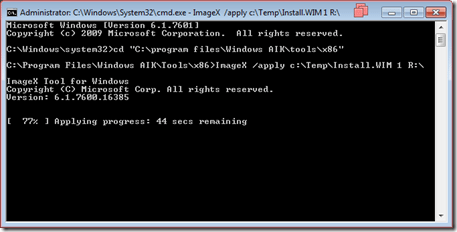
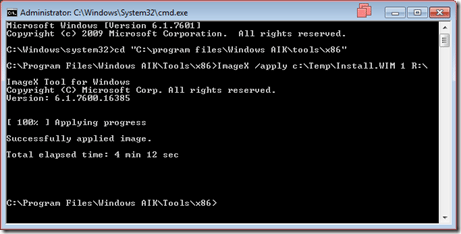
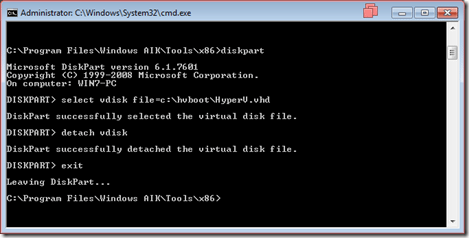
- Do detach the HyperV drive (R: drive), type:
- Diskpart
- Select vdisk file=c:hvbootHyperV.vhd
- detach vdisk
- exit
5) Plug in the USB, proceed to format the USB and put the VHD file in
- Identify the USB with diskpart, type:
- Diskpart
- List disk -> determine which drive is 8GB in size
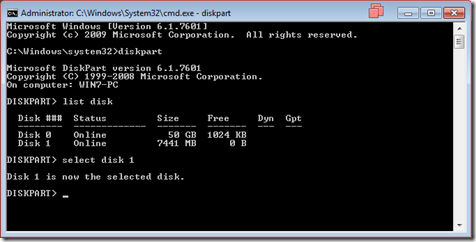
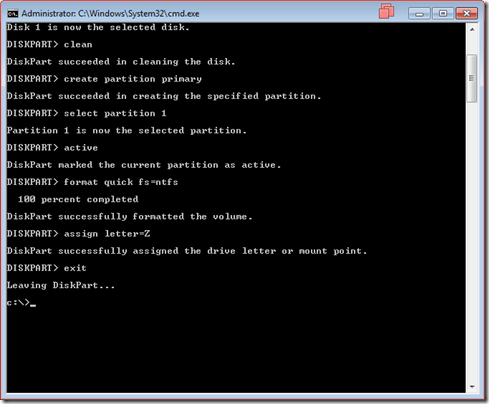
- Format and set it back to Z drive and create a partition to show the USB, type:
- Clean
- Create partition primary
- Select partition 1
- Active
- Format quick fs=ntfs
- Assign letter=Z
- Exit
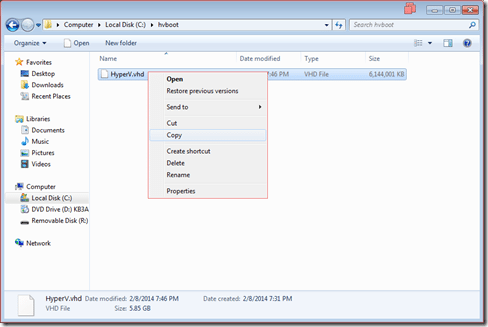
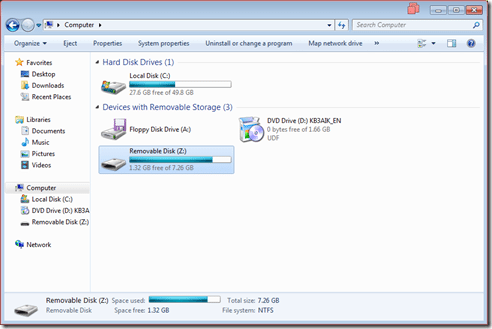
- Copy files HyperV.vhd and paste to USB (Z:)
6) Create MBR (Master Boot Record) and copy boot files in Windows folder to USB
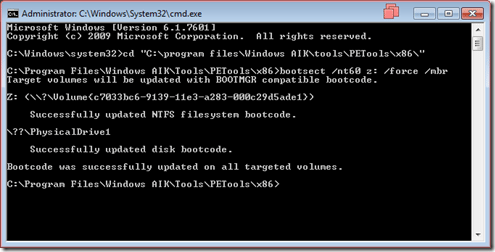
- Use bootsect tool in Windows AIK to generate MBR for USB, depending on server architecture, Type:
- cd “C:Program FilesWindows AIKToolsPEToolsX86”
- Bootsect /nt60 z: /force /mbr
- Attach the VHD file to proceed to create bcdboot for the following step, type:
- Diskpart
- Select vdisk file=Z:HyperV.vhd
- Attach vdisk
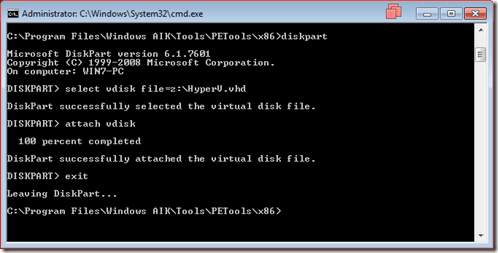
- Make a copy of some system files in your Windows folder HyperV.vhd to the USB drive (Z:), type:
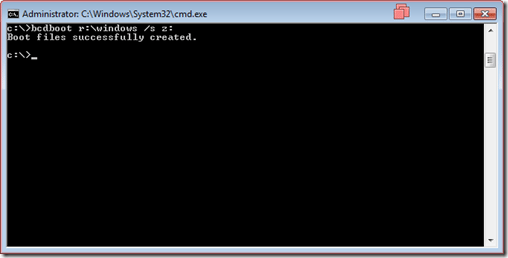
7) Disable Paging File and detach the drive HyperV.vhd
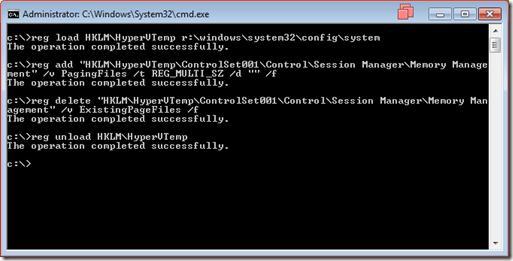
- Load Registry, type:
- Reg load HKLMHyperVTemp R:WindowsSystem32ConfigSystem
- Remove paging file by changing the value to null, type:
- Reg add “HKLMHyperVTempControlSett001ControlSession ManagerMemory Management” /v PagingFiles /t REG_MULTI_SZ /d “” /f
- Delete the Paging File, type:
- Reg delete “HKLMHyperVTempControlSet001ControlSession ManagerMemory Management” /v ExistingPageFiles /f
- Unload the Registry, type:
- Reg unload HKLMHyperVTemp
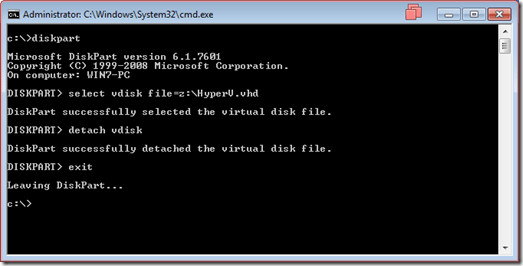
- Disk Detach HyperV.vhdtype:
- Diskpart
- Select vdisk file=Z:HyperV.vhd
- Detach vdisk
8) Test and boot with USB
After completing the configuration, we proceed to test the USB
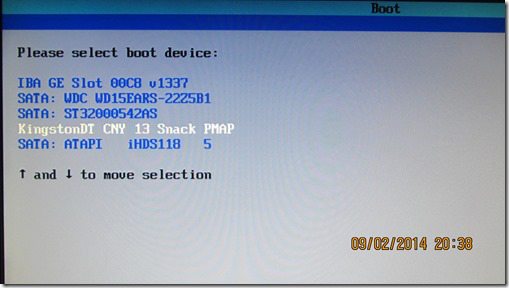
- Plug the USB into the Server and select USB
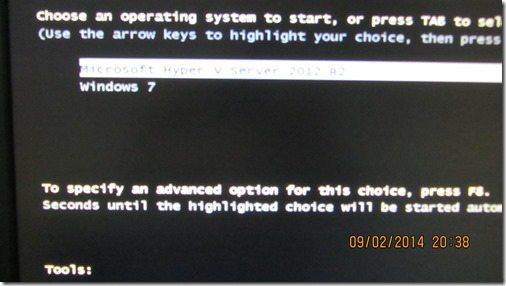
- Select OS
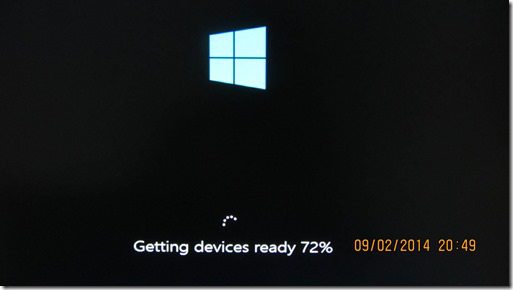
- The system detects some devices in the Server and scans the Driver
- The first time you boot, the operating system will ask you to change the Administrator password
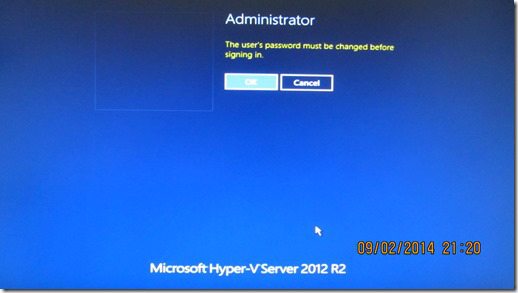
- Complete the Boot process, now you only need to configure Computer Name, Network, Firewall, Date and Time ….
