
How to create a brush effect in PowerPoint is a fun and useful skill that you can use to make your presentations more lively and outstanding. AnonyViet will guide you step by step on how to do that with just a few simple steps. Let's get started!
| Join the channel Telegram belong to AnonyViet 👉 Link 👈 |
How to create a brush effect in PowerPoint
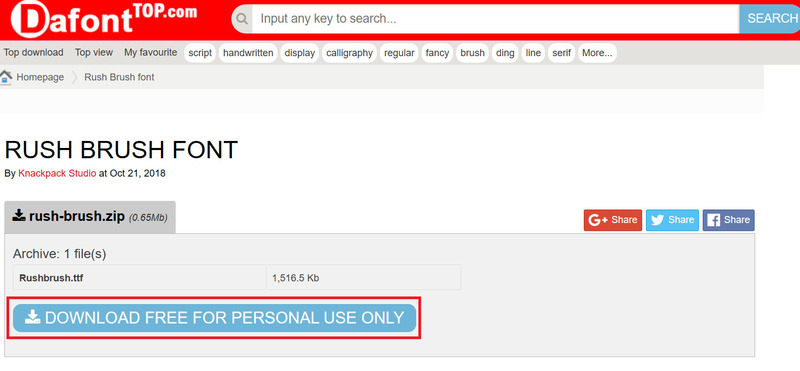
Step 1: You download the brush-style Rush Brush font for free HERE.
Step 2: Copy the downloaded font to the Control Panel > Appearance and Personalization > Fonts folder
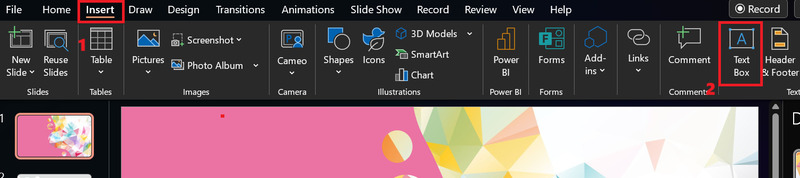
Step 3: You start up PowerPointselect “Insert” tab > Select “TextBox”
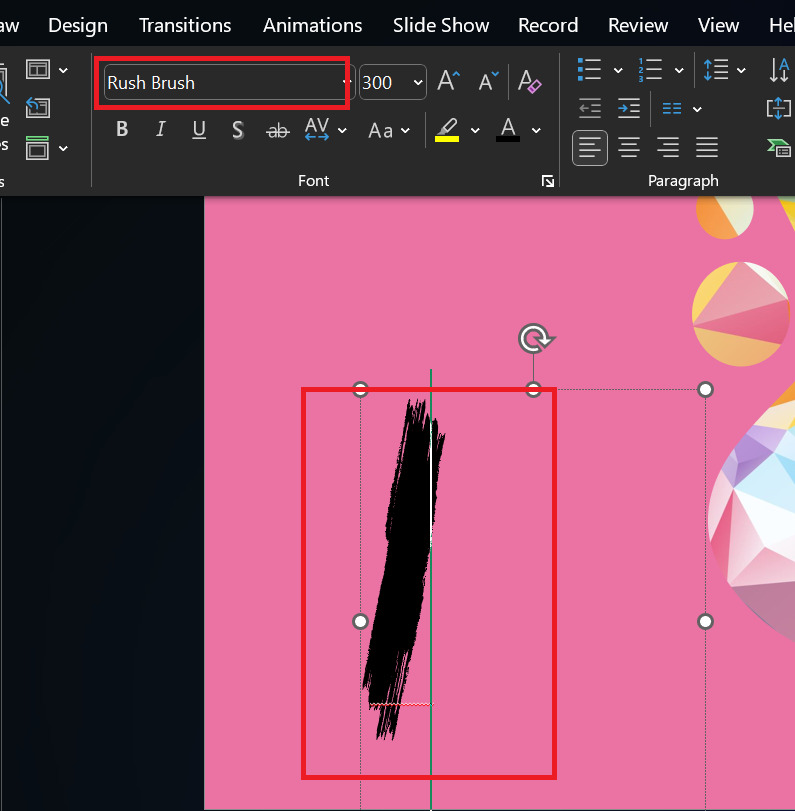
Step 4: Then type the letter I into the TextBox > Select the font Rush Brush just downloaded earlier.
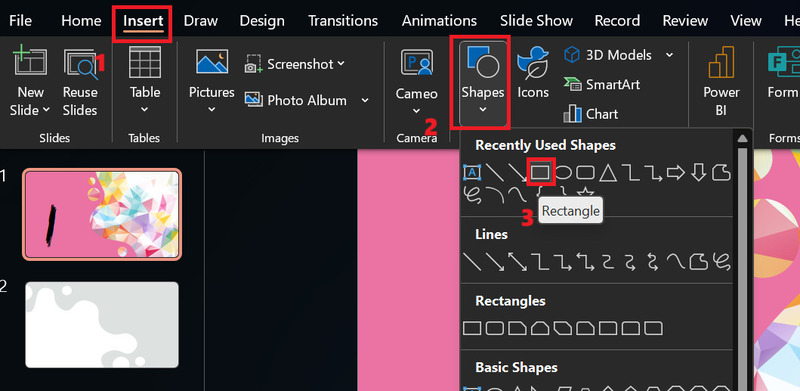
Step 5: Select the “Insert” tab > Shapes > Select the Rectangle symbol as shown.
Step 6: Draw any shape larger than the current letter I, then drag the mouse from top to bottom to select both shapes at the same time.

Step 7: Select the “Shape Format” tab > “Merge Shapes” > “Intersect”
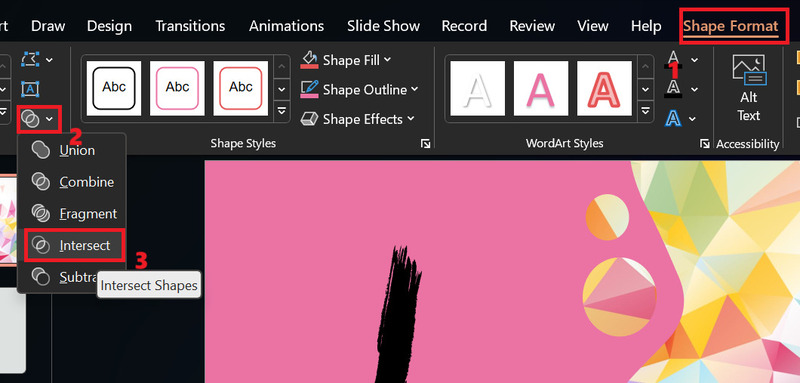
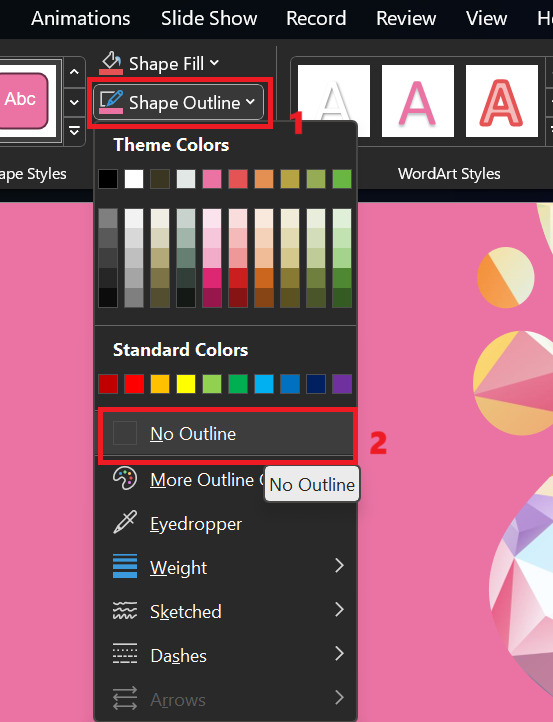
Step 8: In the Shape Outline section > Select “No Outline” to delete the border of the image.
Step 9: Press Ctrl + D to create multiple shapes and arrange them randomly.

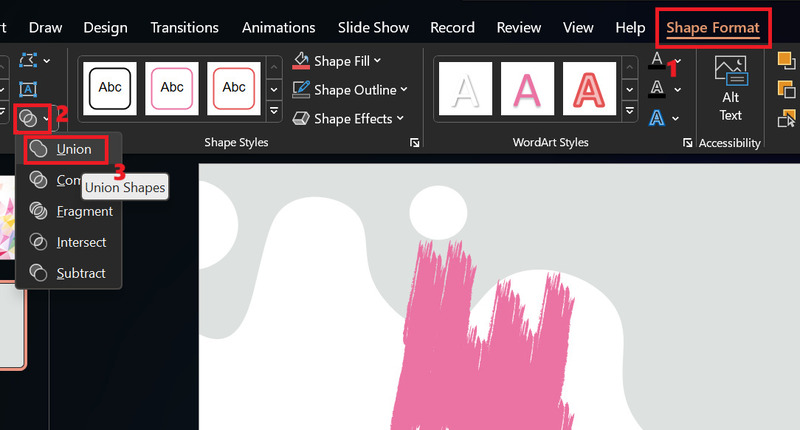
Step 10: Next, select all shapes > Click Shape Format > Select Merge Shapes > Select Union.
Step 11: You move the brush image to the position of the image, adjust the size accordingly > Click to select both image and photo

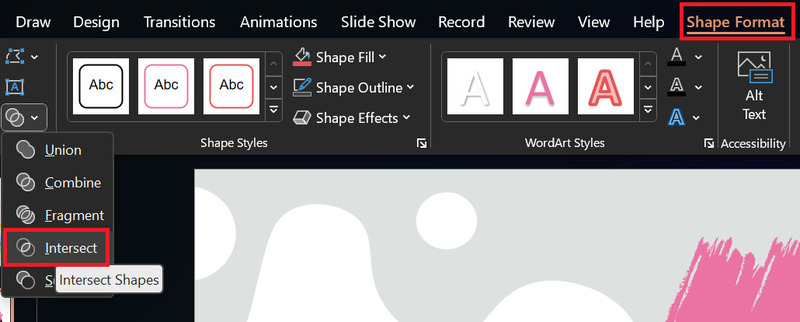
Step 12: Finally click Merge Shapes > Select Intersect and you have the brush effect for the shape you want.

Epilogue
Those are the basic steps for you to know How to create a brush effect in PowerPoint. You can experiment with different shapes, colors and sizes to create beautiful effects that match the content of your presentation. The brush effect not only helps you highlight your images but also creates a creative and artistic impression on the viewer. Wishing you a successful application!


