iMessage is Apple’s messaging feature used on iPhone and Macbook, but now users can use iMessage on Android and Windows simply by the following way:
| Join the channel Telegram of the AnonyViet 👉 Link 👈 |
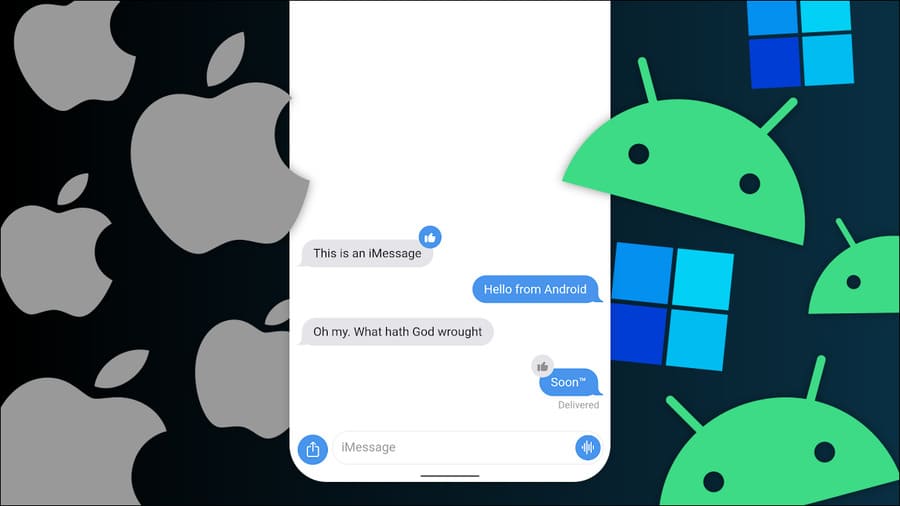
Ever since Apple refused to remove its control over iPhone users’ phone numbers, people have been trying to make iMessage work on Android for a long time. The big breakthrough came when Apple brought iMessage to the Mac. That is the key to solving the problem.
Steps to use iMessage on Android and Windows
You will need to prepare quite a lot to try to text iMessage on Android and Windows. First, and most importantly, you’ll need a macOS device or a macOS virtual machine — I recommend still having real Apple hardware.
That device will need to be running Mac OS X El Capitan (released in 2015) or later, but you’ll need to take a few minutes to decide which version will best suit your needs. Certain iMessage features aren’t supported through the software we’ll be using with some versions of macOS (more on that later).
I will use an open source tool called BlueBubbles. AirMessage is another popular solution, but I think BlueBubbles has a few advantages. It’s self-hosted so you don’t depend on servers run by others. BlueBubbles is community-driven and has desktop apps for Windows and Linux, a web app, and lots of personalization features.
As mentioned, certain BlueBubbles features are not available on all versions of macOS. Check out the table below to see which version best suits your needs.
| Features of BlueBubbles | El Capitan – Catalina | Big Sur | Monterey |
|---|---|---|---|
|
Send/Receive Messages |
✓ | ✓ | ✓ |
| Send attachment | ✓ | ✓ | ✓** |
| Get attachments | ✓ | ✓ | ✓ |
| Get Tapbacks, Stickers and Mentions | ✓ | ✓ | ✓ |
| Yes sent/read | ✓ | ✓ | ✓ |
| Get answers (reply) | s | ✓ | ✓ |
| Create DM | ✓ | ✓ | ✓ |
| Create a group chat | ✓ |
- ✓ ** – Sending Monterey attachments may not be as reliable as previous versions of macOS, as it relies on UI Automation (simulating keystrokes) and not real code.
- † – The replies will show up as regular messages on macOS 10.x devices, instead of being displayed with the reply UI.
This is the status of BlueBubbles as of June 2022. Check FAQ page for updates on macOS versions.
Of course, you’ll also need an Apple ID to use iMessage. In short, you need a Mac running a compatible version of macOS, the Messages app signed in with your Apple ID, and a BlueBubbles server.
Set up a BlueBubbles server
The most important part is the BlueBubbles server. The server runs on your macOS device and acts as a sort of “hub” for iMessages to send messages to the BlueBubbles apps on your Android phone and Windows or Linux PC.
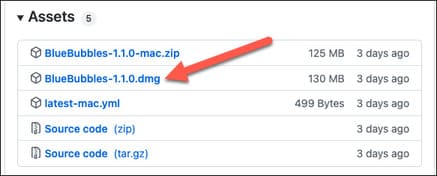
First, go to GitHub page on your macOS device and download the latest BlueBubbles server DMG file.
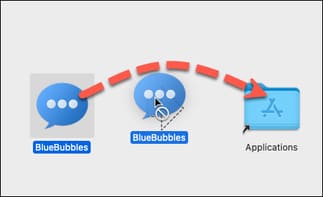
Next, open the DMG file and drag it to the “Applications” folder after installation. Now you can open the application.
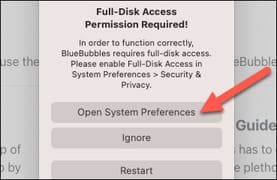
You will first be asked to grant BlueBubbles “Full-Disk Access”. This is required for BlueBubbles to be able to read the iMessage database. Click on “Open System Preferences”.
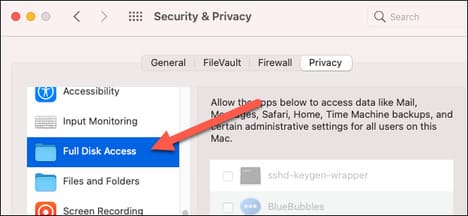
Go to the “Security & Privacy” section of Settings and select “Full Disk Access” in the menu on the left.
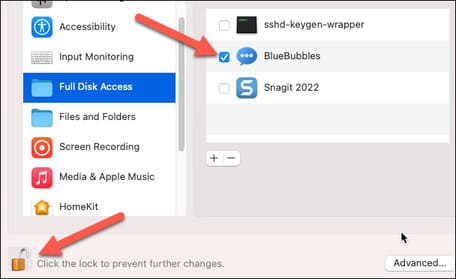
Click the padlock icon in the bottom corner to enter your Mac password and then enable BlueBubbles. You will be asked to restart BlueBubbles.
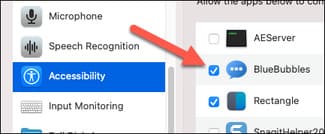
Before leaving “Security & Privacy”, go to the “Accessibility” section and enable BlueBubbles.
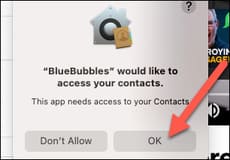
At some point during this setup, you will also be asked to give BlueBubbles access to your contacts. Click “OK” to allow that.
This is where things get a little more complicated. BlueBubbles uses Google Firebase’s Cloud Messaging to receive notifications to your device. This allows BlueBubbles to not require a connection to a server at all times, which means you get notifications even when the app is running in the background and doesn’t drain much battery.
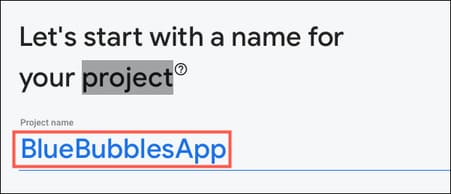
To get started, visit Google Firebase Console and sign in with your Google account. Click “Create a Project” and name it “BlueBubblesApp”. You do not need to enable Google Analytics for the project.
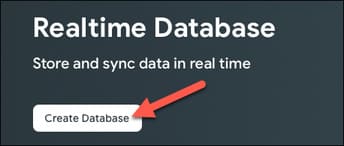
Next, under “Build”, go to Realtime Database > Create Database.
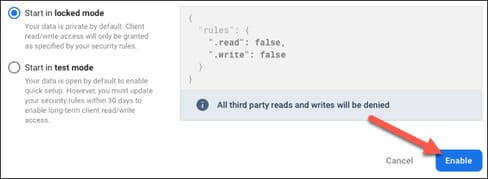
Select your location then click Next > Enable with “Start in Locked Mode” selected.
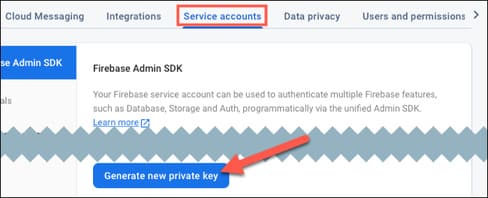
Next, click the gear icon next to “Project Overview” and go to Project Settings > Service Accounts > Create Service Account > hit “Generate New Private Key” and save the file to your Mac.
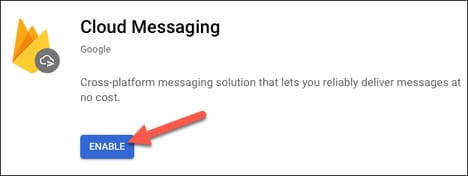
Now switch to the “Cloud Messaging” tab and click on the three-dot menu icon for “Cloud Messaging Legacy API” and go to Manage API in Cloud Console > Enable.
 Drag and drop the JSON file you downloaded that includes “firebase-administratordk” in the filename to the BlueBubbles app.

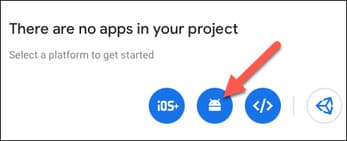
Back in the Project Settings menu on the Firebase website, go to the “General” tab. Click the Android icon at the bottom of the page.
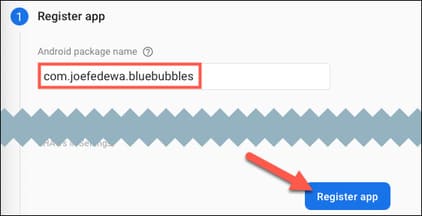
Enter “com. [Yourname] .bluebubbles for “Android Package Name” and click “Register App” to download the google-services.json file.
Now we can also drag the google-services.json file into the BlueBubbles app. Click “Next” once you are done with that.
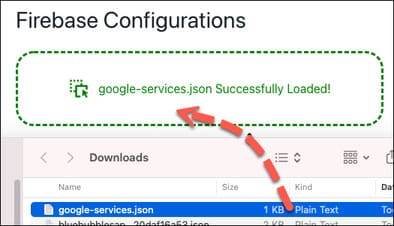
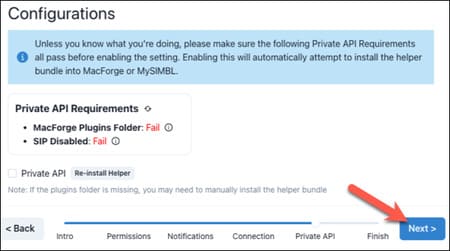
Enter a strong password for your server and click the save icon. Click the “Next” button when you are done.

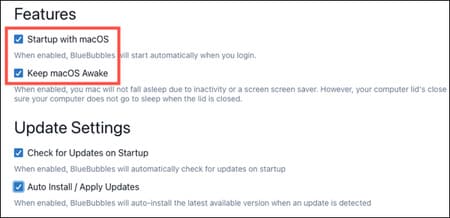
The last thing to do is enable “Startup with macOS” and “Keep macOS Awake” to make sure the BlueBubbles server is still up and running. You can also have BlueBubbles automatically check for and install updates.
Connect Server with BlueBubbles application
With the server up and running, we can connect the Android and Windows BlueBubbles app to start using iMessage. We’ll start with the Android app, maybe download from here.
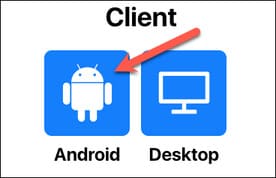
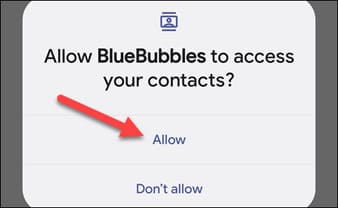
You’ll need to give the app some permissions when you first open it, and make sure you’re signed in with your Apple ID with iMessage on your Mac.
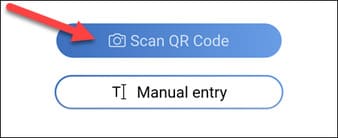
Next, go back to the BlueBubbles app on your Mac, click the QR code icon, then scan the code with the phone app.

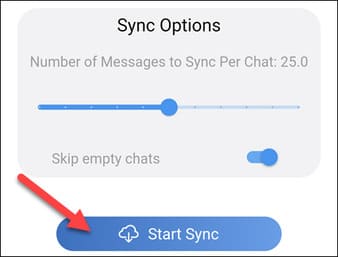
Tap “Start Sync” in the phone app after scanning the QR code.
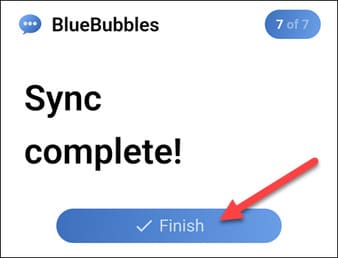
Once the sync is complete, tap “Finish”.
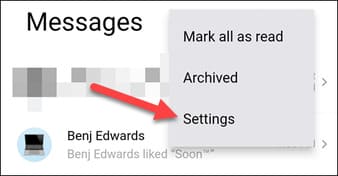
You can already use iMessage on Android. You can find a lot of options under the three-dot menu on the chat screen. If you have Private API features enabled, you will be able to enable them.
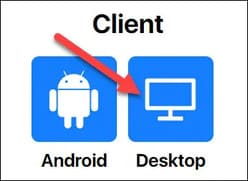
You can also find the Windows app on the BlueBubbles download page.
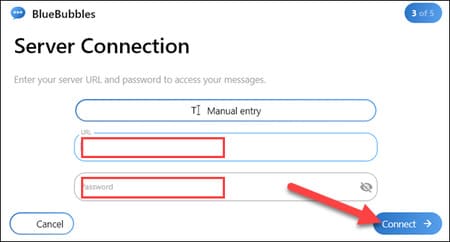
Setting up the desktop app is the same as the Android app, but you probably won’t be able to scan QR codes with your PC. Instead, you will need to enter the server details manually. You can find those passwords in the Android app under Settings > Connection & Server (same password we created earlier).
You now have a phone-like BlueBubbles experience on your Windows PC.
Note when texting iMessage on Android and Windows
One important thing to keep in mind when texting iMessage on Android and Windows is that your iMessage chats will be in the BlueBubbles app, while standard SMS/RCS chats will remain in the default messaging app. settings of your device. But do you know? Are SMS messages private and secure?
The second thing to know is that this is an inherent workaround. Therefore, you will run into problems. The good news is that the BlueBubbles community is very active on Reddit and Discord. The official BlueBubbles website is also a good source for updates.
BlueBubbles isn’t a perfect solution for iMessage messaging on Android and Windows, and it certainly takes some time to set up. However, it is a good solution and you only need to go through this process once.

