You already have VPS, now you want to divide VPS resources into many Hosting to share for everyone. But you have trouble with the command line? Want to manage your hosting better through simple but convenient interfaces (GUI)? Don’t worry, this article is for you. What you need is a Web Hosting Control Panel and aaPanel is the best candidate for you. Let’s find out what it is and how to use it!
| Join the channel Telegram of the AnonyViet 👉 Link 👈 |
What is aaPanel?
aaPanel is a pretty good free control panel, it can manage the server through a simple GUI and with just a simple operation, it is possible to install a web server running the LNMP/LAMP model. aaPanel was born with the purpose of making the installation and administration of vps and web servers simpler. From there, users have more time to focus on developing the application without paying much attention to the system. aaPanel allows you to have centralized management, with functions such as managing email accounts, file management functions, FTP accounts, create backups, and more.
Advantages of using aaPanel
- Requirements: Linux VPS 512MB RAM.
- Easy to use.
- Edit PHP configuration, Webserver
- The App Store library makes it easy to install Redis, Memcached, Google Drive, and more.
- Manage files with File Manager beautiful interface, support code editor.
- Configure VPS security, Webserver
- Support website backup to Google Drive, Amazon S3, FTP, etc.
The easiest guide to install aaPanel
Preparation required
VPS included:
- RAM: 512M
- CPU: 1 Core
- Operating System: CentOS 7+
Documents to read:
Tools needed:
Installation Instructions
Step 1: Access your VPS via SSH using the root account. I will use MobaXterm in this example

Step 2: You proceed to run the following command to install aaPanel to CentOS
yum install -y wget && wget -O install.sh http://www.aapanel.com/script/install_6.0_en.sh && bash install.sh
Step 3: They will ask you if you want to install aaPanel in the /www folder or not, you choose Y give it to me

Step 4: After the installation is complete, please save your login information below Congratulations! Installed successfully! Please!
Note: You should save it in Notepad to avoid losing it!

Step 5: Access the Panel with aaPanel Internet Adress. With this example, mine is http://172.104.71.107:7800/933e2914
Note: You need to open the server port at the following ports:
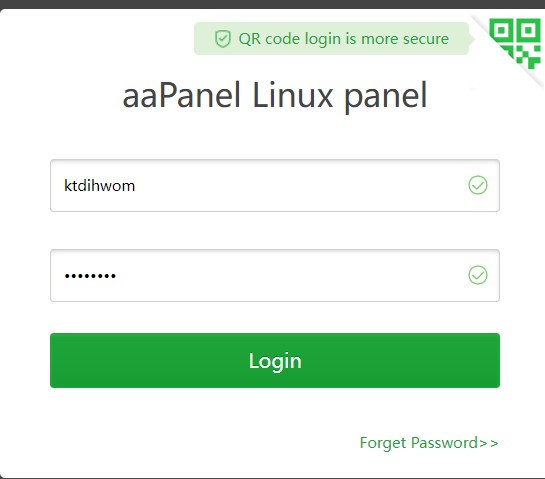
Step 6: You proceed to login with Username and Password as in step 4 and click Login. For this example, my account would be
- Username: ktdihwom
- Password: 96bfa83b

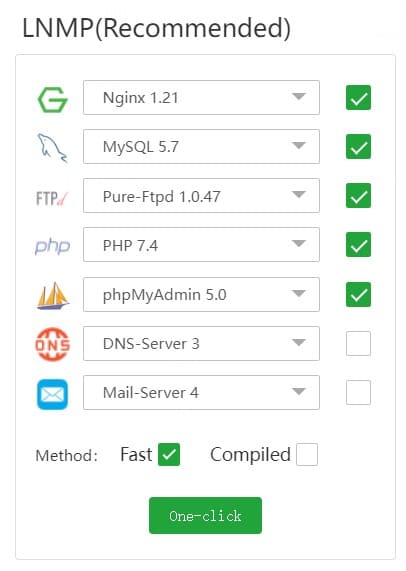
Step 7: After accessing, they will force you to download the tools. You can choose from the LNMP(Recommended) and click one-click. Then you wait a bit for it to download.
Note: You can install and use the necessary support software yourself!

So I just showed you what aaPanel is as well as the simplest way to Setup. After this article will be an article related to websites that sell 4G hack files using aaPanel! Please follow us on Facebook Page to receive the latest information about articles on Anonyviet!


